My
Shipping Container Project
Journal
As you can imagine, constructing such a unique home took a lot of time, careful planning, and yes, a fair amount of money. Life had its own plans, throwing a few challenges my way that slowed things down a bit, but I always found motivation with every milestone achieved. Since I am in a pretty remote area and do not know anyone in the construction industry, I took on most of the work myself (with a lot of help from Google) and it wasn't easy, but very mentally rewarding which is why I've decided to share the steps taken to get there. If you are interested to know what went into building my shipping container home, this is how I made it happen...
SEP
2022
The Land
After doing my research, Arizona was the best place to build off-grid which was my goal. I called the county and asked building size requirments, is it legal to live off-grid, address information etc. and found their building laws were more relaxed than other states. Living off-grid is not legal in most areas throughout the United States so these questions are important before buying the land.


Click on images for more information.
Yes, practically in the middle of nowhere.
AUG
2024

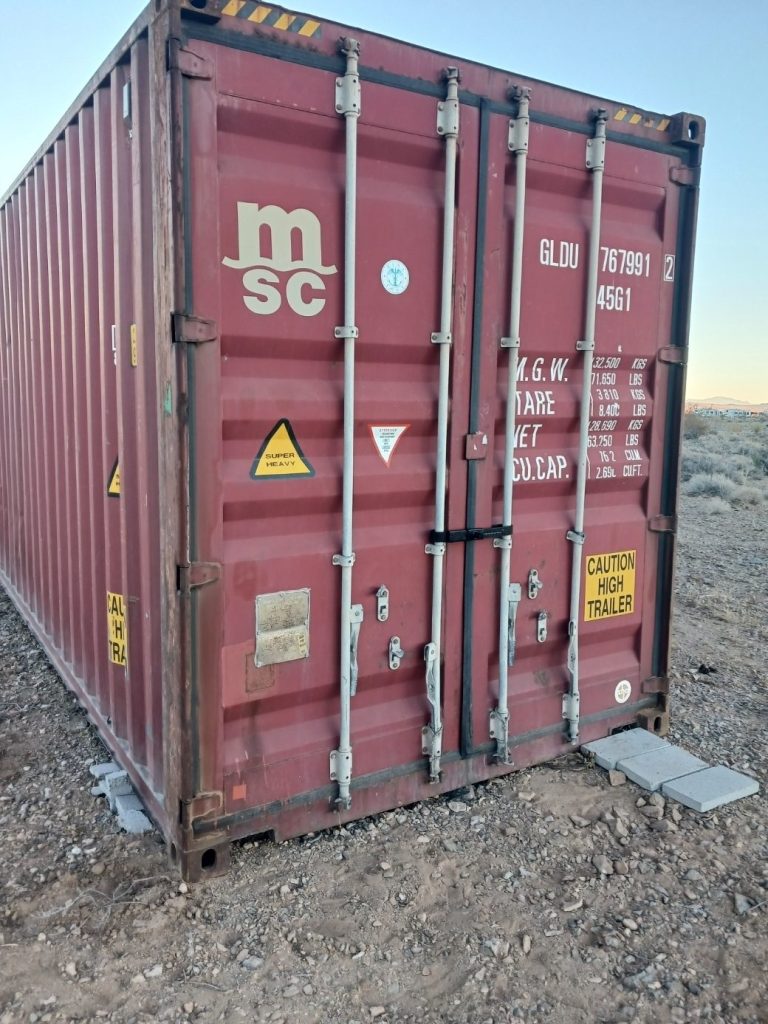
THE DELIVERY
I decided to use Facebook Marketplace to find companies that sold used shipping containers. There were plenty of postings claiming they sell shipping containers and will ship to you. However, I spoke with a few sellers that claimed they can ship after a Zelle payment is made. I didn't trust upfront payments to a company I've never heard of, so I found a company that would ship and take payment after delivery. Perfect. I checked their reviews and everything looked legit. I made arrangements with the company through messaging so that everything is documented (just in case). The shipping container was delivered within a week.
It's Happening!
MAR
2025
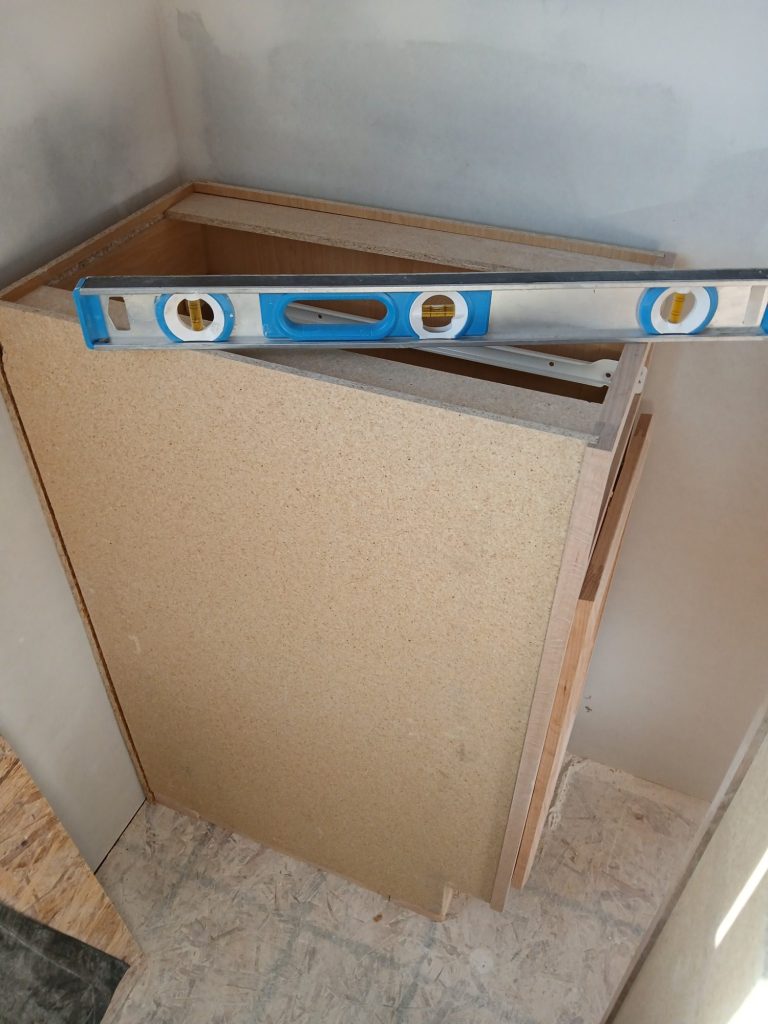
Lets try to level her...
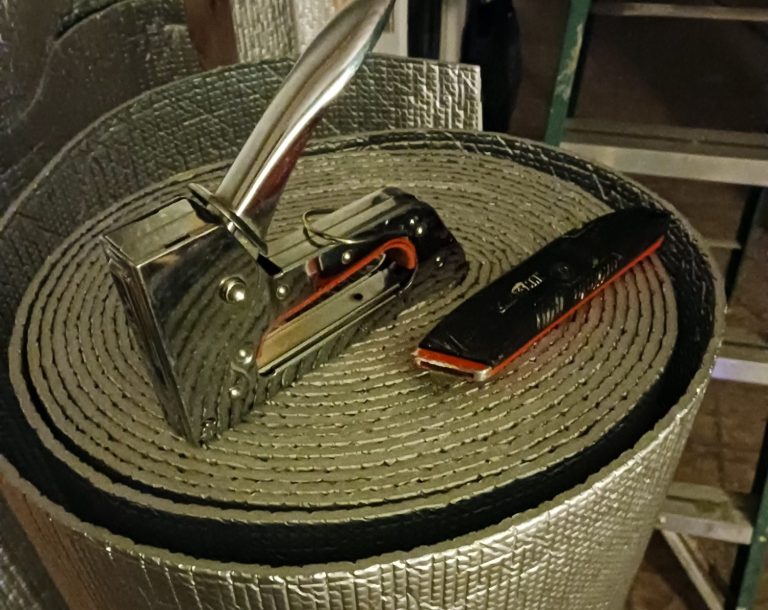
I found several online videos on how to level a shipping container and the bottle jack and shipping container jack lug was the best, safest and most affordable option for this project. However, considering I have no experience with the bottle jack, I couldn't figure out why this process was taking so long, found out half way through I was using the bottle jack wrong. Oh well, it was a learning experience.


*Click on images for more information.
This part of the project can be dangerous considering the container weighs over 8000 pounds!
"If you are too scared to do it, do it scared."
-Unknown
MAR
2025
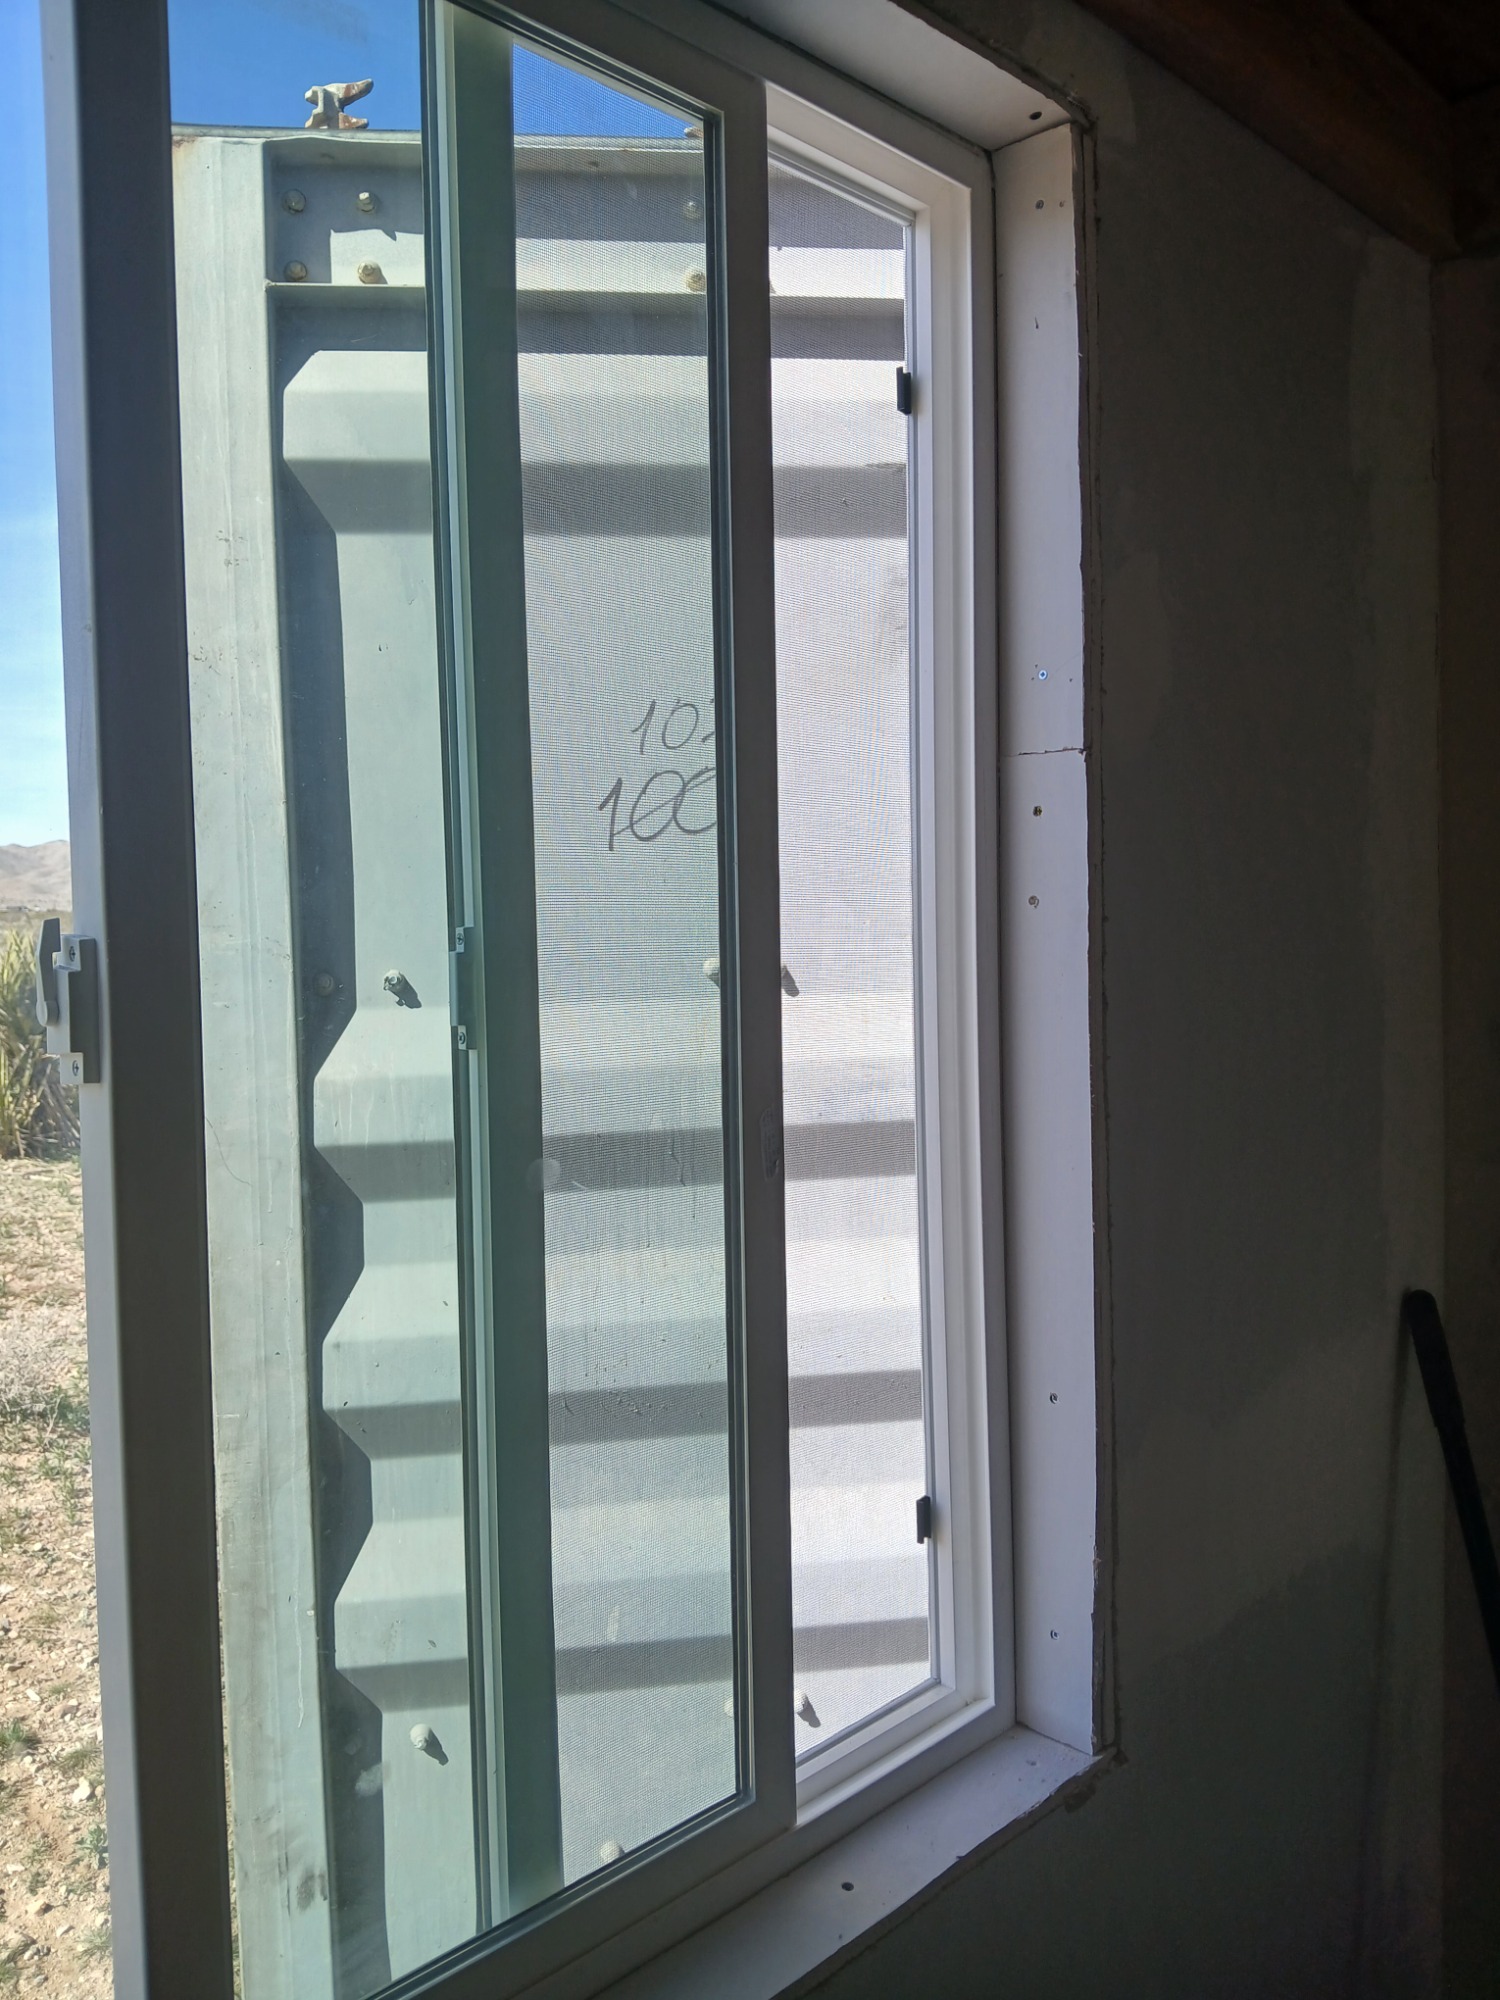
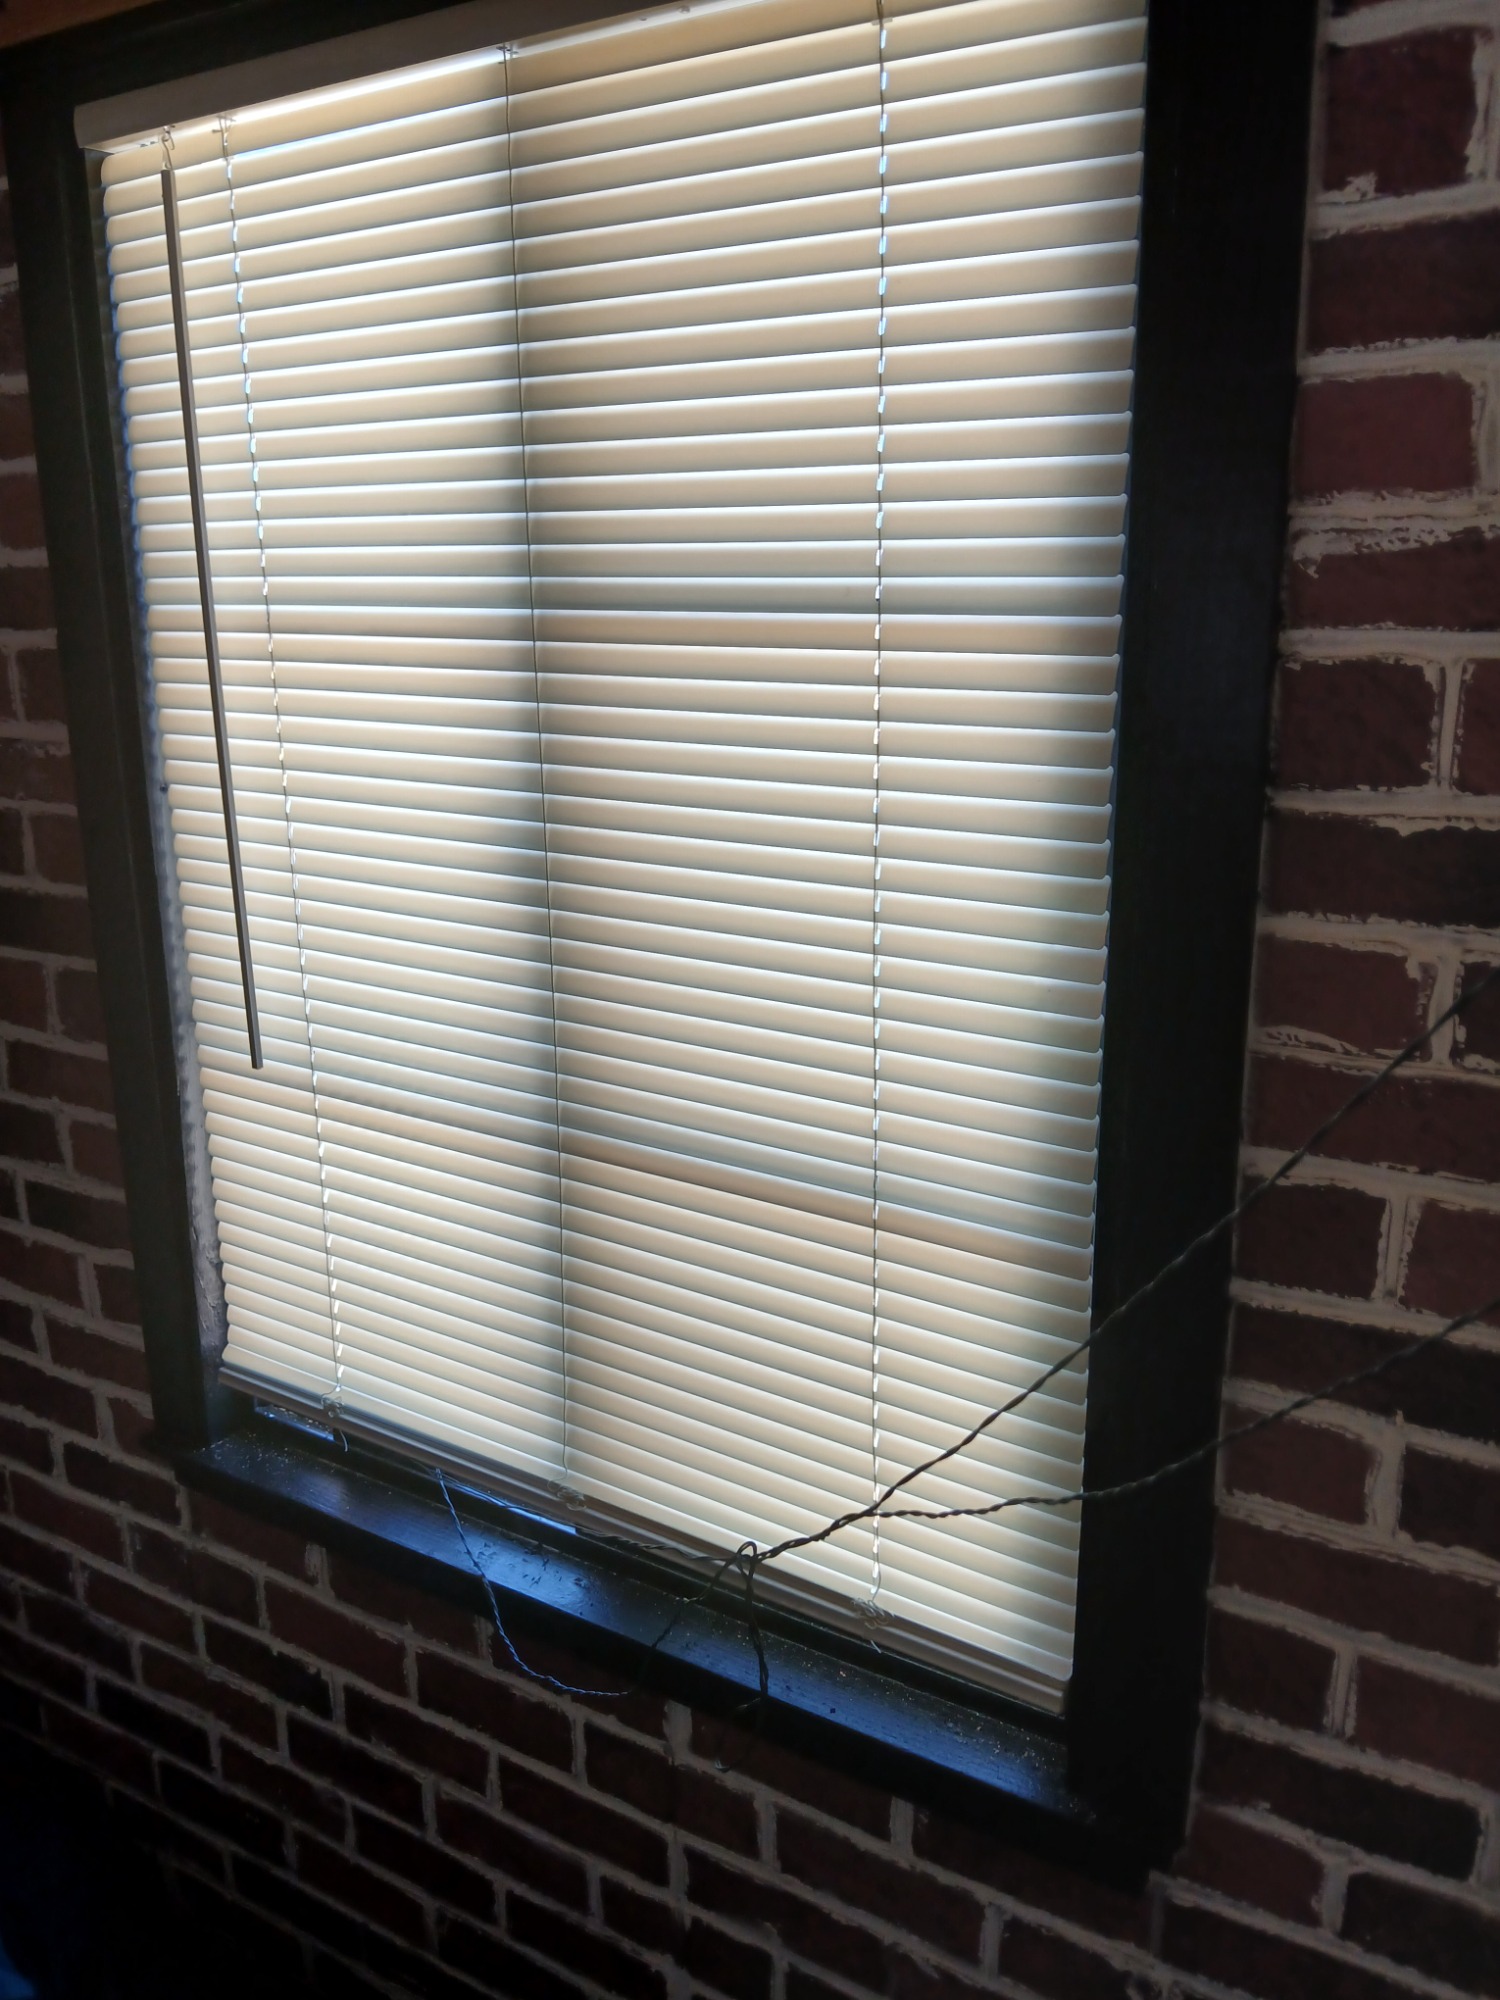
The First Window...
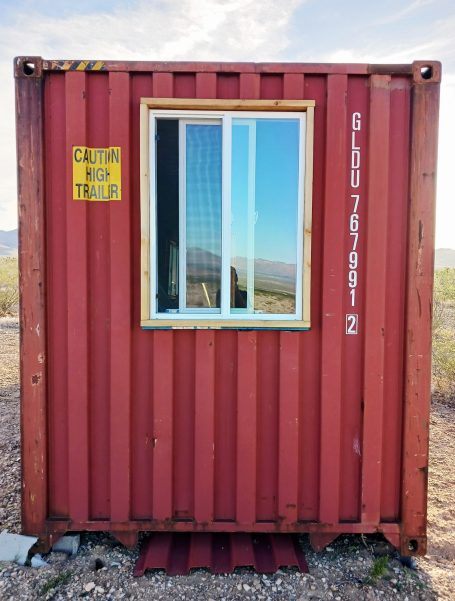
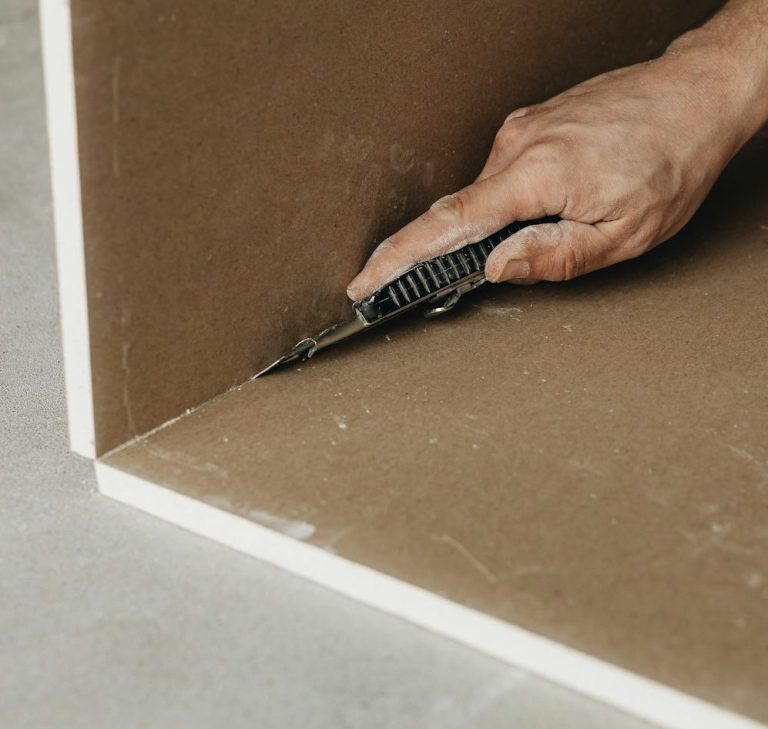
This part of the project had to be one of the most complicated because it was the first cut into the container. Online, they make installing a window in a shipping container seem so easy🙄. I bought the window at Habitat for Humanity Restore and I thought the deal was ok until I tried to lift it and realized it was a lot heavier than other windows. That large (57in x 44in) $240 window was worth a lot more than what I paid!
Some shipping container home builders use metal to frame windows. I went with wood to frame the window instead.
I made the measurements of the wood frame slightly bigger than the window and that was my first mistake. 🤦🏾♀️ I measured the cut based on the wood frame. 🤦🏾♀️Next, I bought a battery operated angle grinder which took a long time considering it died in the middle of the cut. I had to stop and recharge by car, because I didn't have a generator to power my tools. That charge took hours. I know this is common sense but...
Having power and good tools matter!

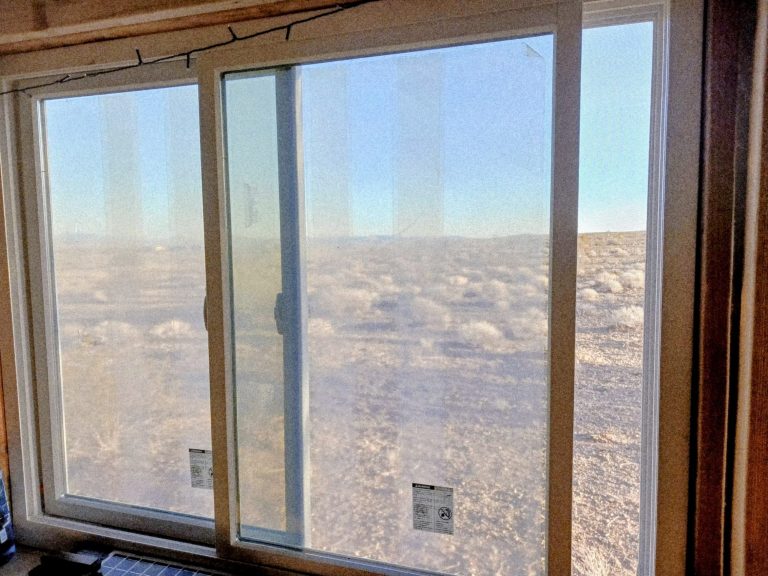
After struggling three different times, recutting, reframing, insulating with spray foam, sealing with silicone caulk and window flashing tape to make air and water tight, I finally got it!

APR
2025
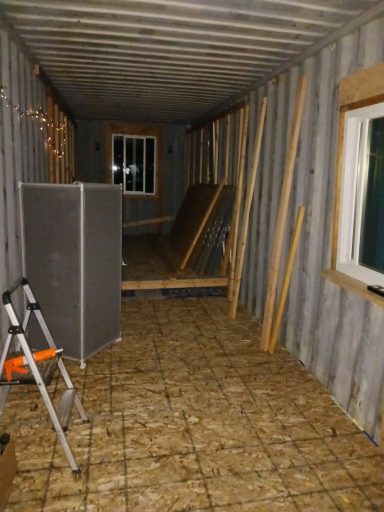
The lifted living space
I wanted to separate the space by elevating the living area. I actually had my daughter help with this part of the project. After gaining more knowledge in construction, I realized, I could have done somethings differently because some issues came up later, after I had completed this part of the project. However, building this floor was one of the easier projects, which I did enjoy.
I needed...
-Circular saw and protective eyewear!
-Drill
-Measuring tape
-Joist hangers
-Screws
-(2) 2 x 12 x 12 lumber
-(13) 2 x 4 x 8
-(6) 2 x 6 x 8
-leveler
Click on images below for more information.


APR
2025
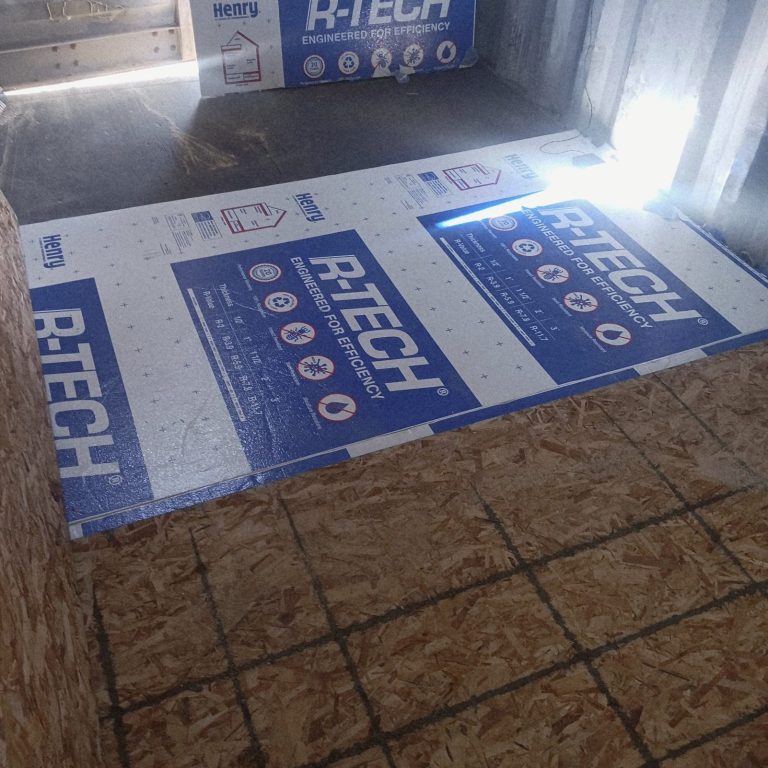
Floor Insulation
So, before I actually completed the elevated living space I had to insulate the floor below it, along with the rest of the container floor. I needed...
*(10) 1 inch x 4 x 8 expanded polystyrene
*(10) 19/32in x 4 x 8 OSB subfloor
(OSB -Oriented Strand Board)
*Box of #8 x 3-in screws
*Circular saw and protective eyewear!
*Box cutter
*Subfloor adhesive (lifted floor space)
*Drill with screw bit
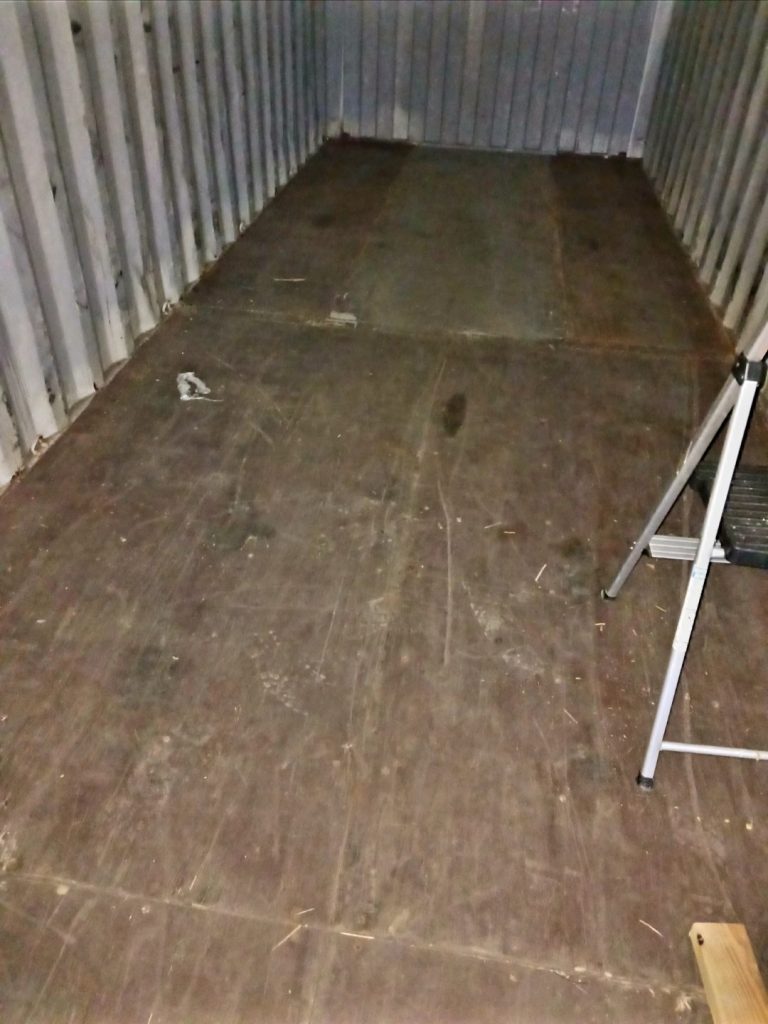
The shipping container is 8 feet wide. The insulation board and OSB are 8 feet long as well but both need to be trimmed to fit the container floor. The insulation needs the box cutter and the OSB needs the circular saw. Another easy project. Laid the insulation first, horizontally, than OSB on top then screwed it in with the 3 inch screws.
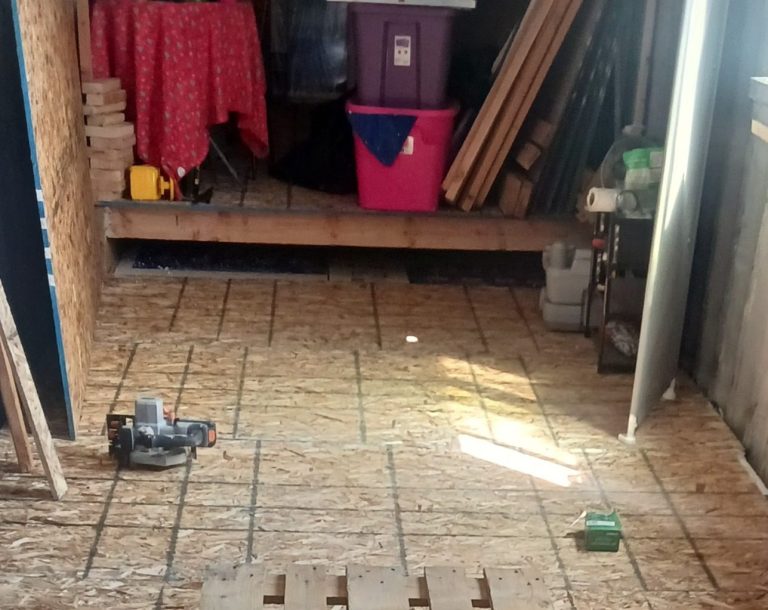
I can't believe I didn't get a better picture of this but you can see under all of the "stuff," the OSB has been glued with the subfloor adhesive and screwed to floor joist.
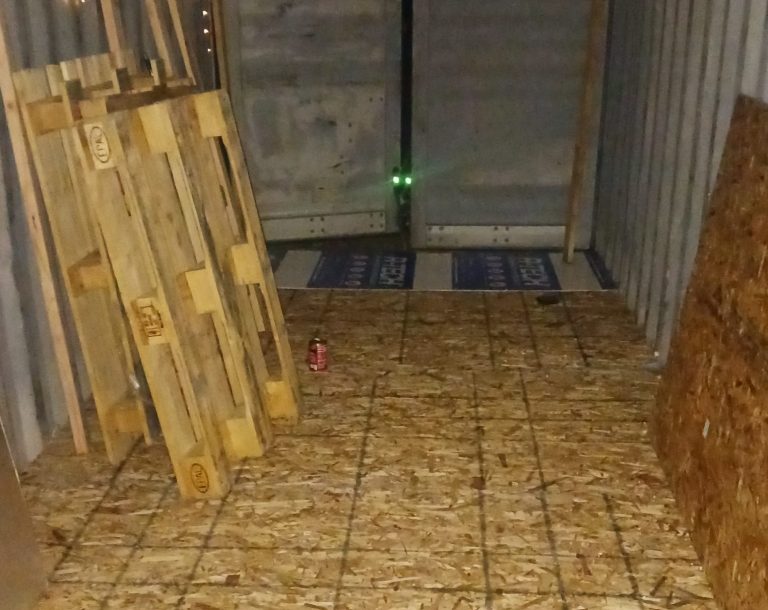
Floor OSB and insulation.
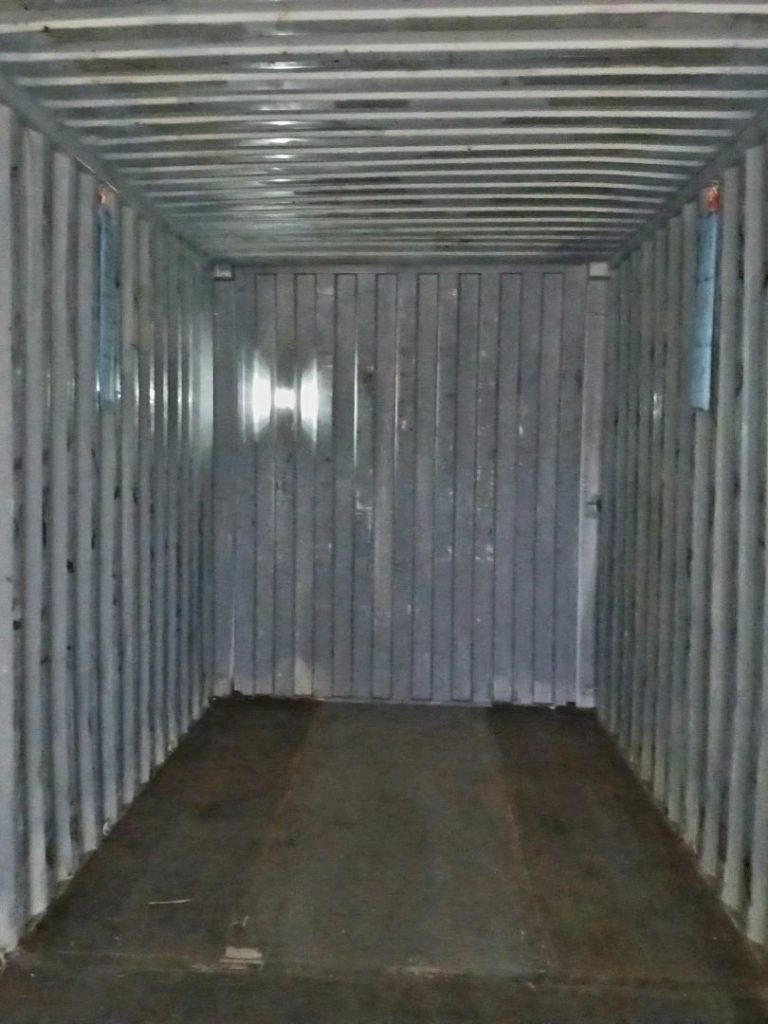
If you look closely at the 2 green lights at the door you'll see my dog, scared to come in because of all the noise.
"Do the thing you fear to do and keep on doing it"
-Dale Carnegie
APR
2025
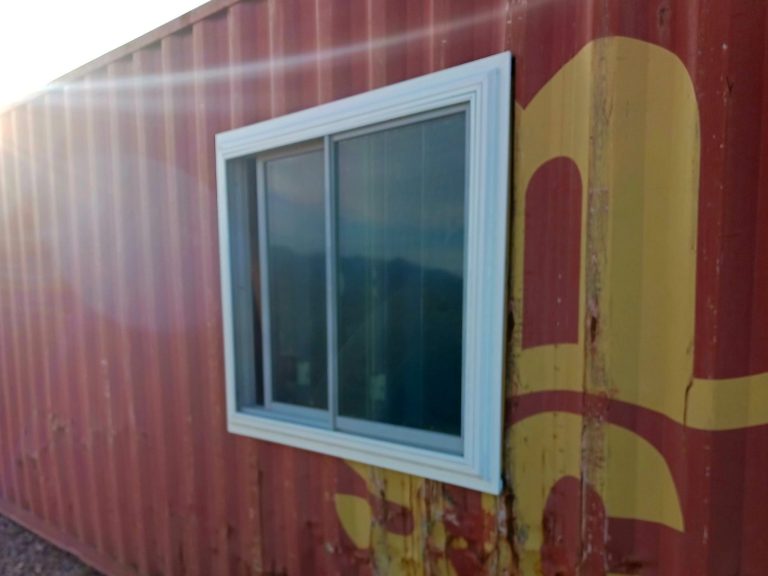
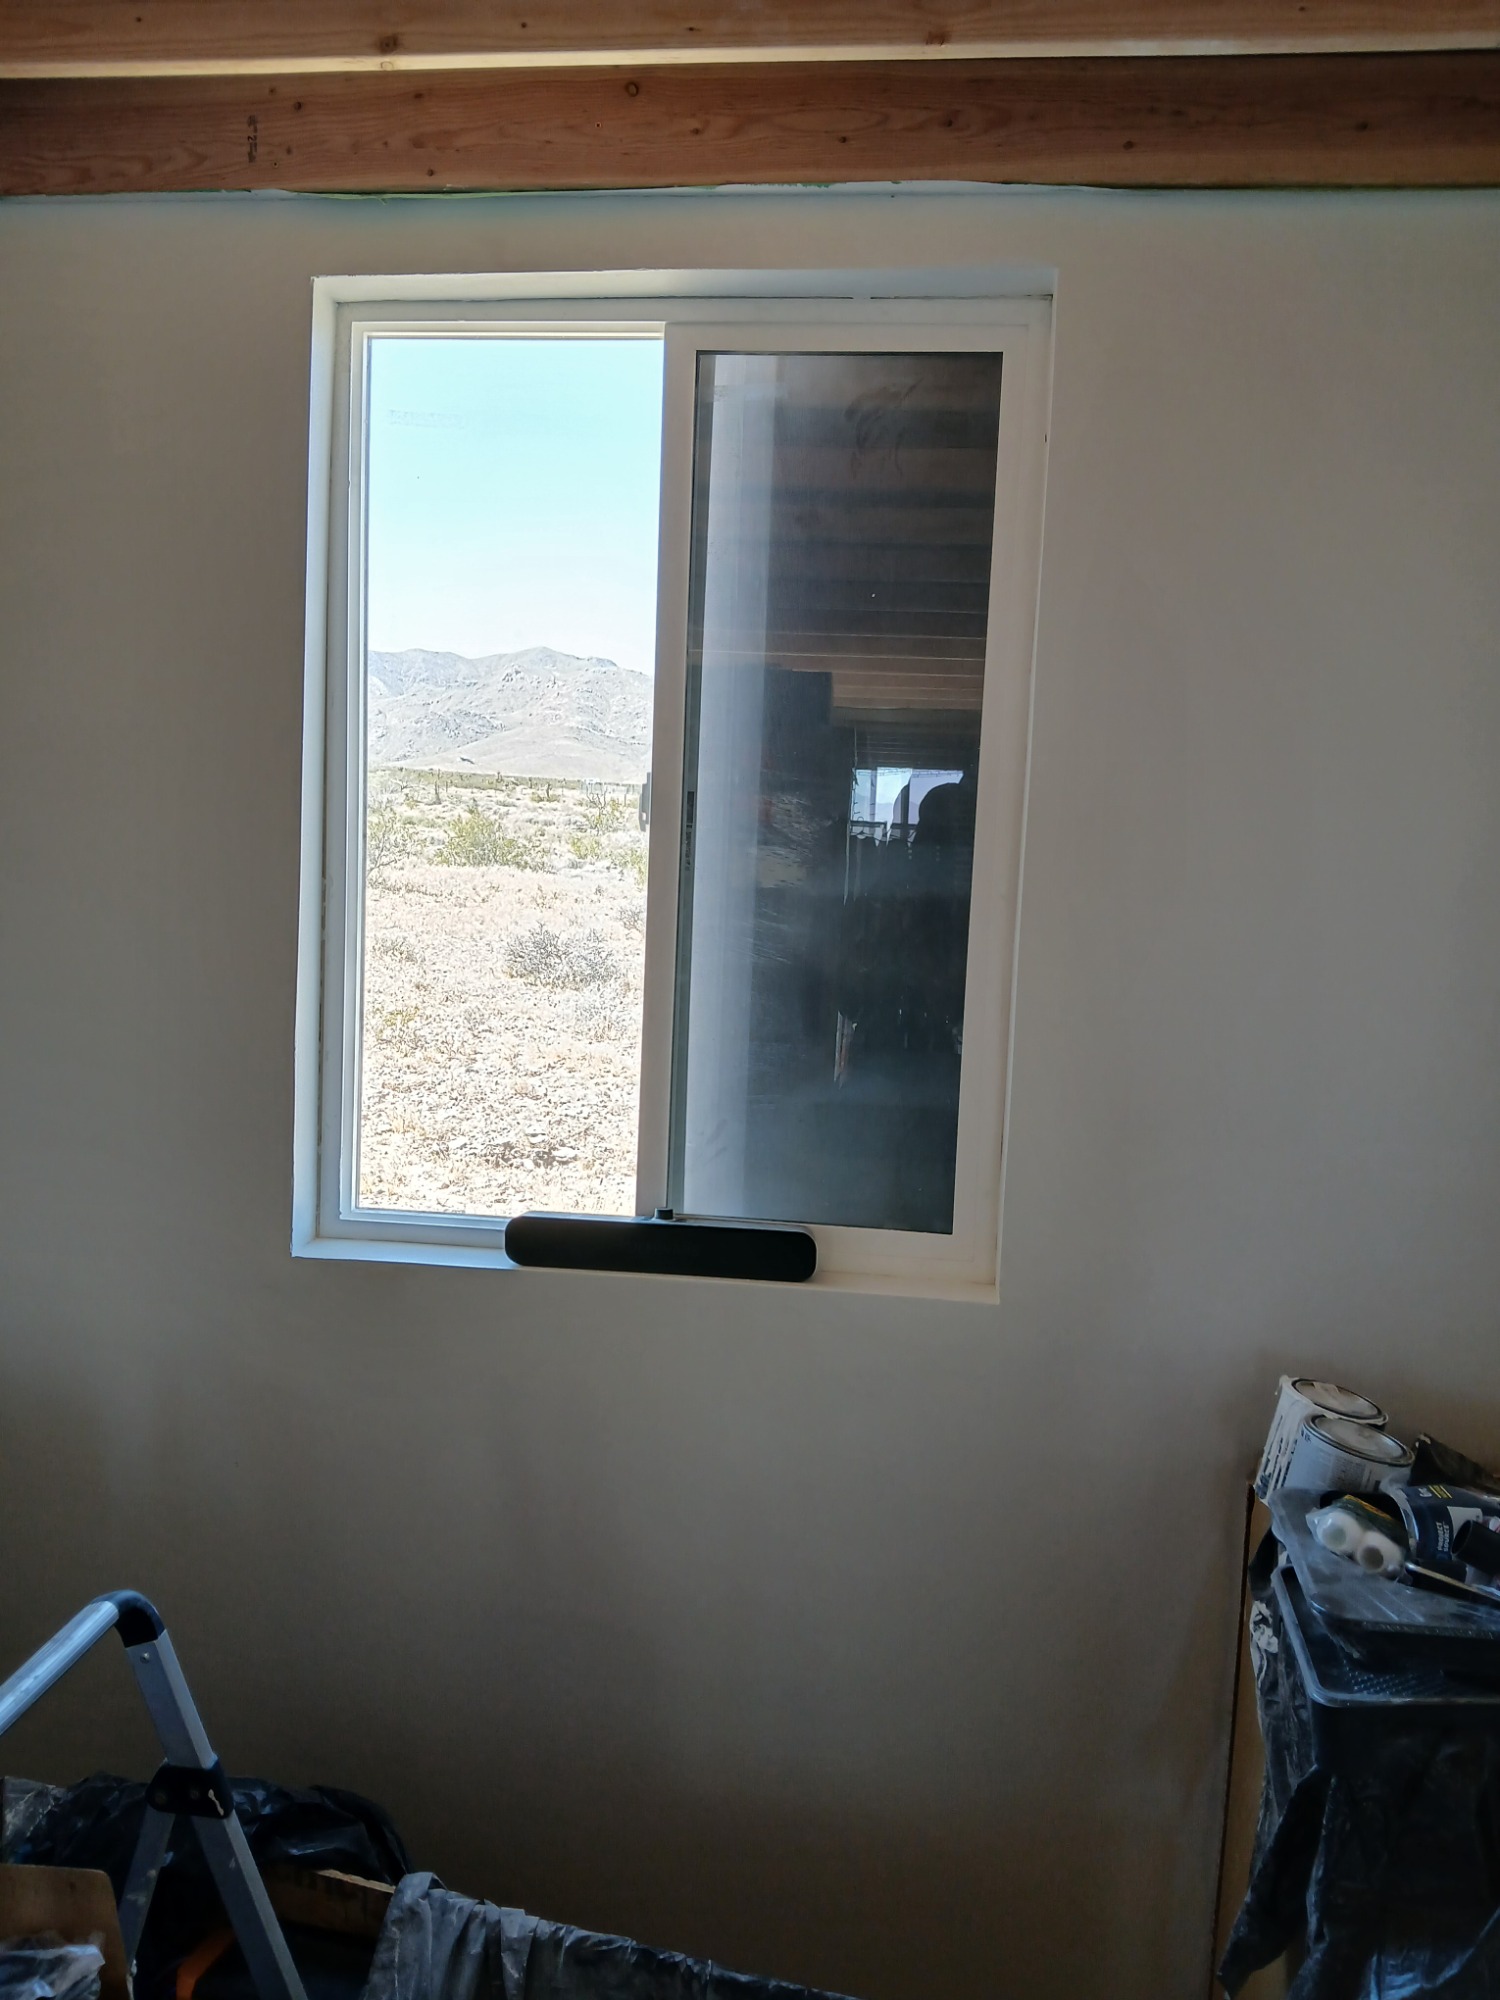
Second window


For the second window, I decided on a window from Lowes. This window had a flange and I removed it with a box cutter because I wanted the window to sit in the frame of the window unlike the first window. Again, this was a struggle. I "H" framed the window with a 6in header board. This window was a lot lighter than the other window so easier to install. I needed...
-Window (35 1/2-in x 47 1/2-in)
-(3)2 x 4 x 96in lumber
-Screw
-(1) 2 x 6 x 8
-Measuring tape
-Angle grinder and protective eyewear!
JUN
2025
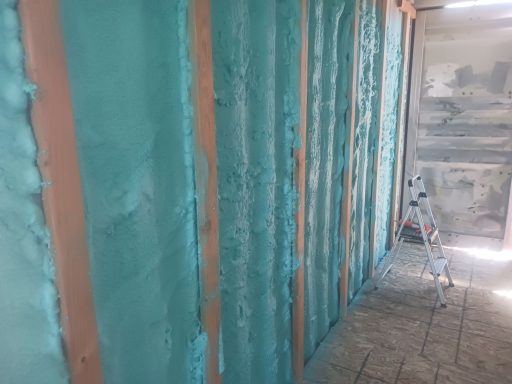
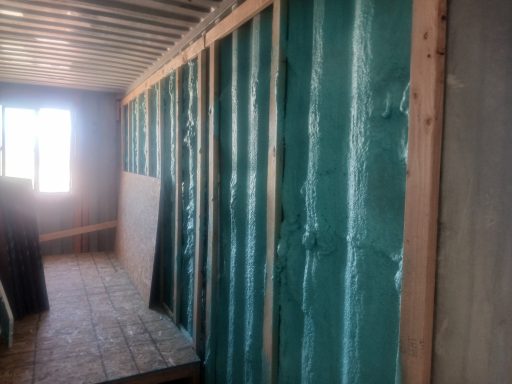
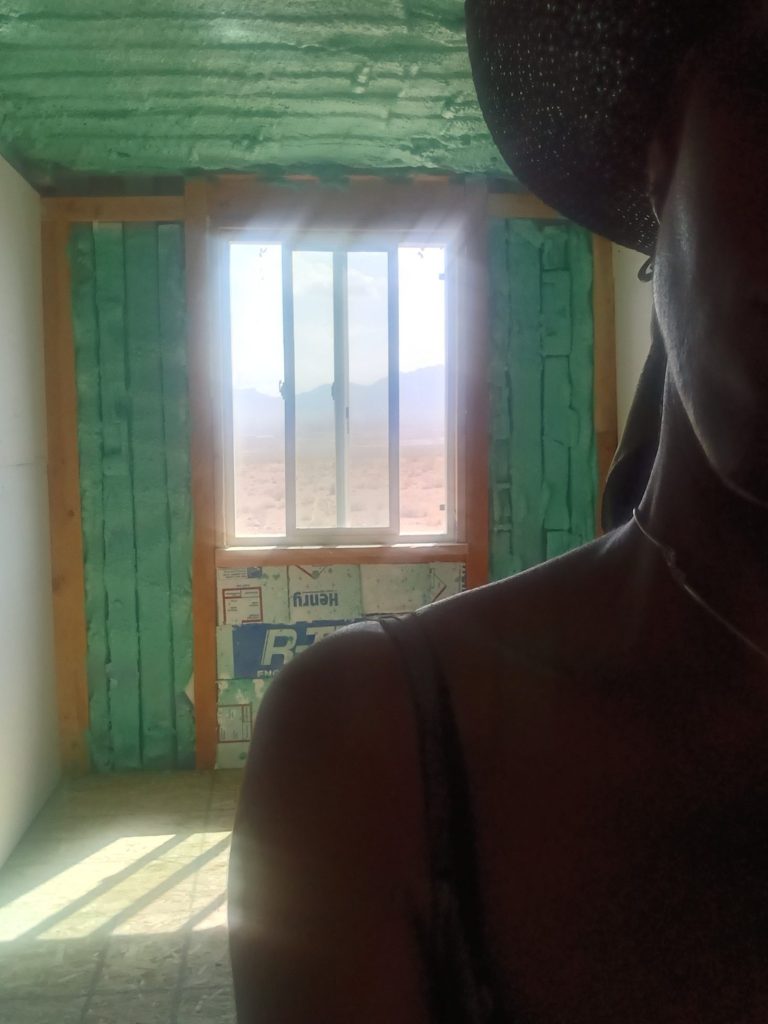
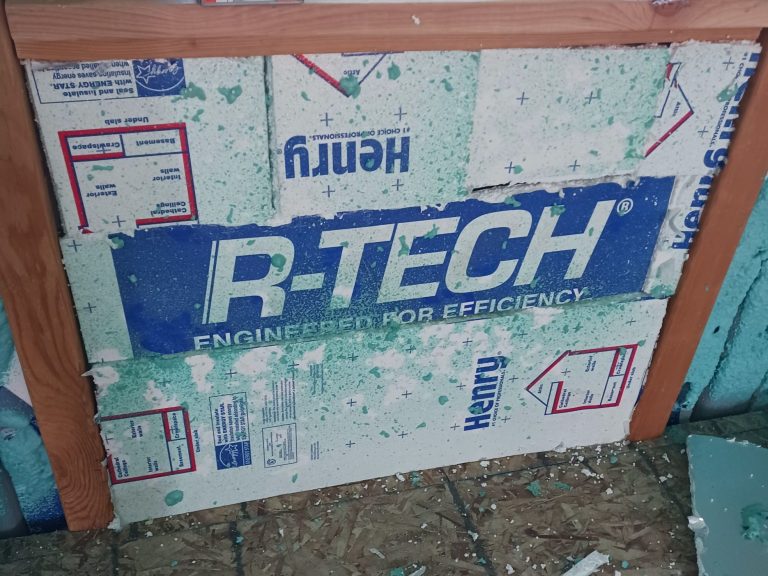
Spray Foam Insulation DIY

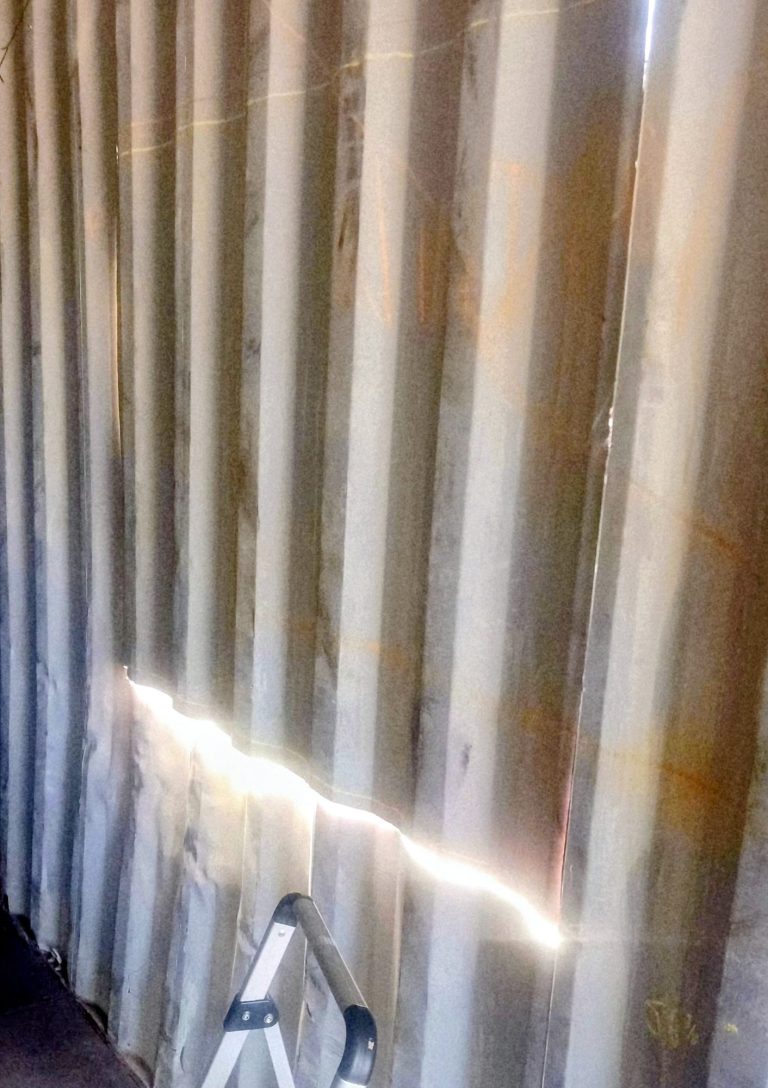
So, I decided to use industrial adhesive to place the studs (2 x 4 x 8 lumber) on one wall of the container, the other side is not ready. I decided to do this first due to the amount of sun this side of the container receives. The adhesive was easy. However, considering this container is used, it's not in the best shape so some studs did not lay flat which became a problem down the line. The spray foam was easy but expensive. I had to spray a few coats to get close to the right R-value for the Arizona climate.
I bought three kits that contained...
12 cans of 26.8oz spray foam insulation per kit -cleaner -Pro X gun -clothing cover -gloves
-goggles.
The three kits I purchased, were barely enough for one wall of the container.


JUN
2025
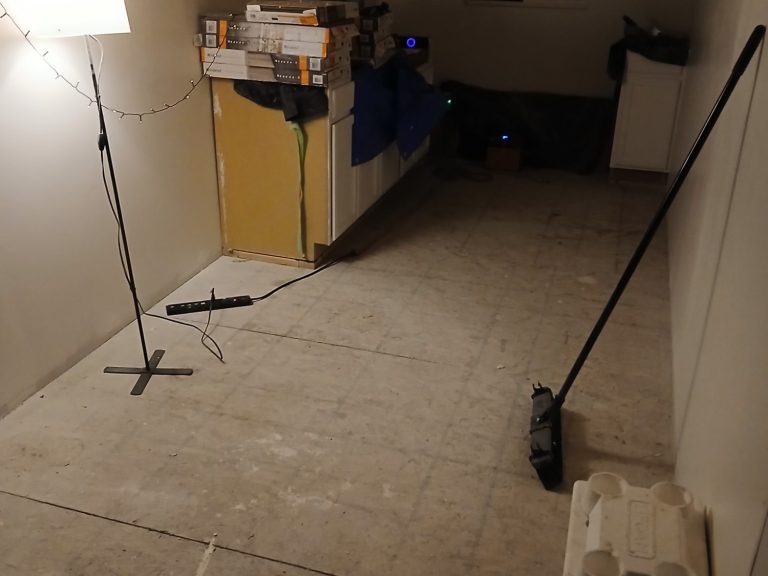
And then there were two...
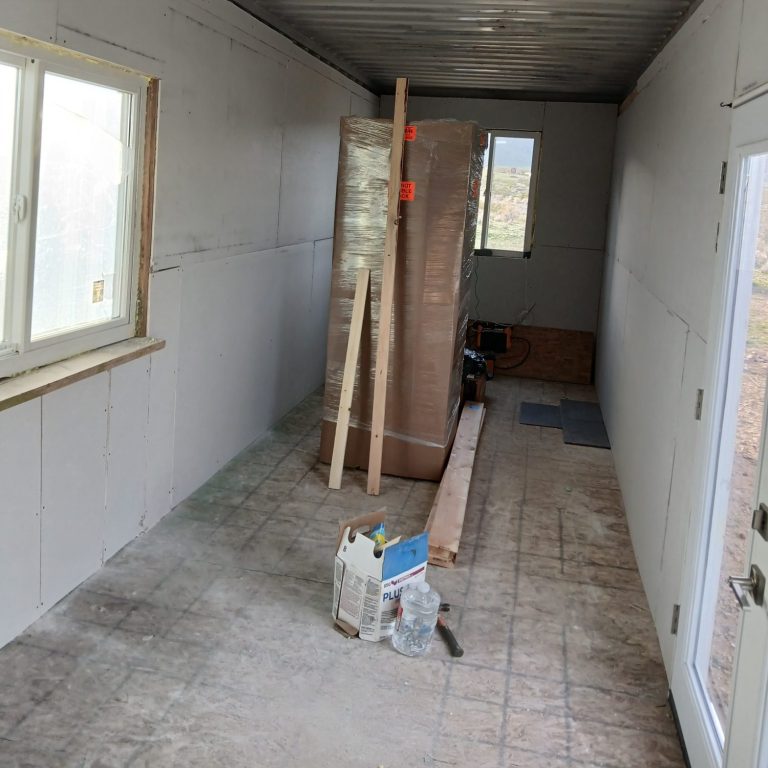
A second container was apart of future plans but life forced my hand so I invested in the second sooner than expected. It is currently being used for storage while I complete the original container.


click on images for more details.
"Life is like a bicycle, to keep your balance you have to keep moving."
-Albert Einstien
AUG
2025
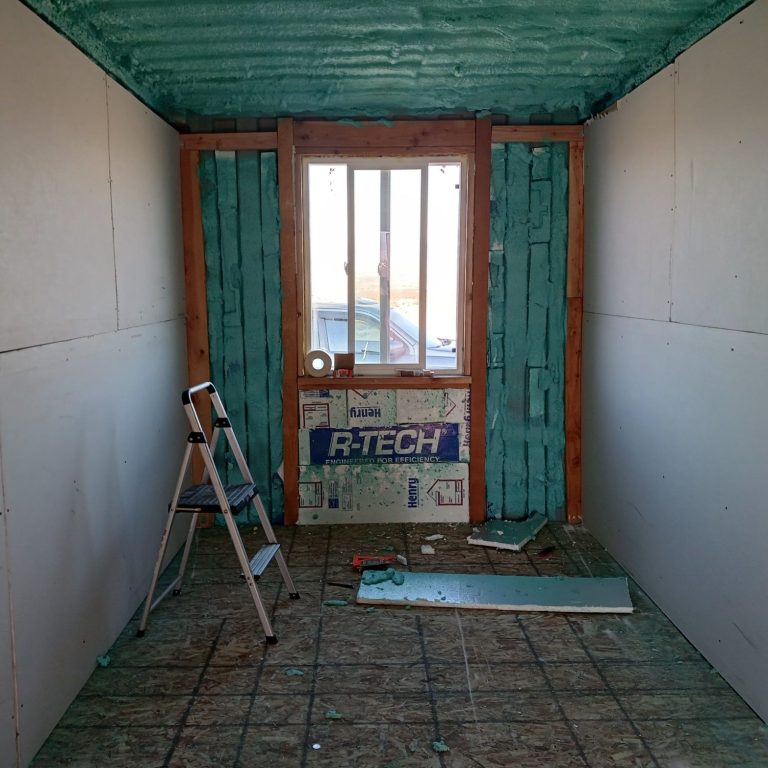
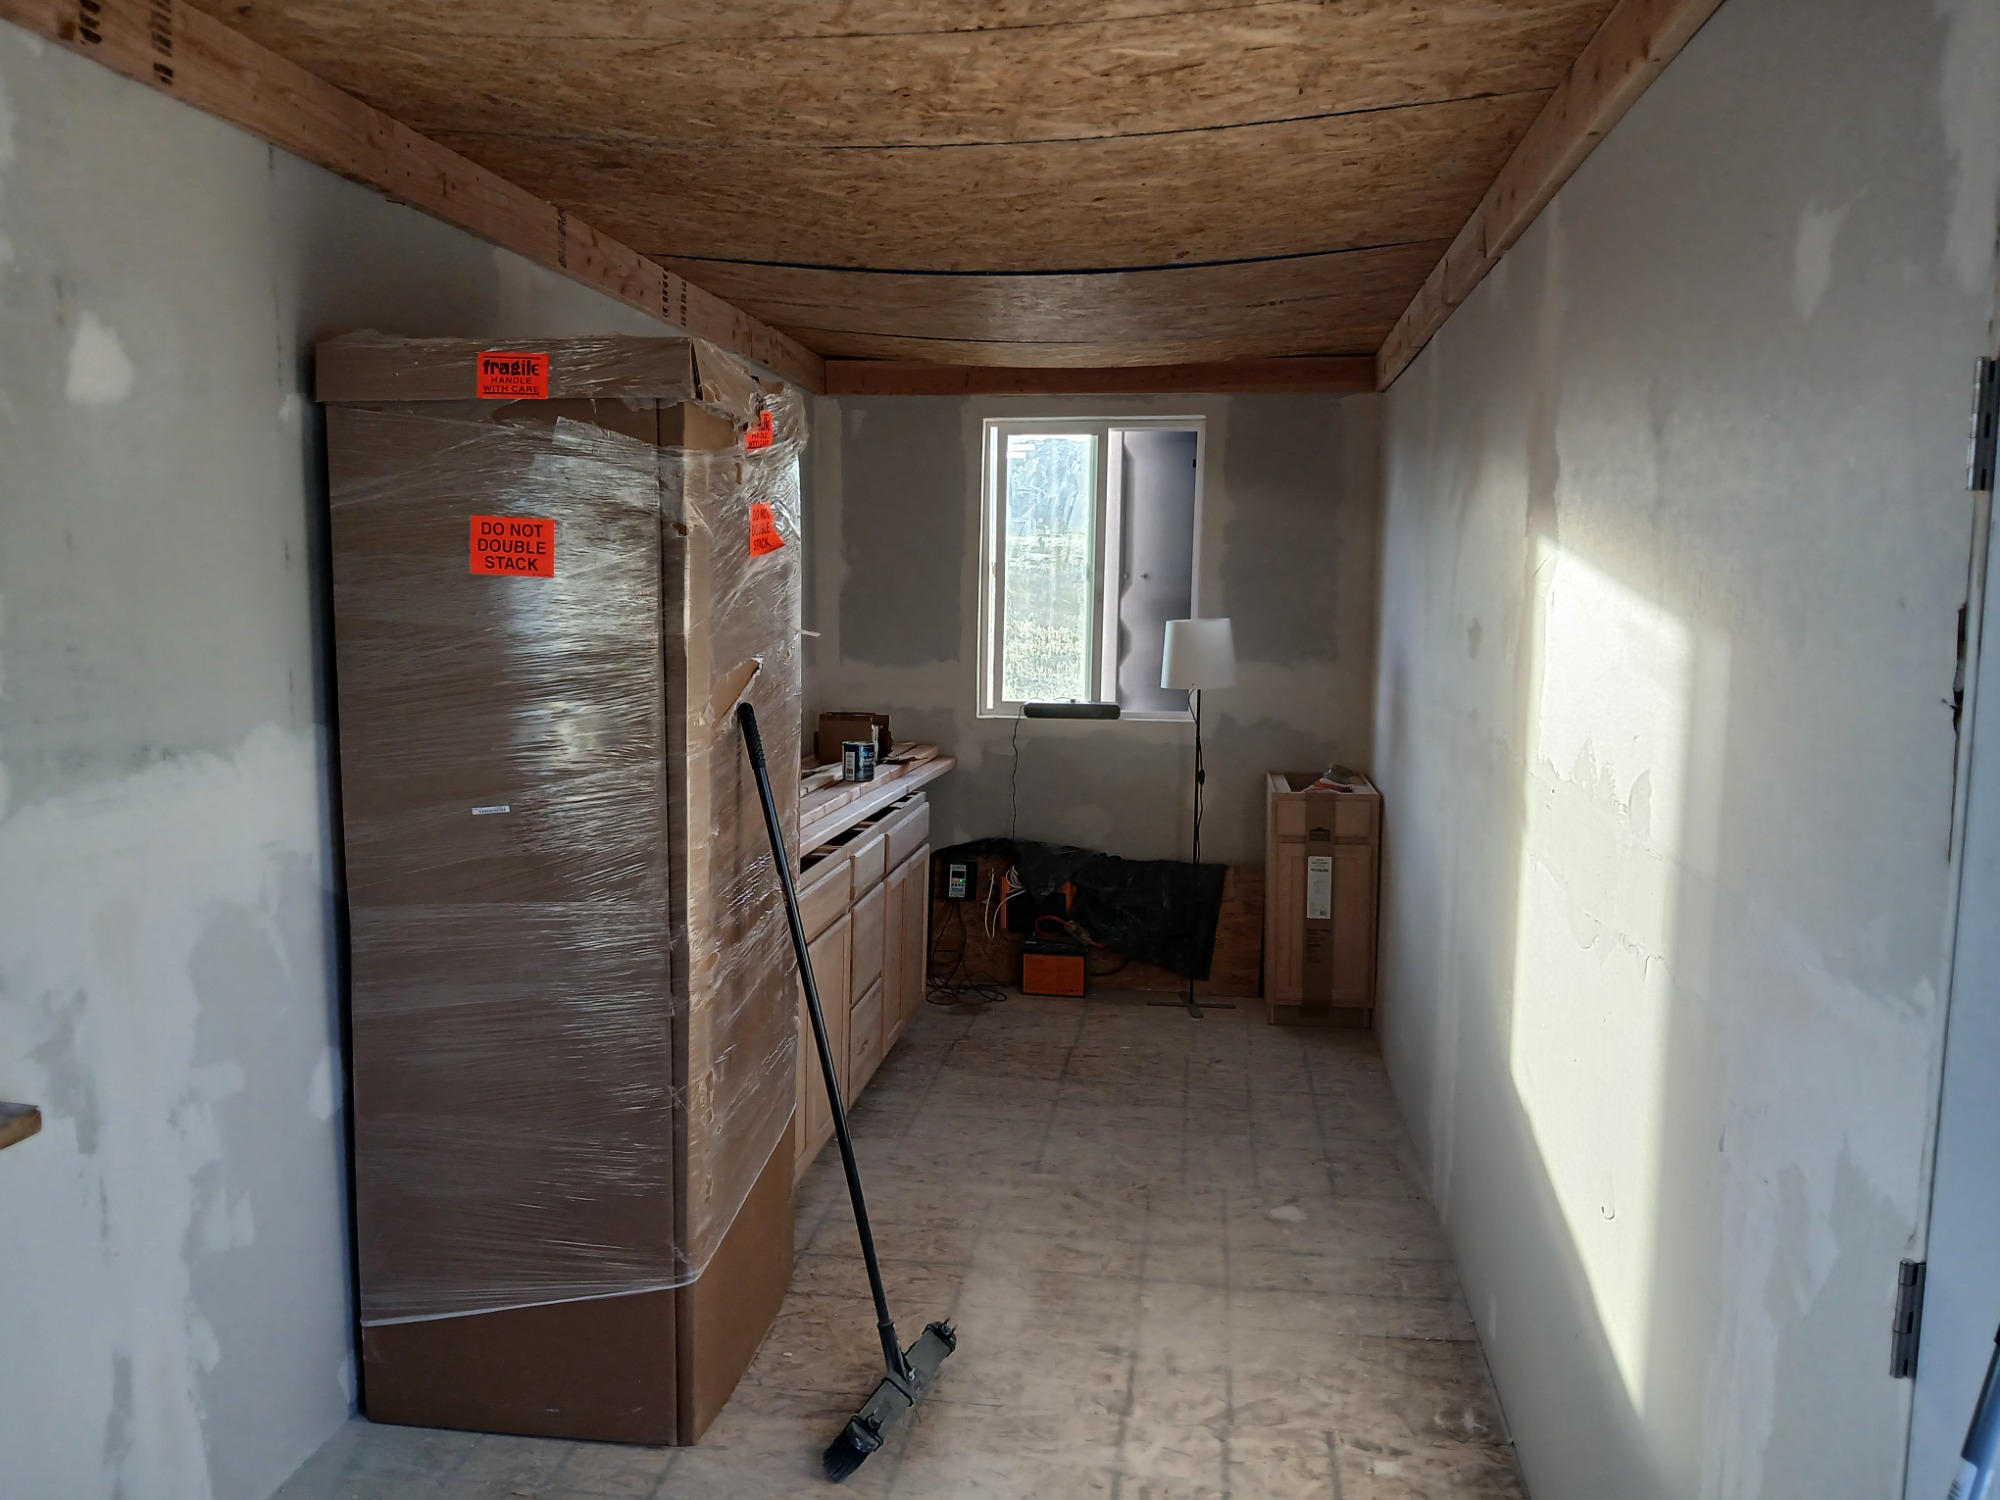
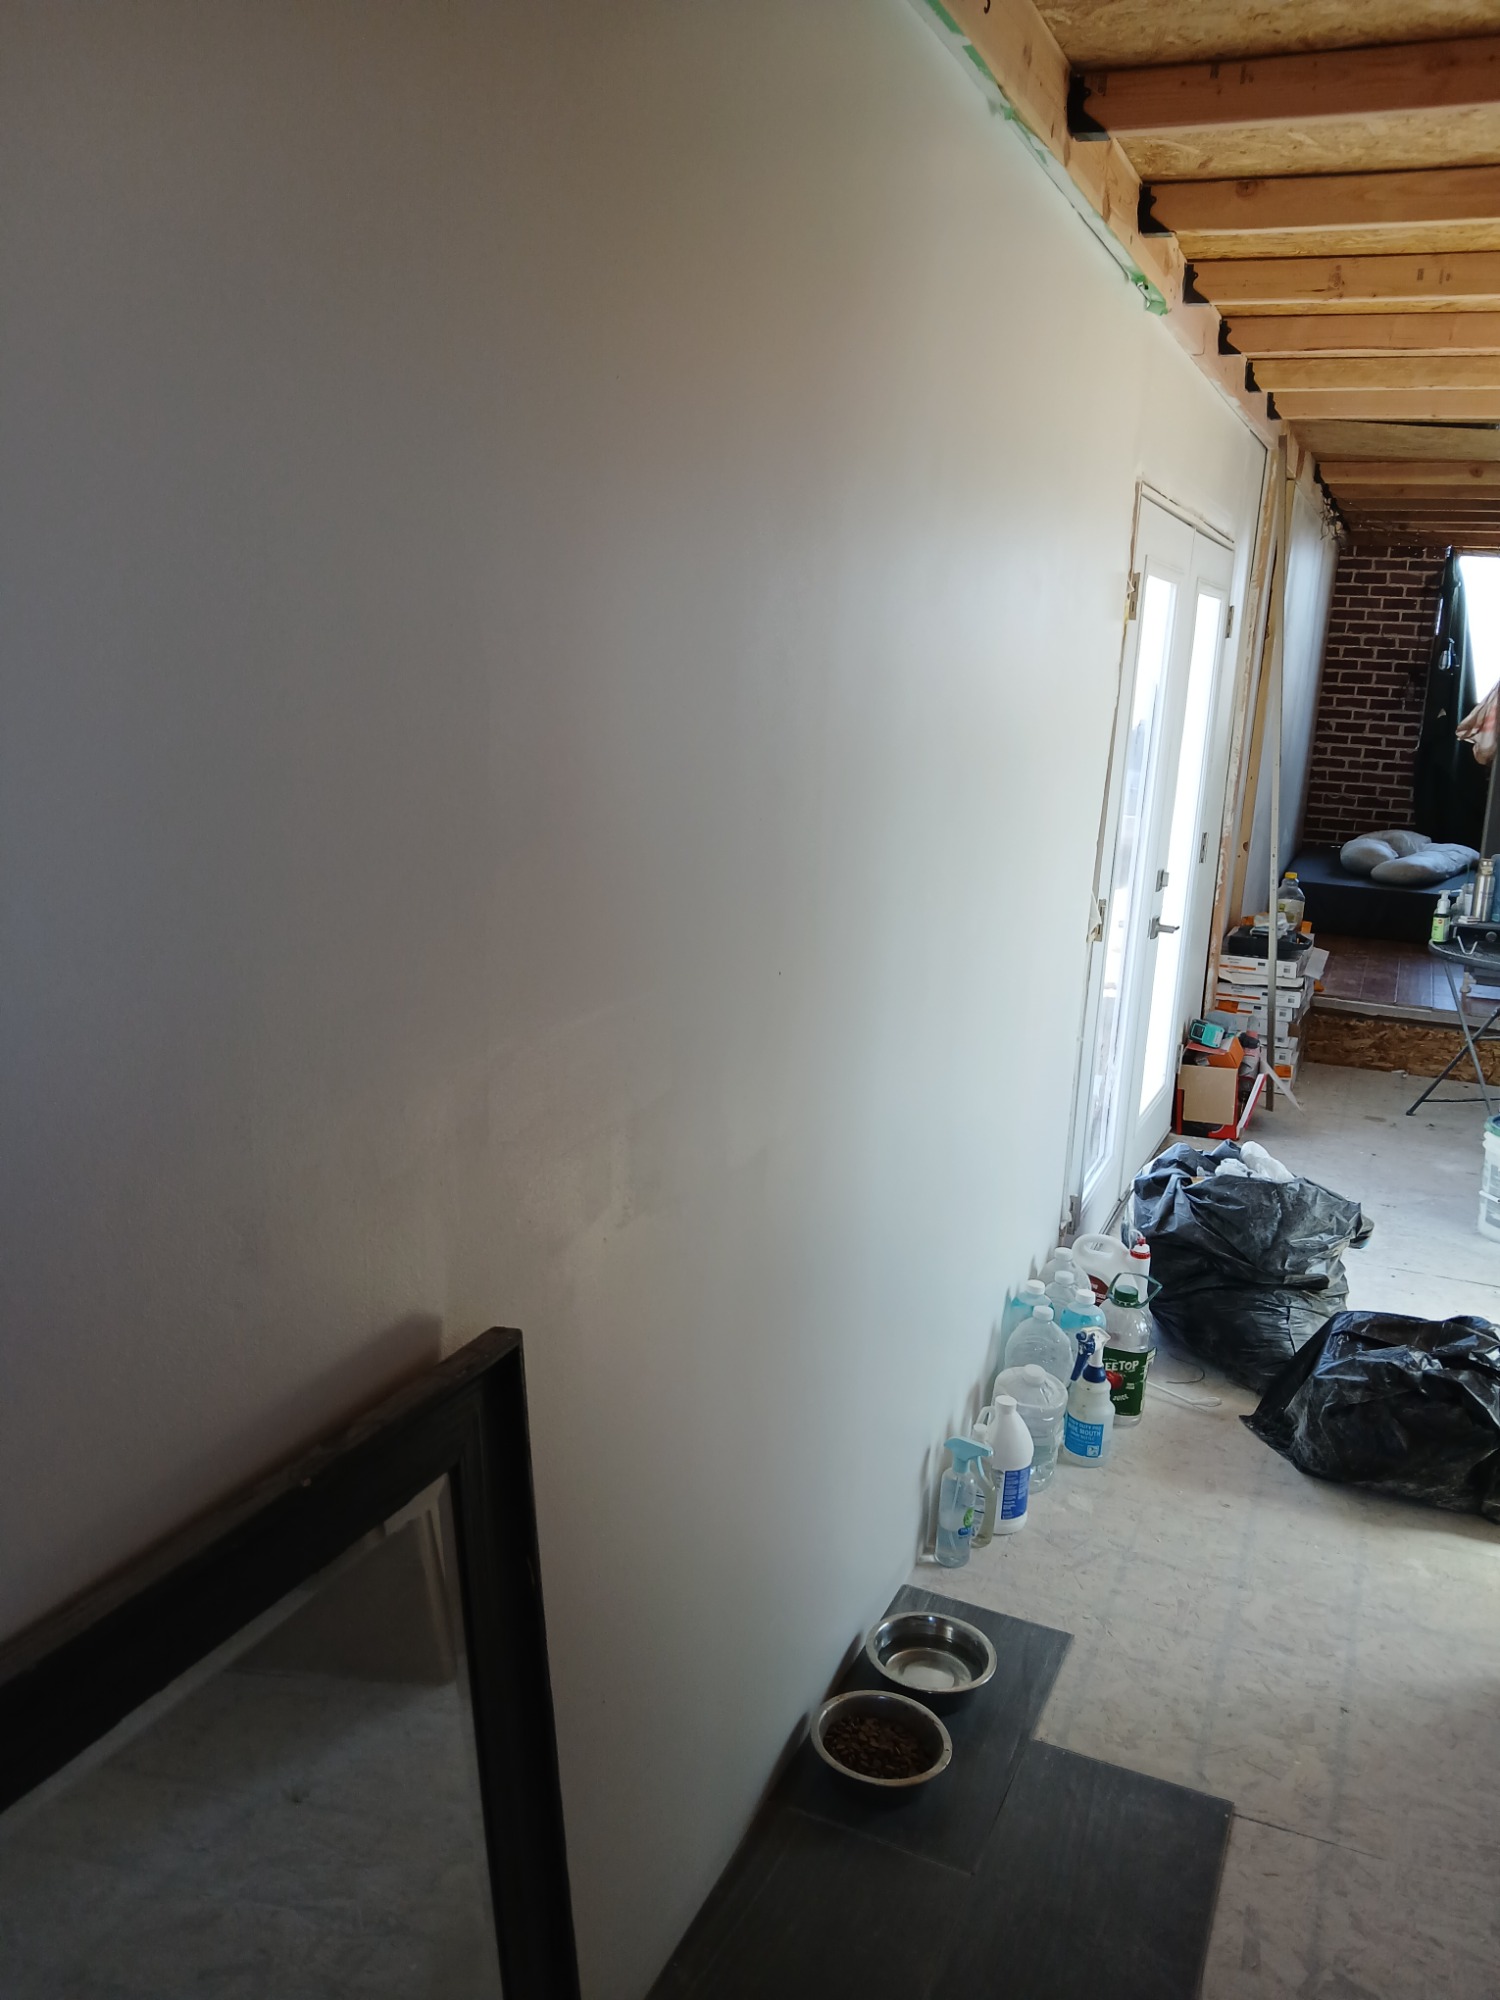
Lets try to complete one end of the container
During this part of the project, I had to fix the window and finish the insulation at this end of the container. What I found interesting about this project was that I ran low on insulation. So, I had to think outside the box and find other materials to finish the job.
First, I needed...
-1/2 in x 4 x 8 drywall panel
-Drywall screws
-Box cutter or utility knife (to cut the drywall)
-Measuring tape
Under the window, I used remnants of the insulation used for the floor plus industrial adhesive.

The insulation you see is actually cut up 3 inch styrofoam from a few packages I received from Amazon with a layer sprayfoam . Money saved!

First wall of drywall goes up. After doing this I realized I shouldve staggered the drywall. Didn't realize I did that until I saw this picture. Live and learn.
I got it right on the other side.

However, when working by yourself things like this can happen. Yes, it slipped out of my hands and hit the floor. I'll fix this later.
I found a few spots that needed more insulation so patch work was needed...
To be continued...
SEP
2025
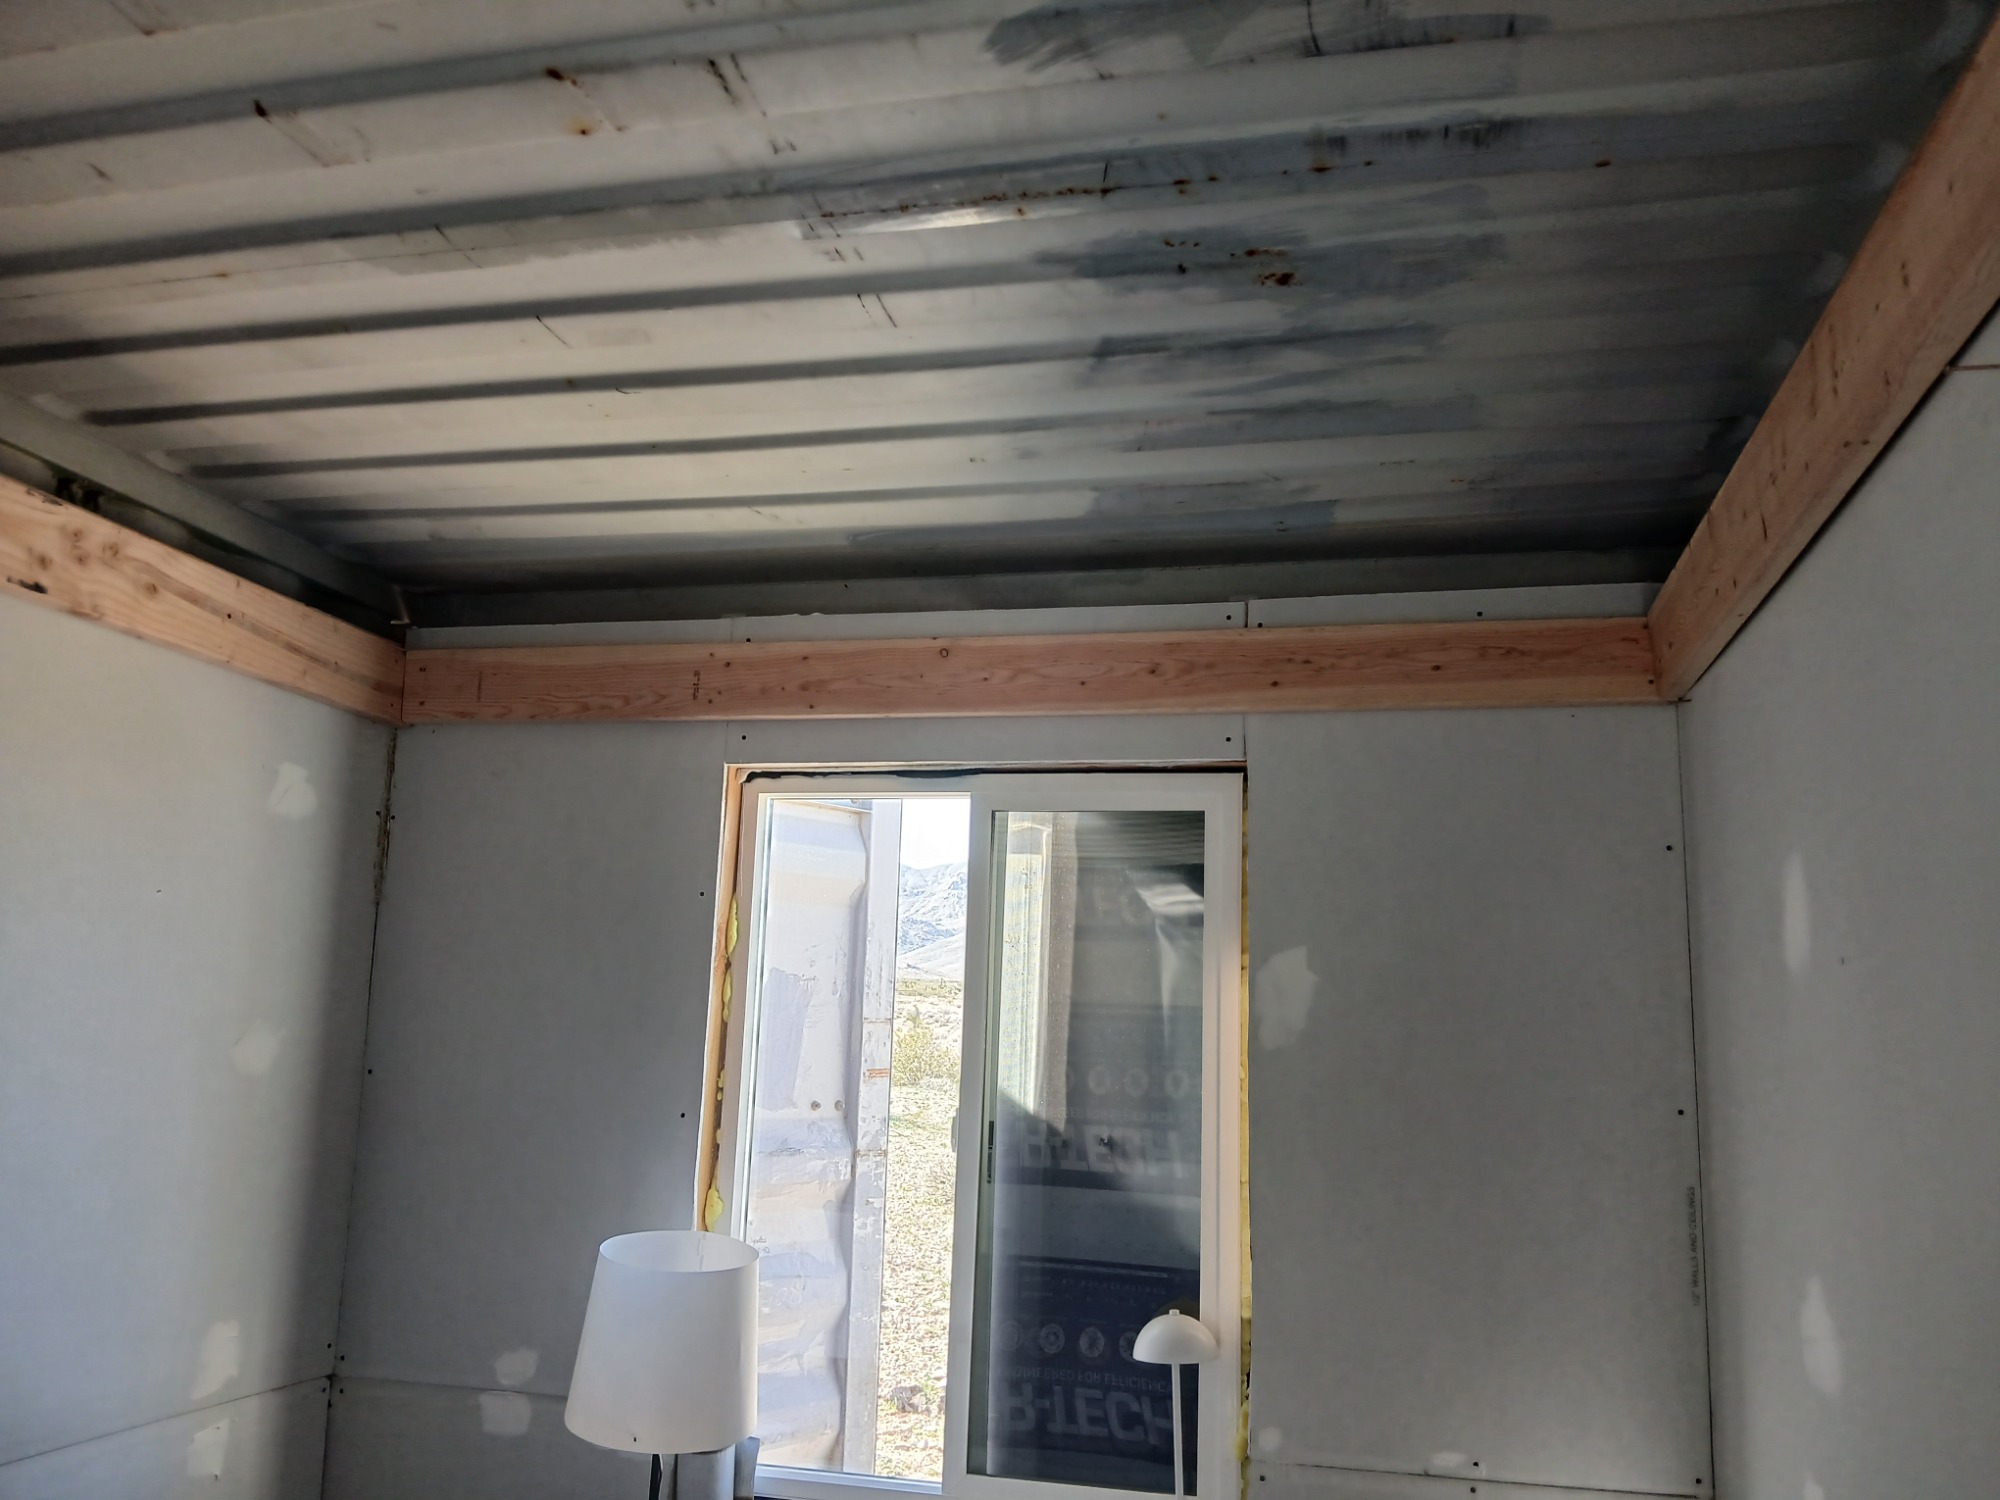
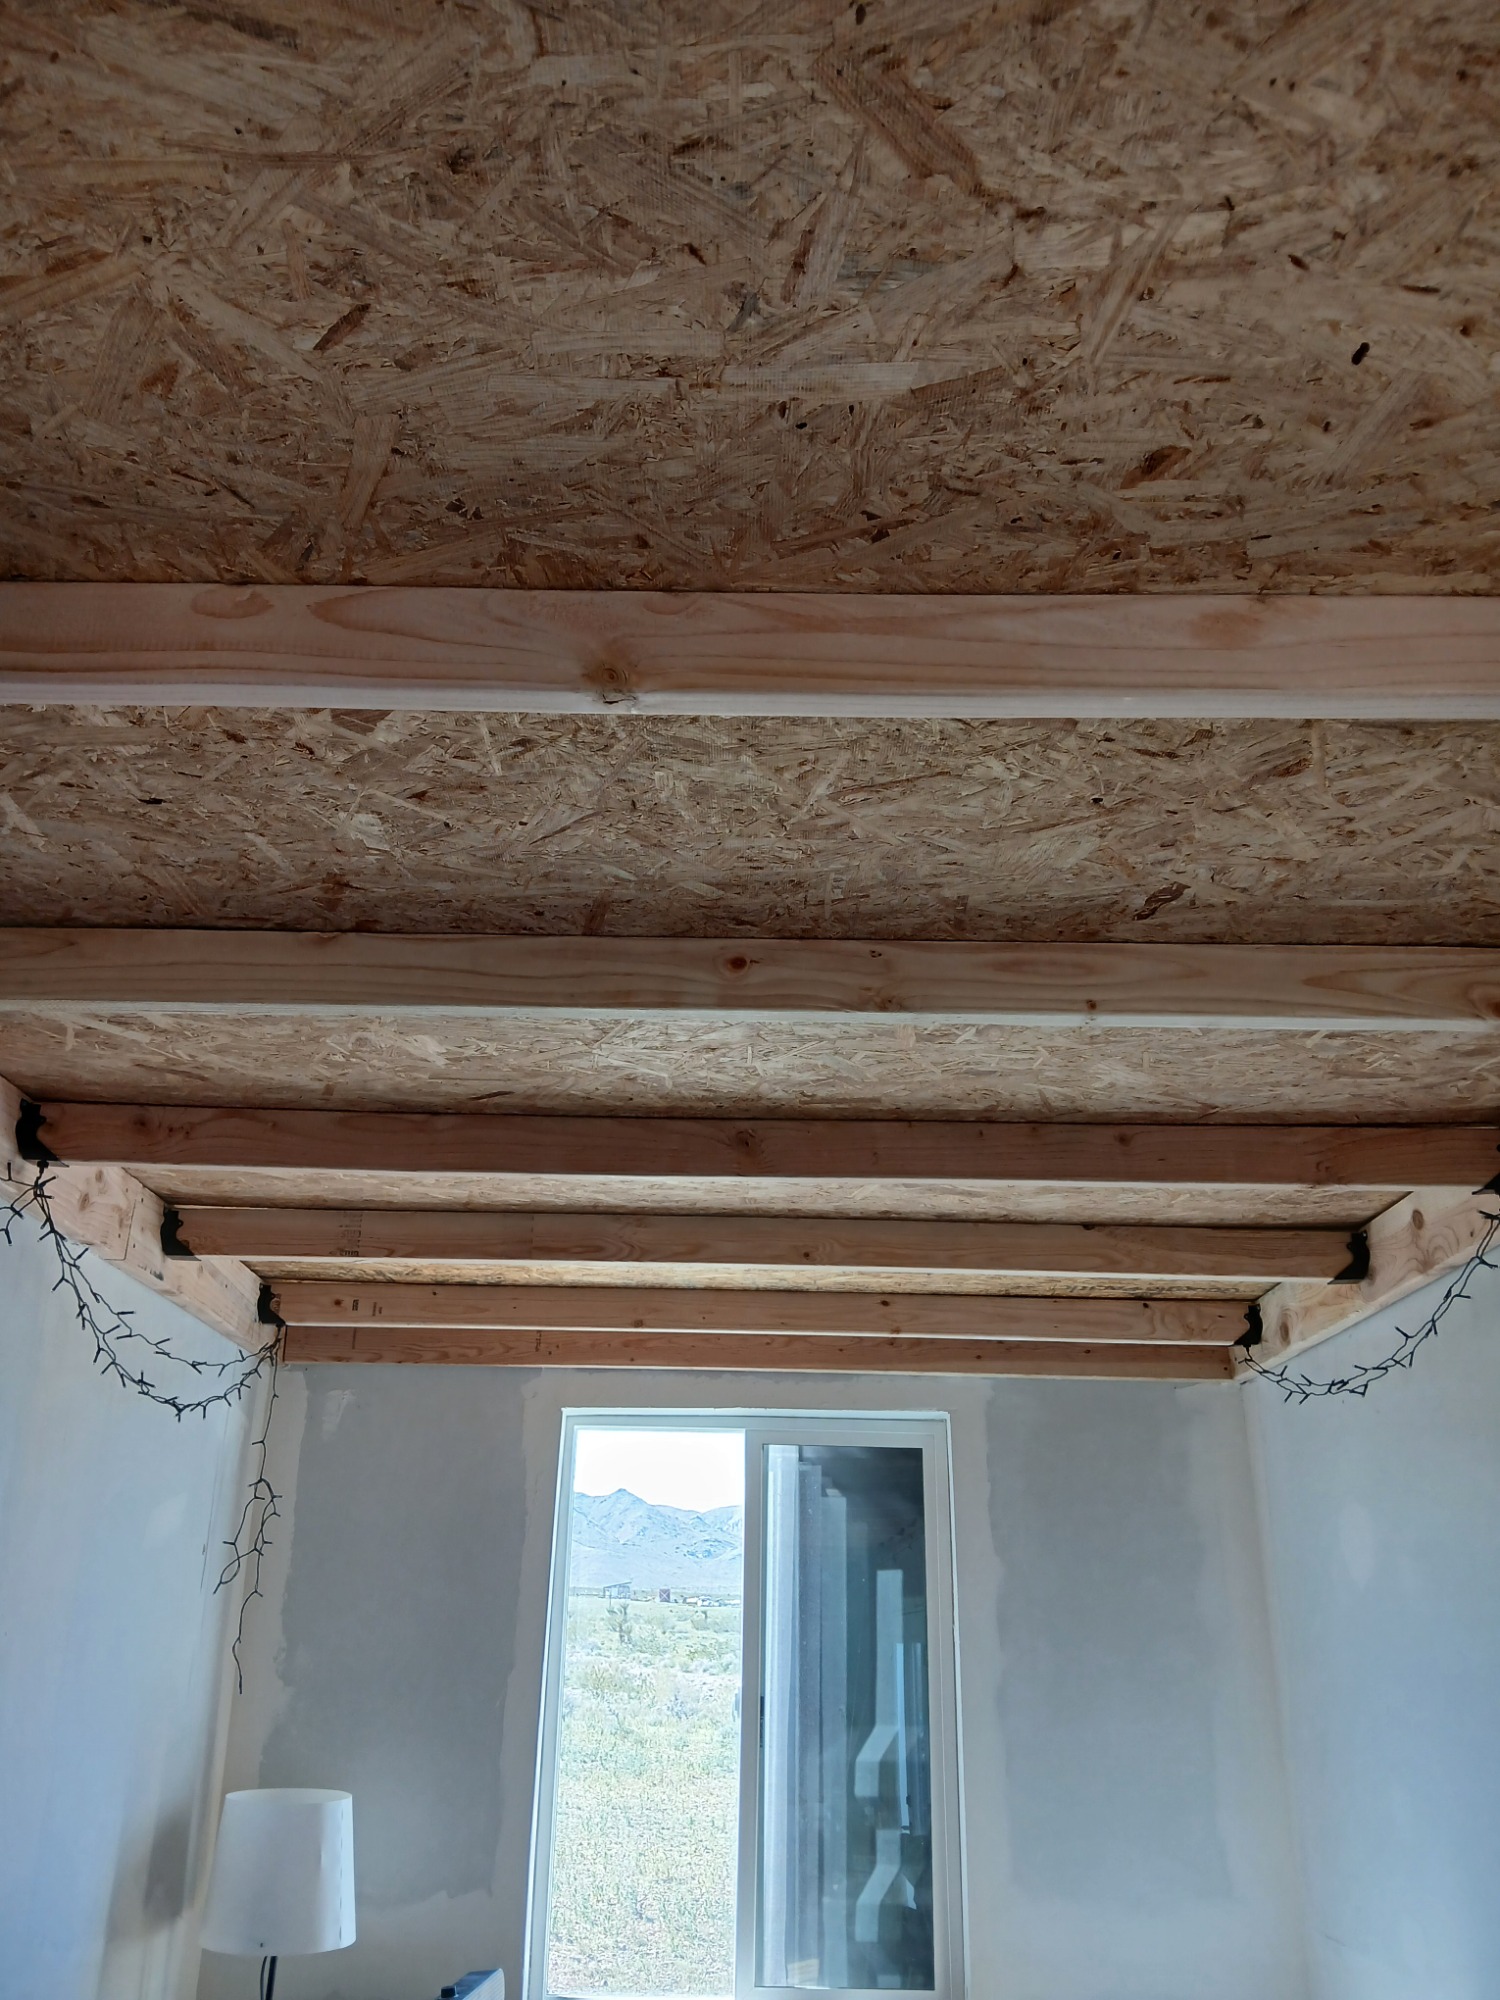
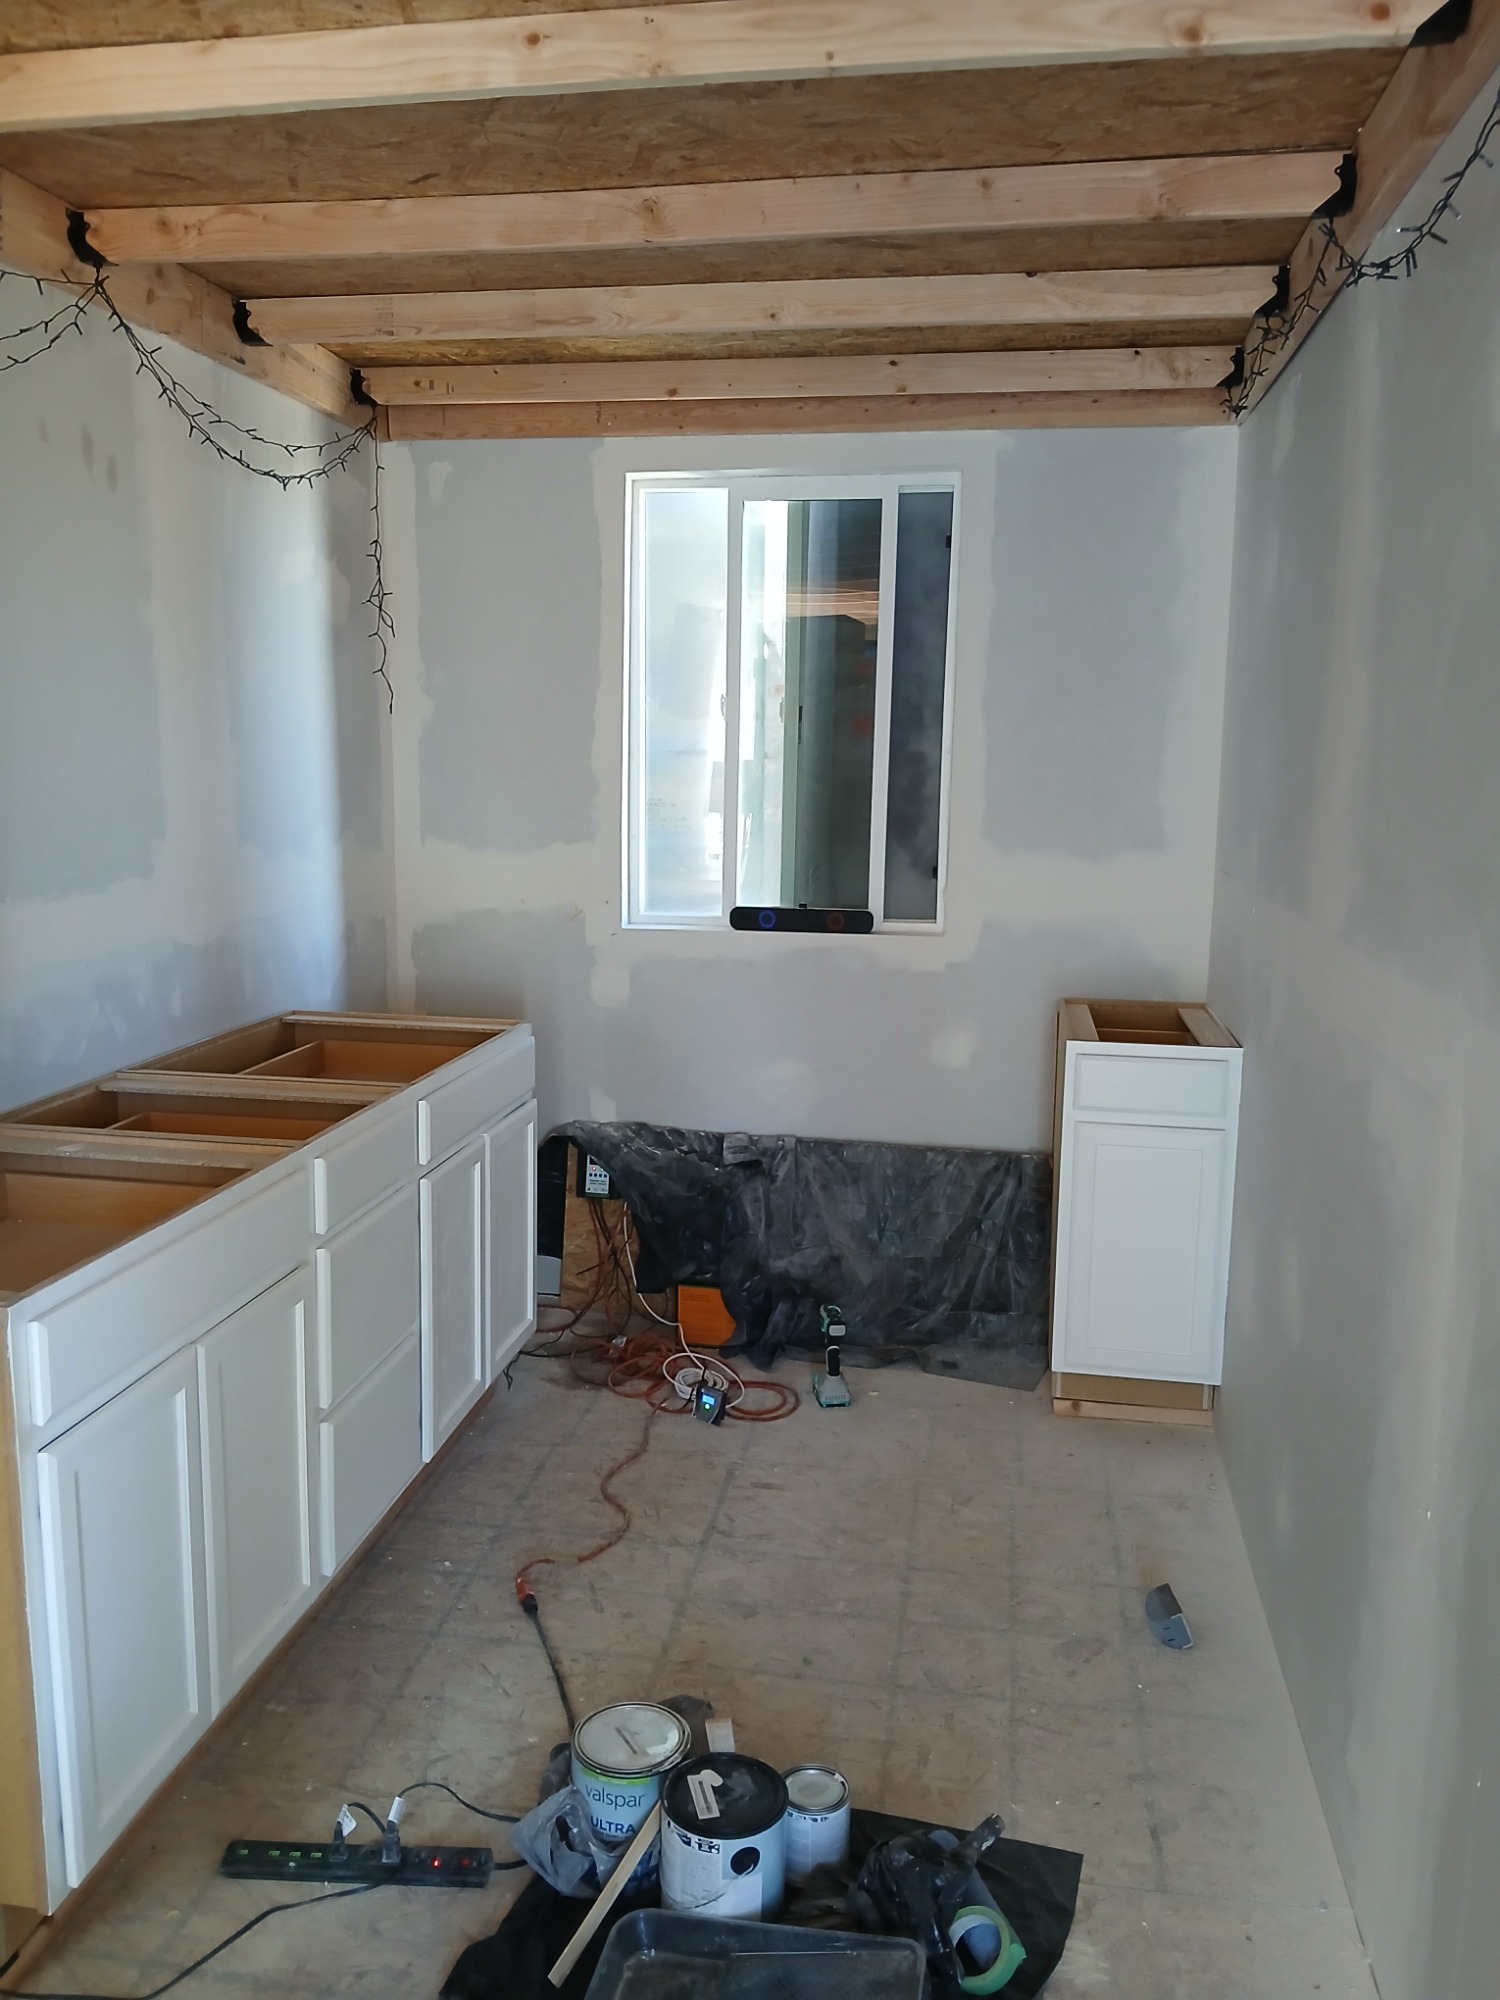
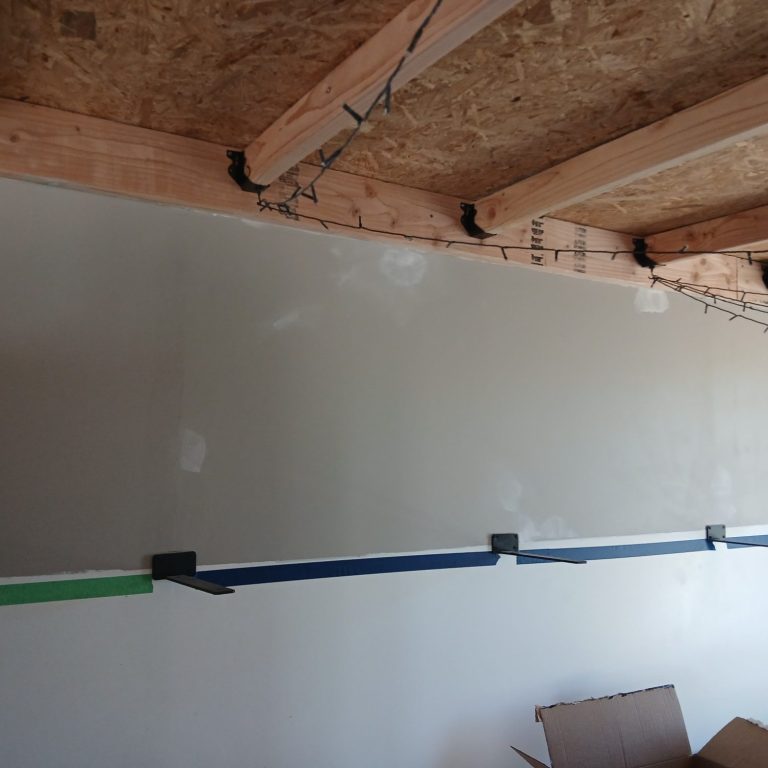
Midwest Style
Considering I'm from the Midwest I've always been drawn to the old warehouse loft style of exposed beams, brick walls and wood floors, so with the lifted living area, I wanted to recreate that in the space. For the ceiling, I had to cut the OSB in half so it would be easier to lift then I did the "beams."
I would love to put in a fireplace but it's not in the budget but I'll find a creative way to make it happen. During this process I repurchased the solar panels (thankfully, I had insurance) and now I easily work through the night.


Click on images for more details.
OCT
2025
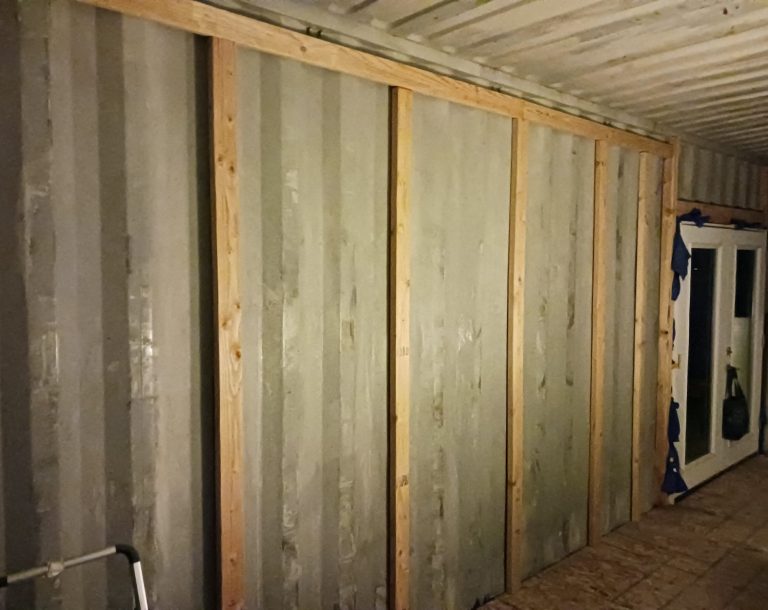
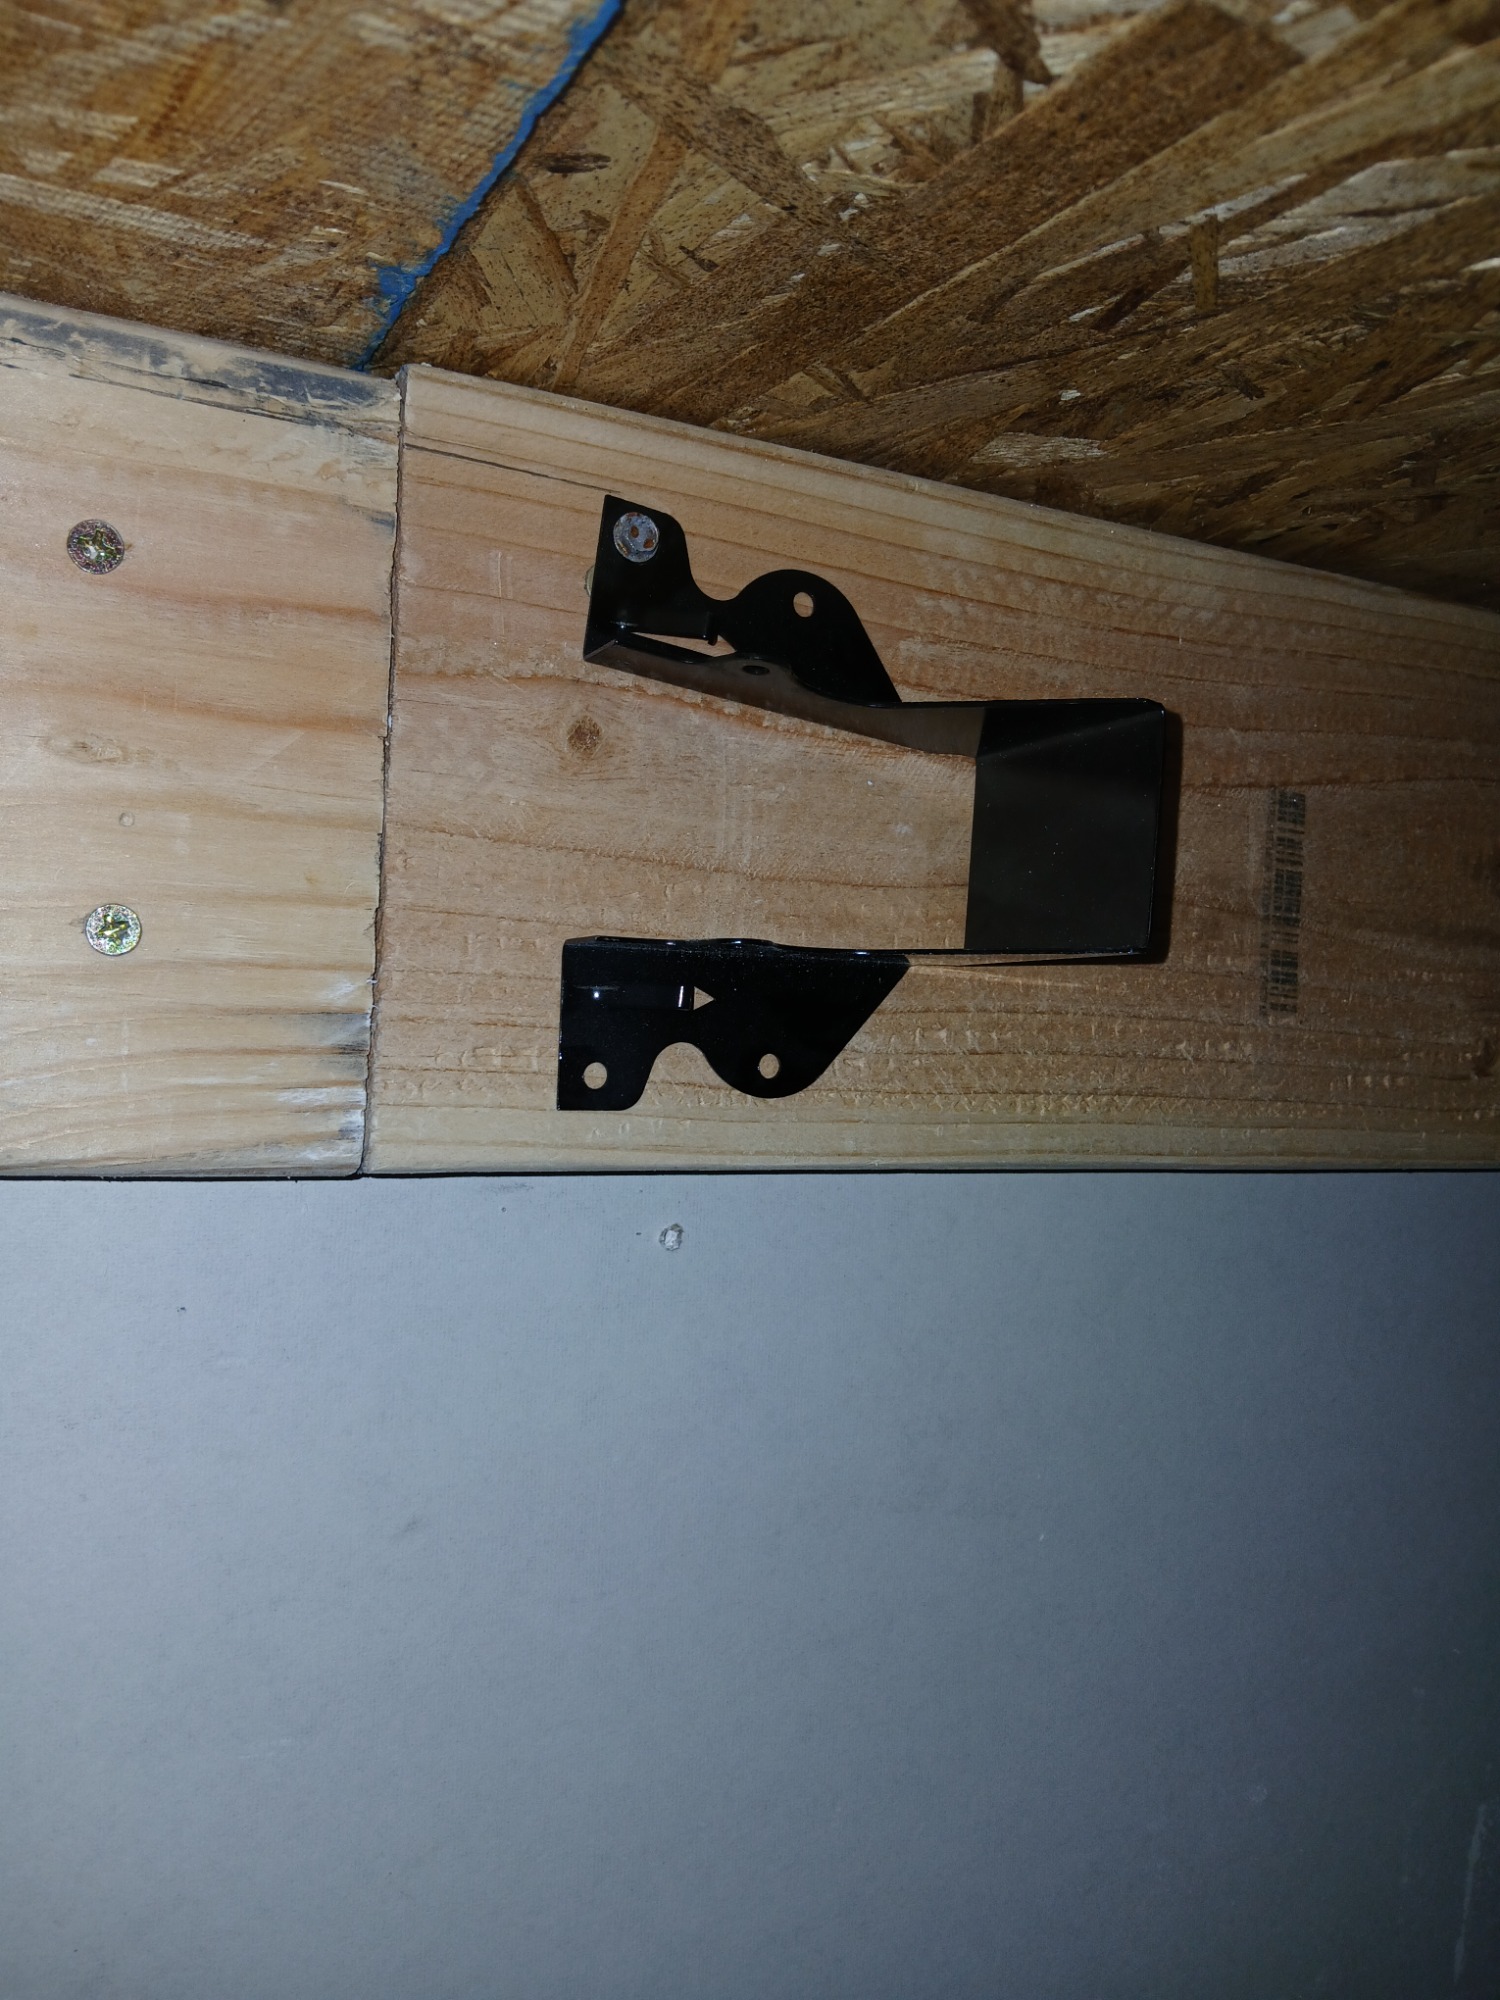
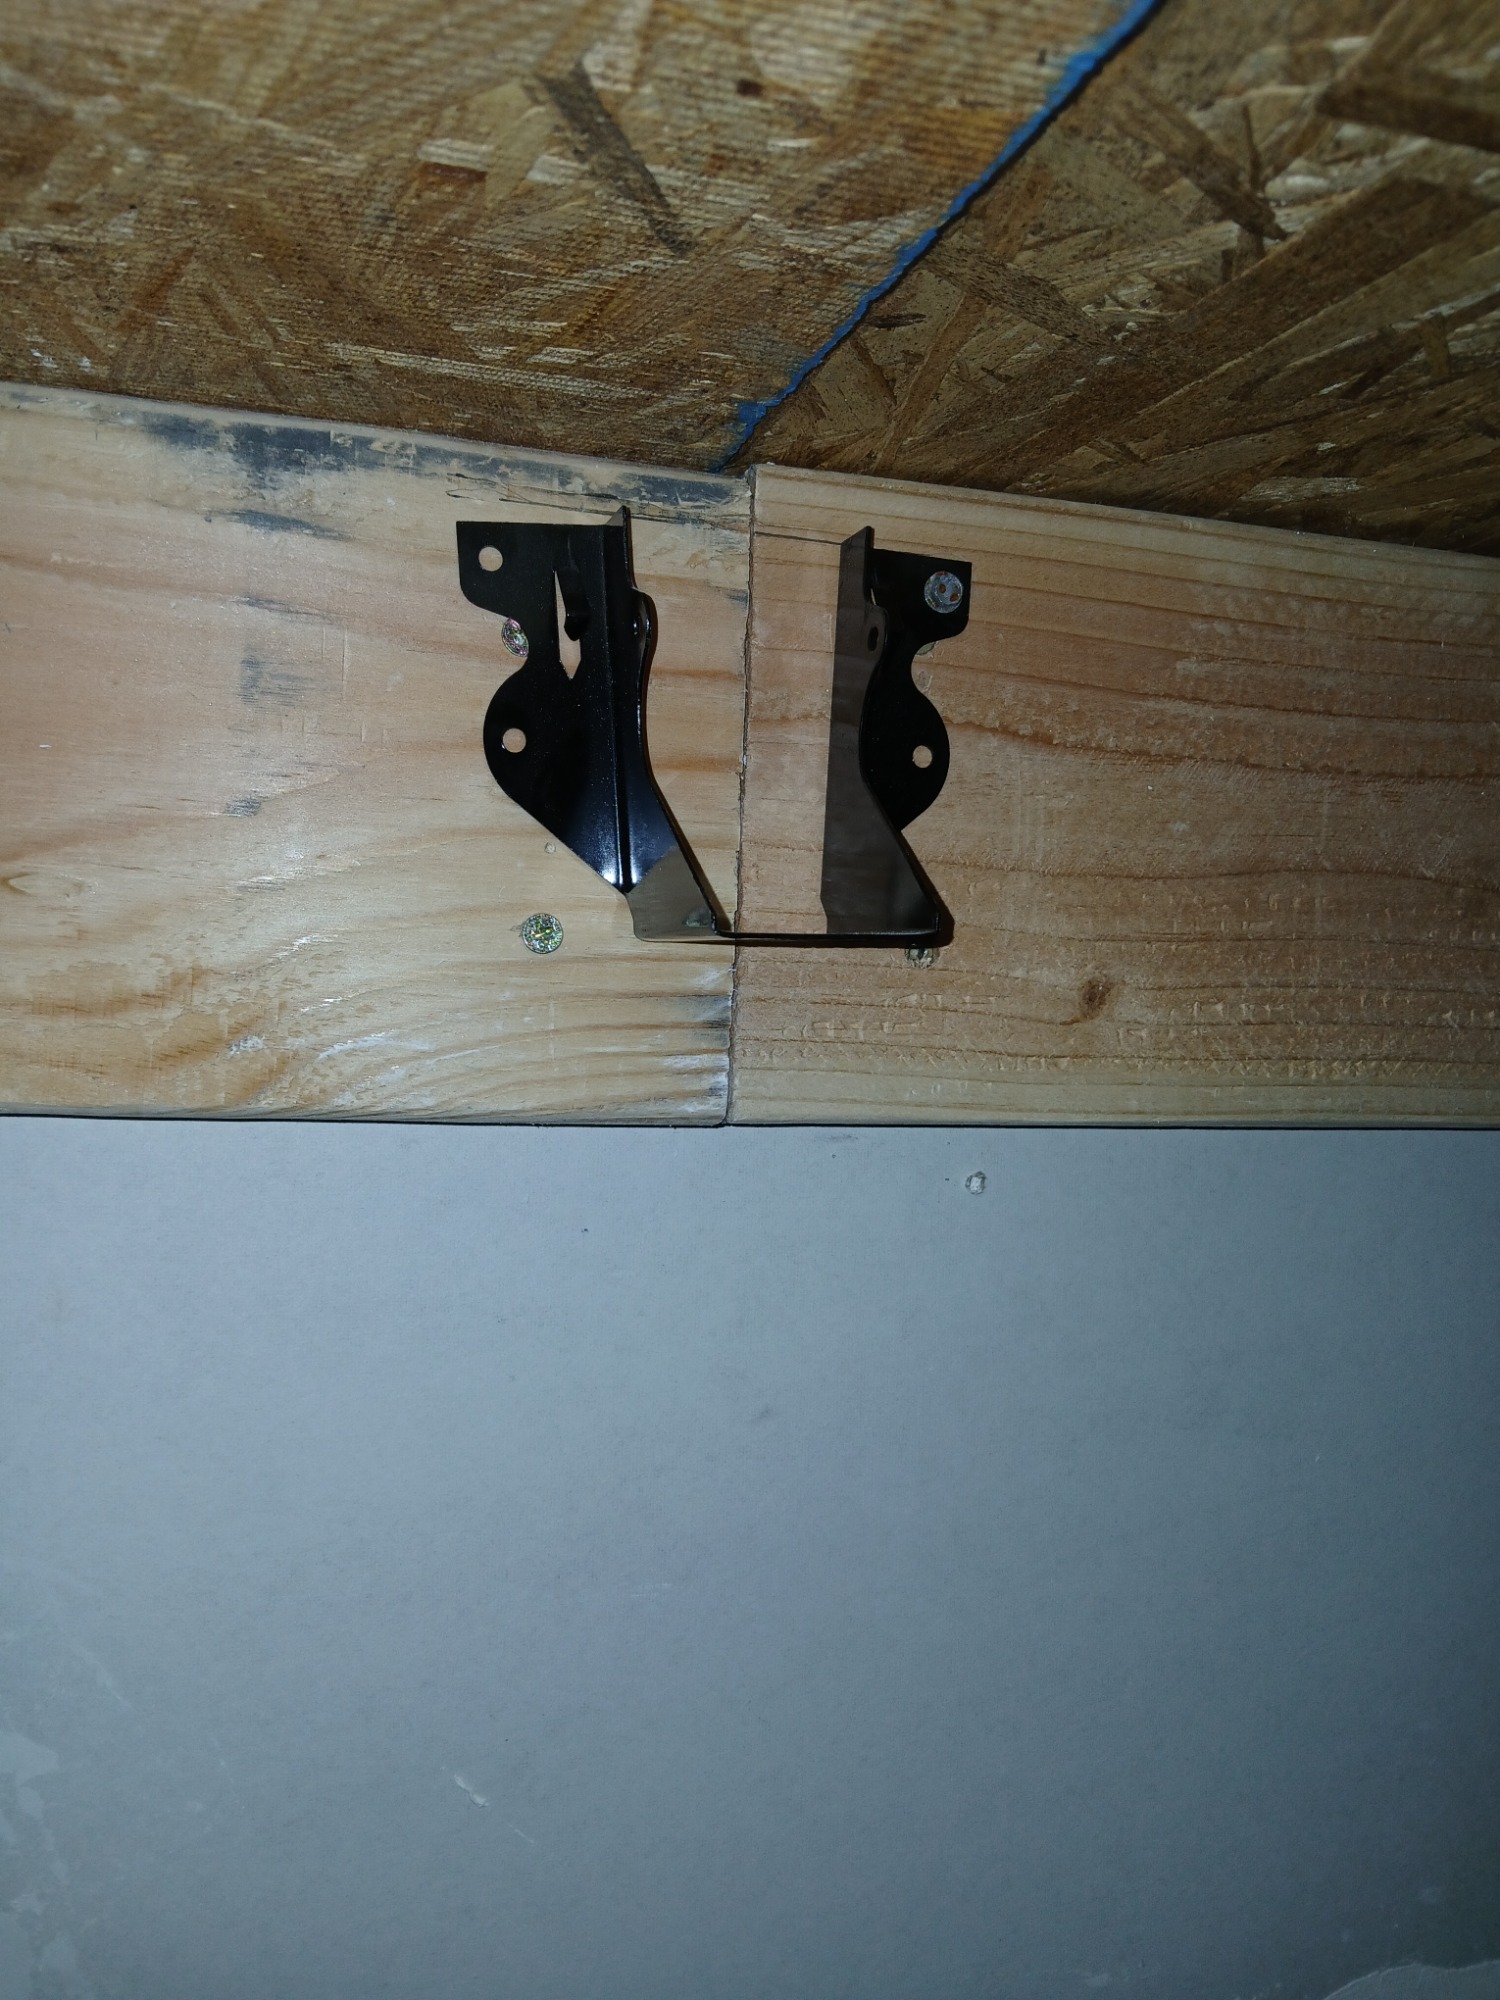
DOUBLE DOOR HELP
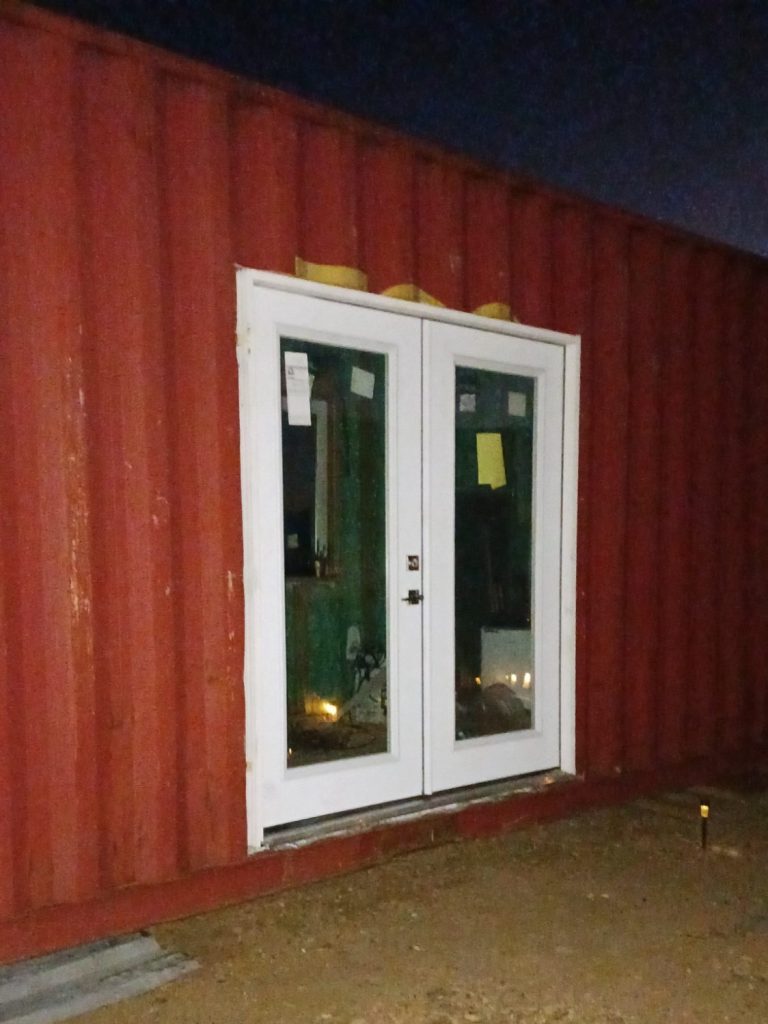
A good friend came out and helped finish the ceiling and install the door. Honestly, he did most of the work on the door. I was an assistant for the day. Finally, a break ...kinda.
-I bought the double door from Lowes for a discount because there were issues with the door but nothing serious.
-Angle grinder to cut the container
-Wood shims
-(2) 2 x 6 x 10 lumber
-(3) 2 x 6 x 92-1/4 in lumber
-Circular Saw and protective eyewear
-Window and door spray foam insulation screws.
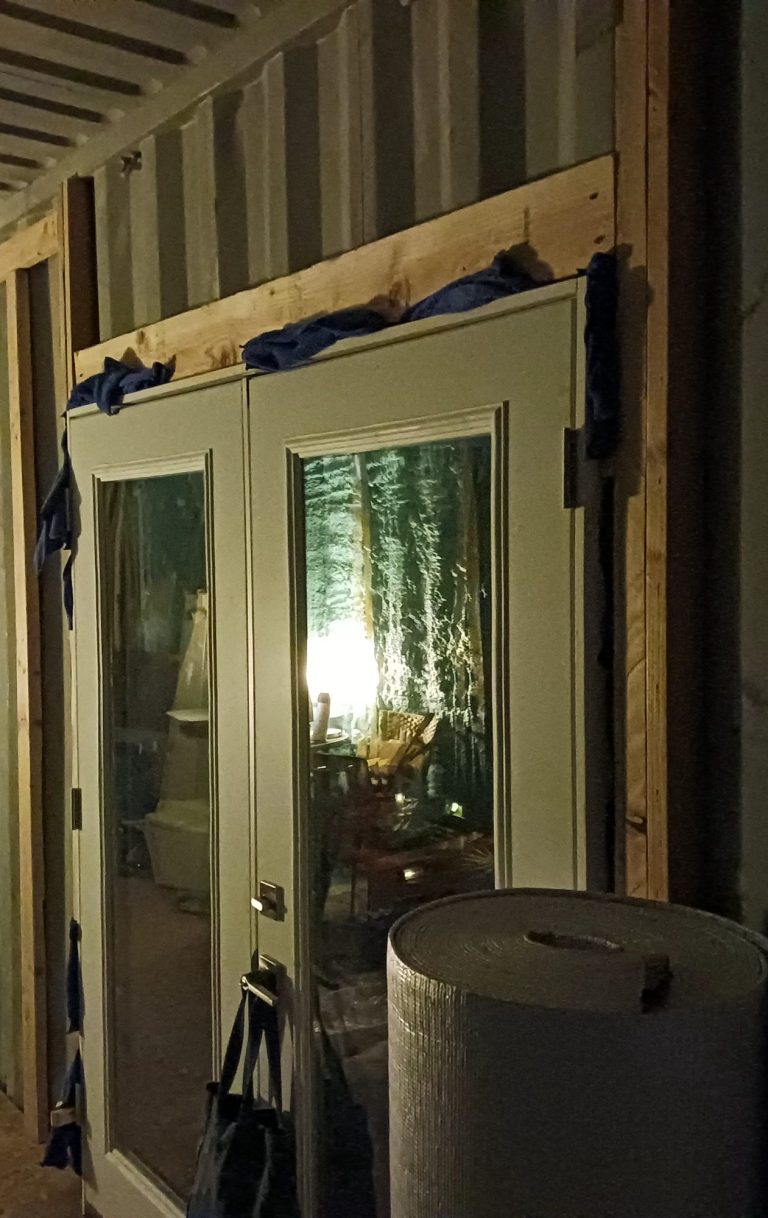
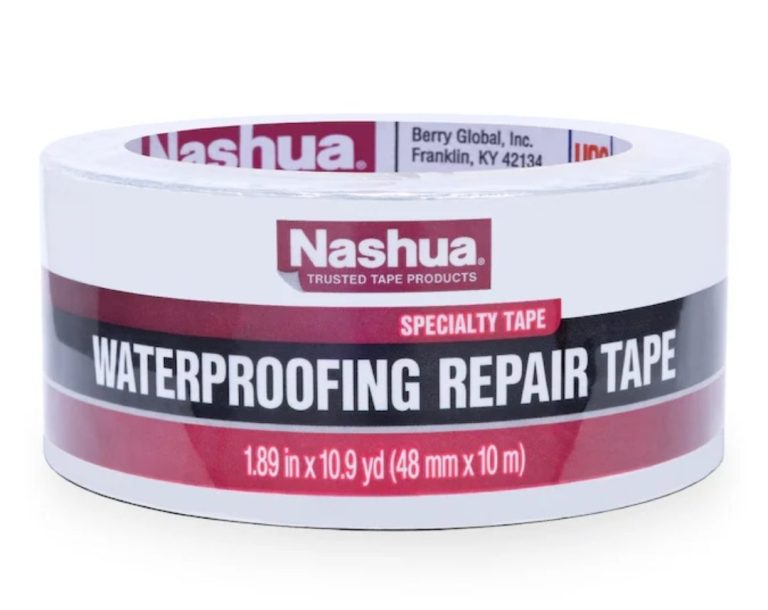
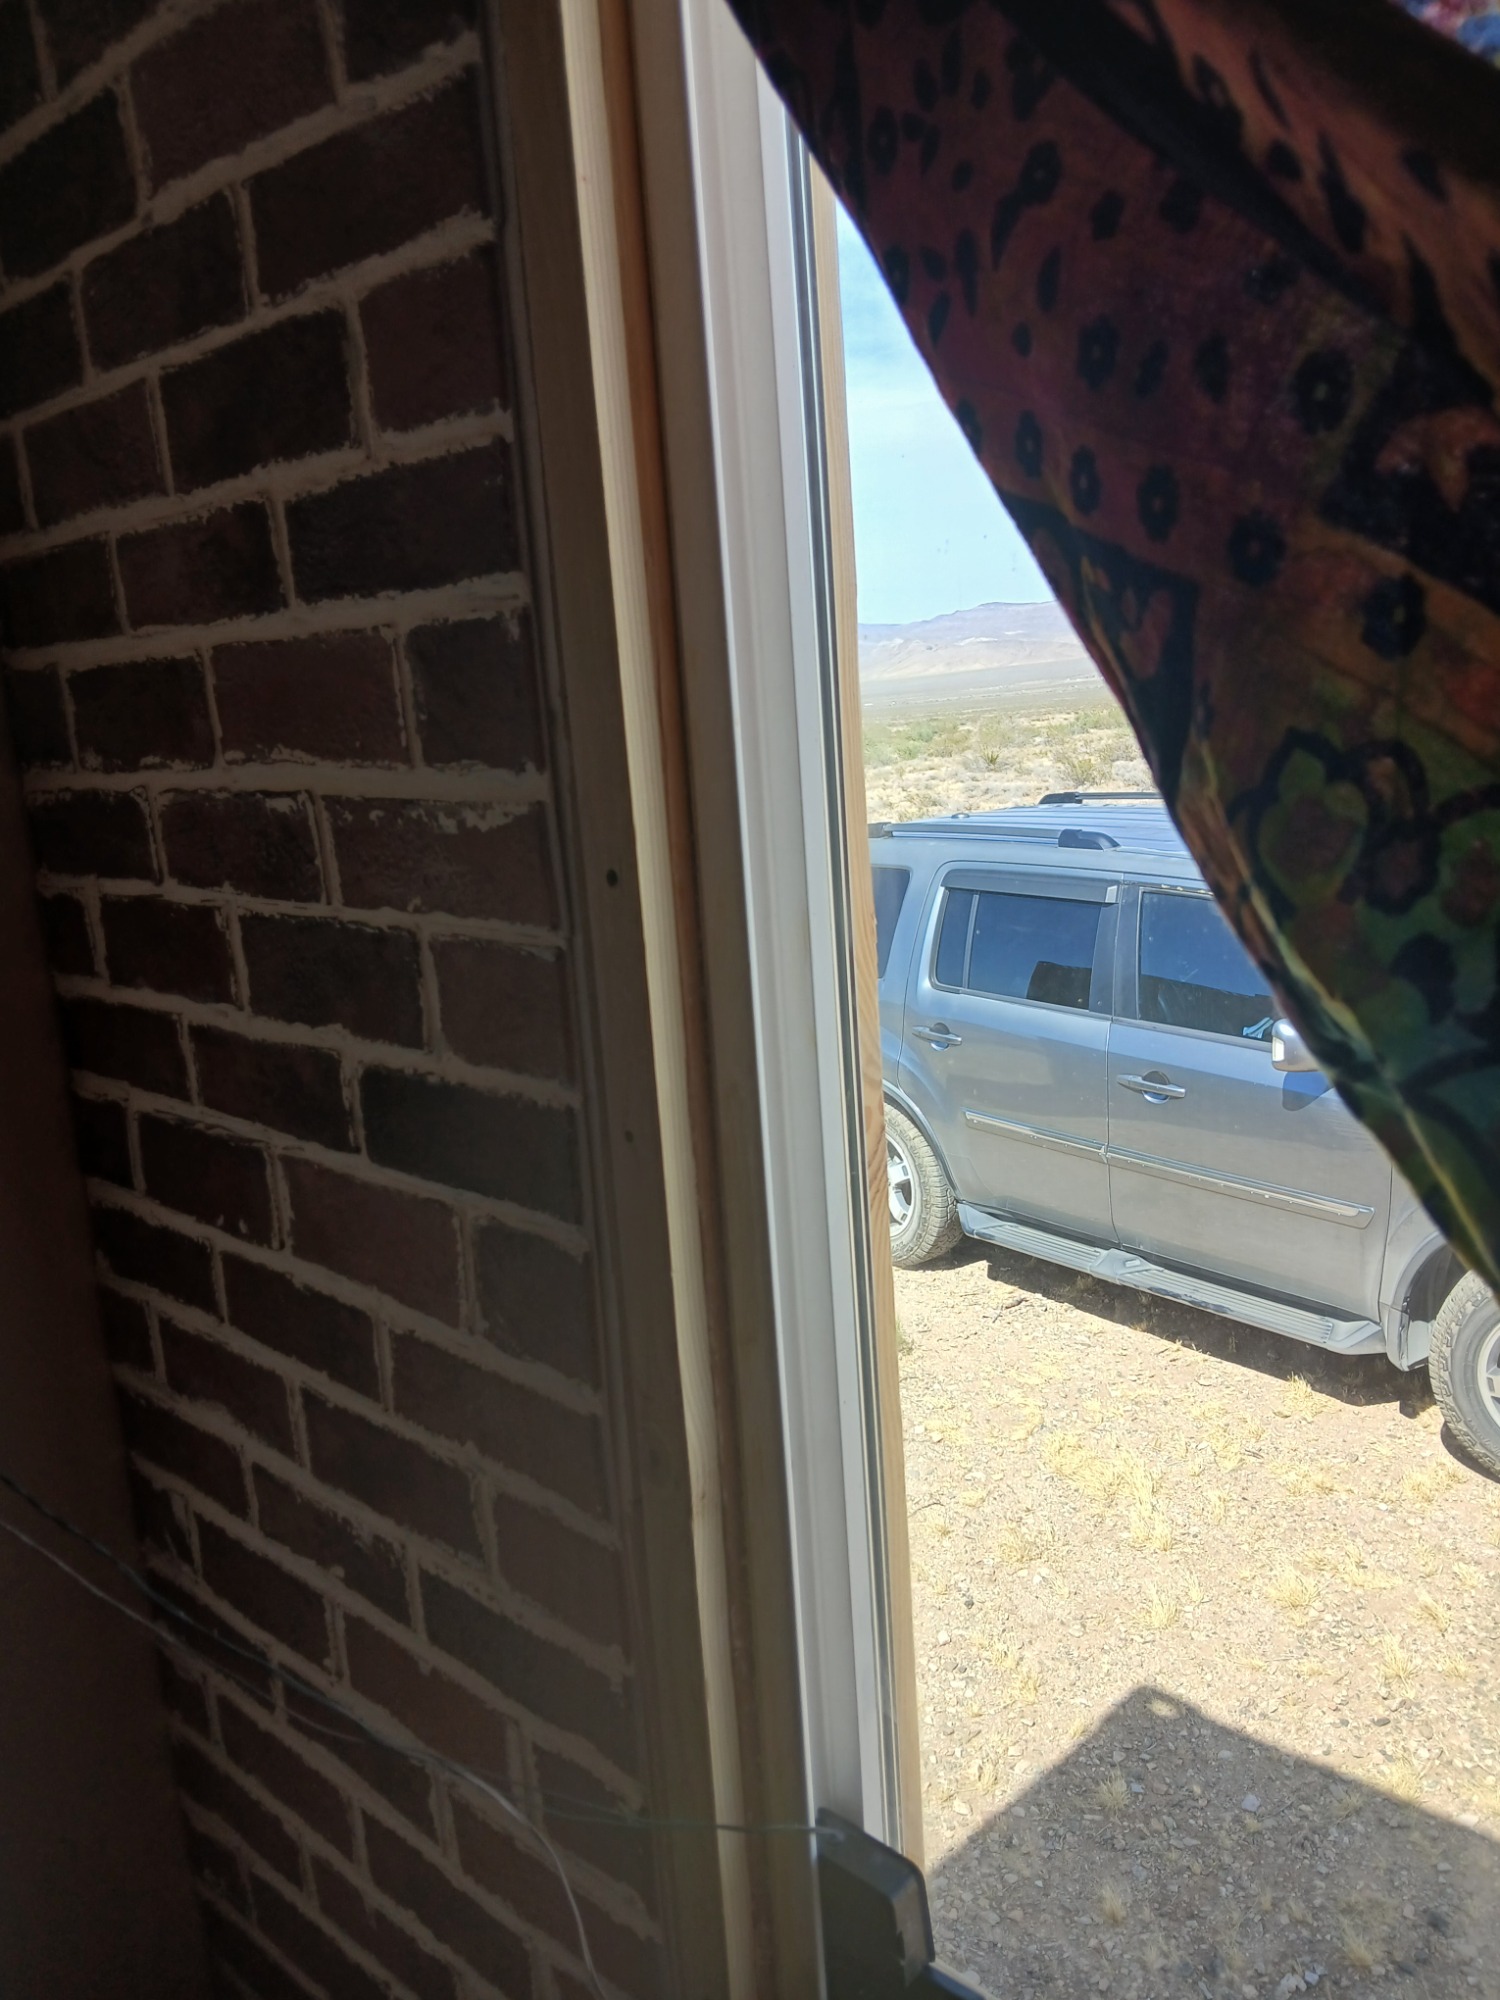
Found out later, waterproofing repair tape and door silicone caulk was needed to seal the exterior edges of the door. This is not a traditional house so non-traditional things will be needed. This tape is sometimes labeled as HVAC tape. And if you're wondering, yes the blue microfiber towels was an attempt to keep the (Arizona?) rain out.
NOV
2025
The Loft Look
click on images for more details.
When I drive out to work on my container home, I wanted to have a space to relax besides my car so I wanted to finish at least one end of the container. A milestone achieved. I'll come back to the baseboards later. For now, I like to section this area off while I work on the rest of the container.


NOV
2025
Lets finish the other wall
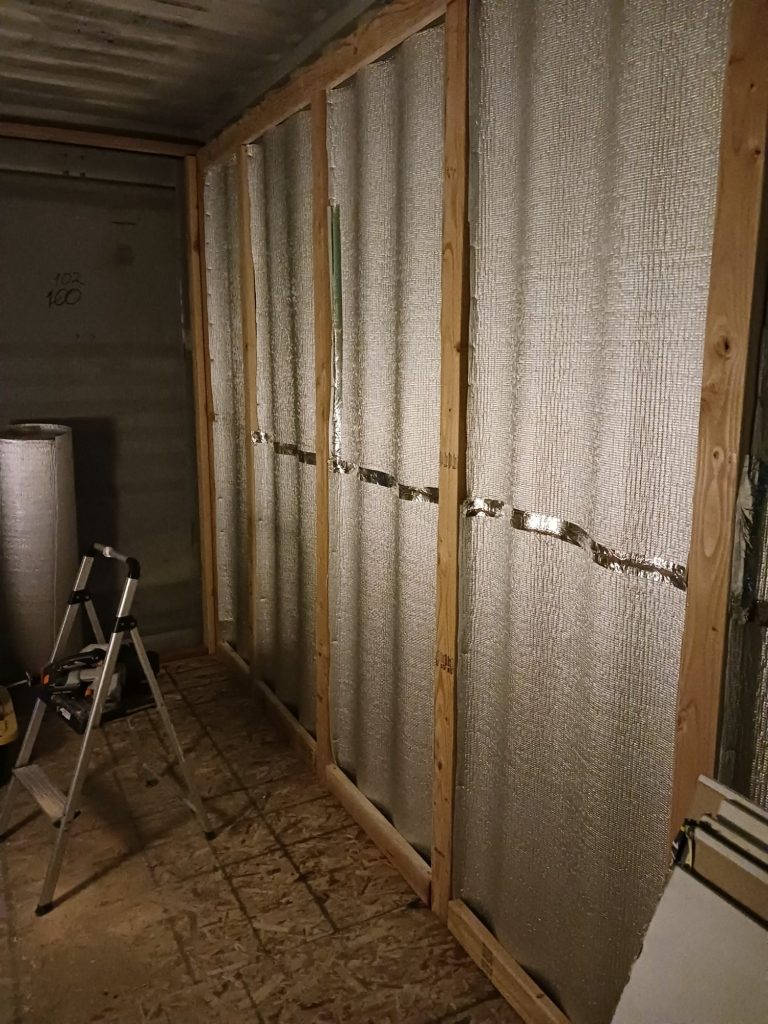
I decided to save some money and insulate this side differently and used Reflective Insulation Roll (RIR) instead of the spray foam. I used spray foam insulation to fill in any spaces the RIR insulation did not cover and the rest of the waterproofing tape to connect the insulation cuts. When purchased, the marketing was a little misleading, so the R-value is not as good as the spray foam. However, this side of the container rarely gets hit with direct sunlight so I'm not too concerned plus this is a small space. Heating and cooling the container has been pretty efficient.
2 x 4 Studs with industrial strength adhesive and screws. More 2 x 4s were added to the base of the wall and above the door after this picture was taken .
Reflective Insulation Roll, box cutter and staple gun
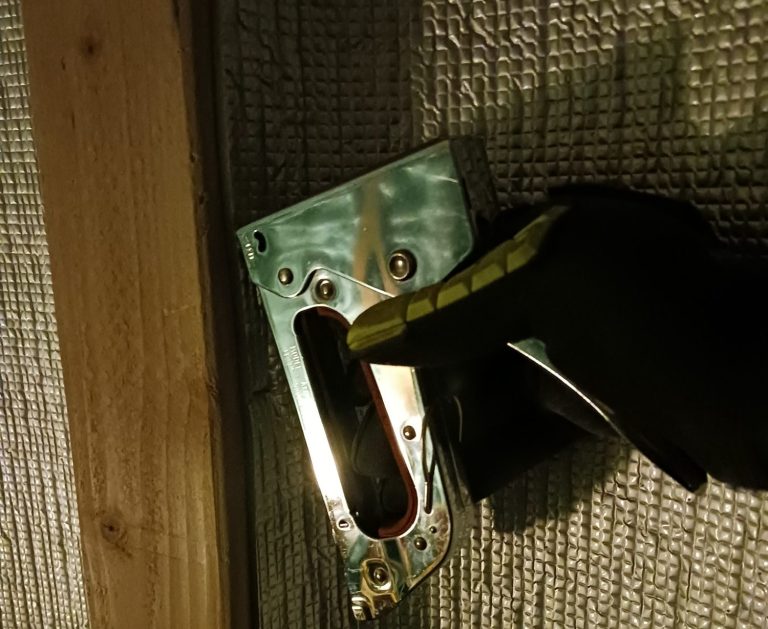
I stapled the insulation to the studs.
NOV
2025
Time to close those double doors...


I decided to close off the double doors with wall with a window. Another tricky job because the wall I built is over 9 feet high so when it was time to lift, I needed someone to hold the other end. I struggled. Anyway, I made it happen but I think my neighbors from far away, saw me struggle so stopped by the next day offering assistance if needed. The offer was greatly appreciated.
Also, I realized I missed a step when framing the window. I forgot to use cripple studs for the window. However, I discovered the cripple stud process is for *load bearing walls which this is not so this step is normally omitted. That was a close one.
Something else I had to remember. When framing corners make sure its framed so the drywall can be screwed into the stud with no issues. The drywall should make contact with the studs and screwed in on each end.
This process took a couple visits and my dad was in town for one of them. He wanted to see my progress so he came along for the drive and helped install the window. The double container doors are officially closed and I don't think my dog liked this very much but she'll get used to it.
*load bearing wall- a critical structural element in construction that supports the vertical weight of a building—such as the roof, floors, or ceiling—and transfers this load down to the foundation.
"Dont watch the clock, do what it does. Keep going."
-Sam Levenson
JAN
2026
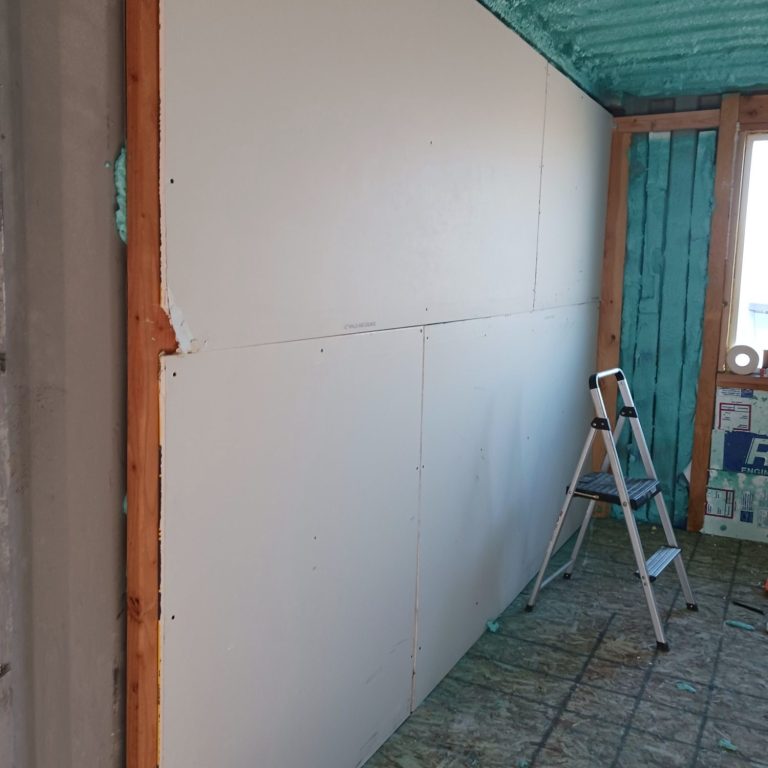
Finishing the drywall and then some...
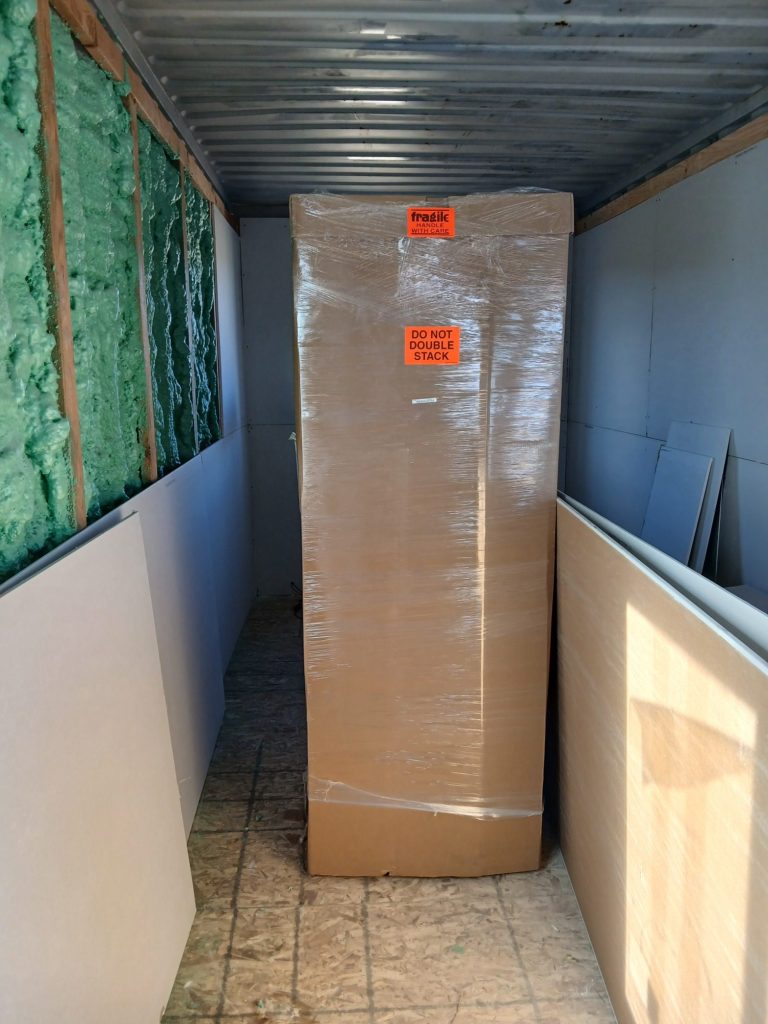
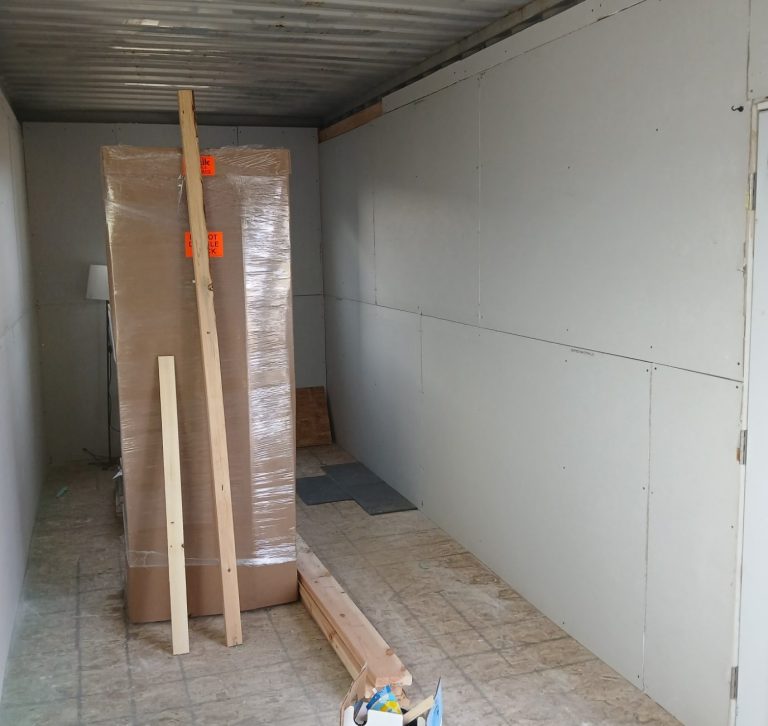
I had a few boards of drywall ready to install but I did not have enough to finish the other side, so back to Lowes I go. Around this time, I found a really good deal on a refrigerator that was energy efficient and would fit in the space well. However, considering where I'm located Lowes could not deliver so I had to rent a U-Haul trailer and a dolly, gather the rest of the OSB, drywall, insulation boards, lumber, etc., along with the refrigerator, from Lowes and ship it all myself. At this point in the project you can guess how everything is being done; Measure, cut, screw and this time, I didn't forget to stagger the drywall.
FEB
2026
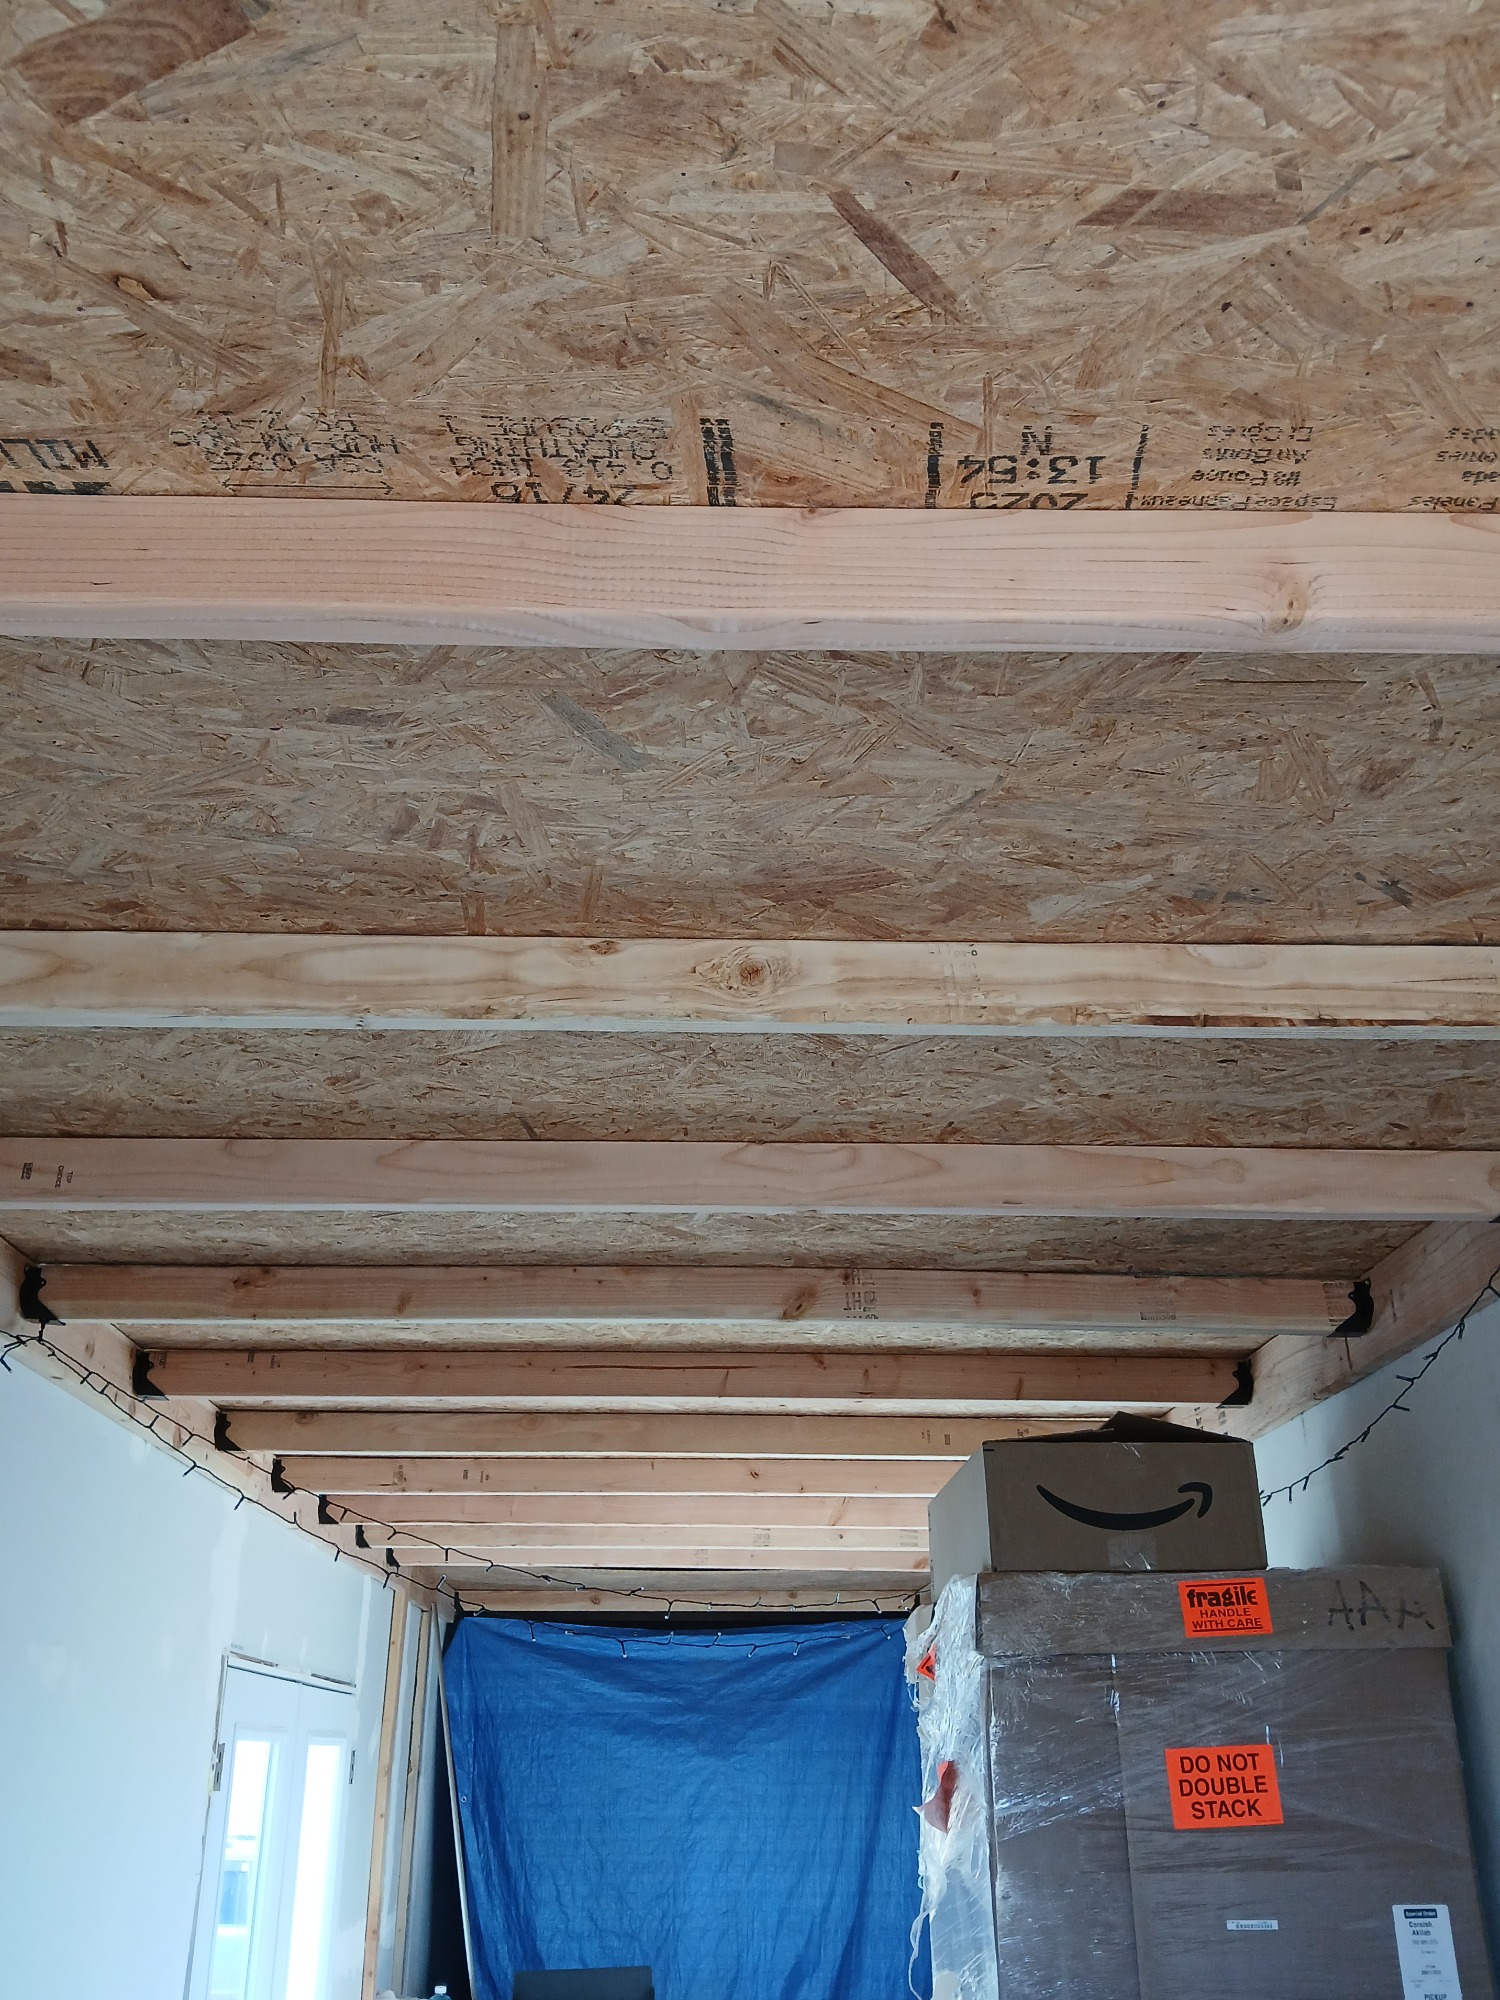
Time to work on the ceiling
Just like the lifted living space, I decided to do the same with the rest of the container and create the exposed beam look on the ceiling. I screwed in the 2 x 6 x 8 lumber with 3 inch screws and cut the lumber when needed.
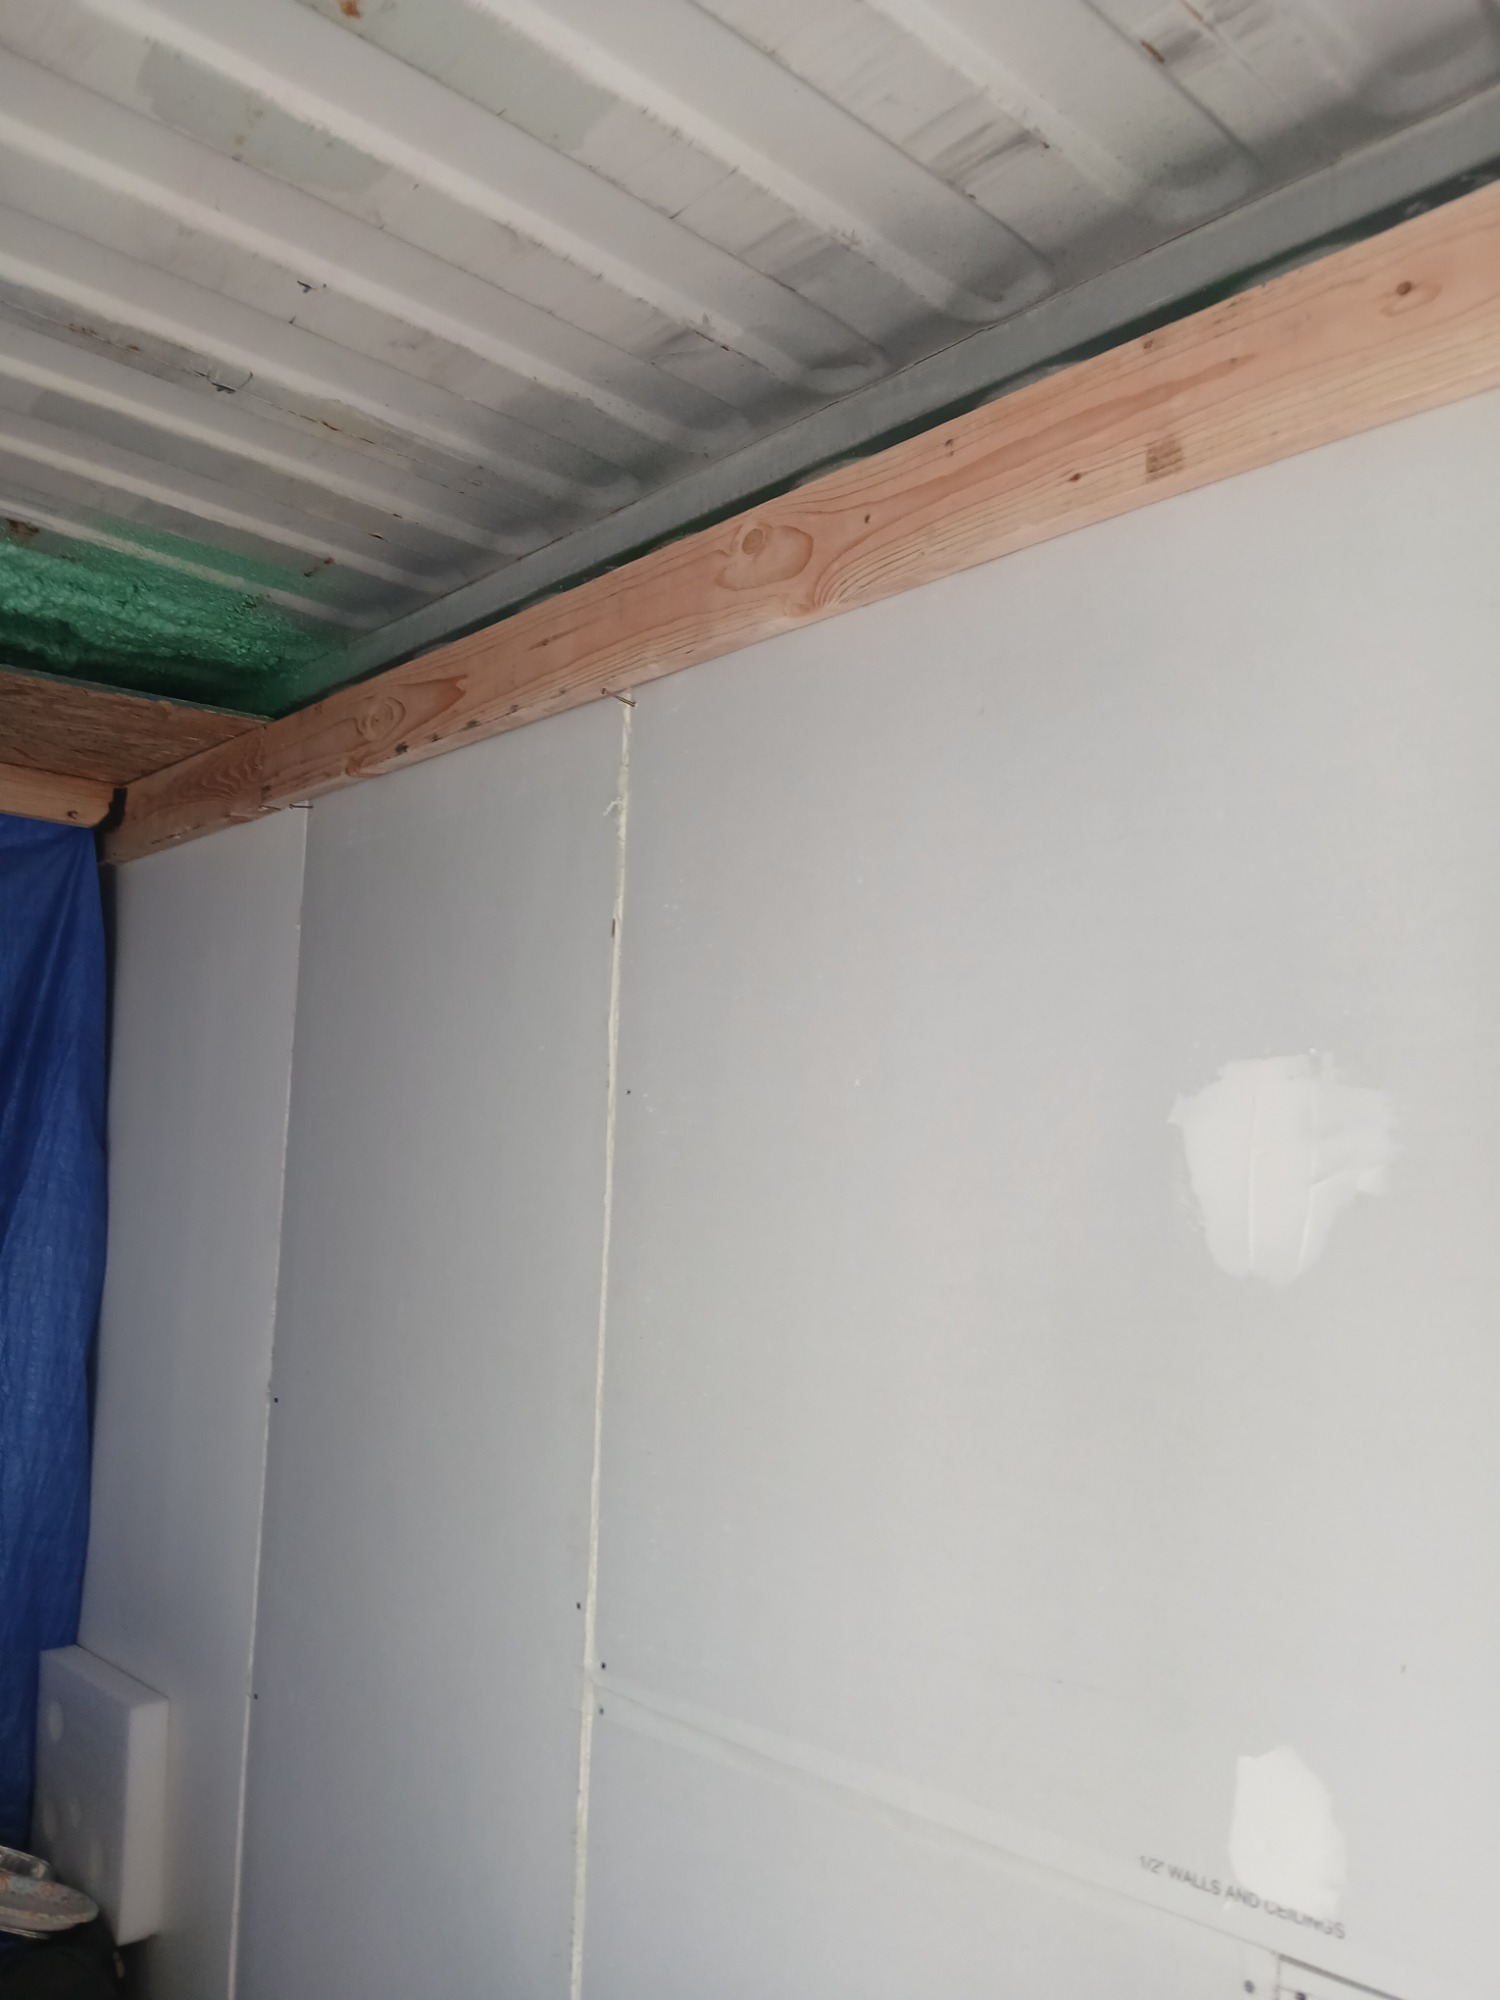
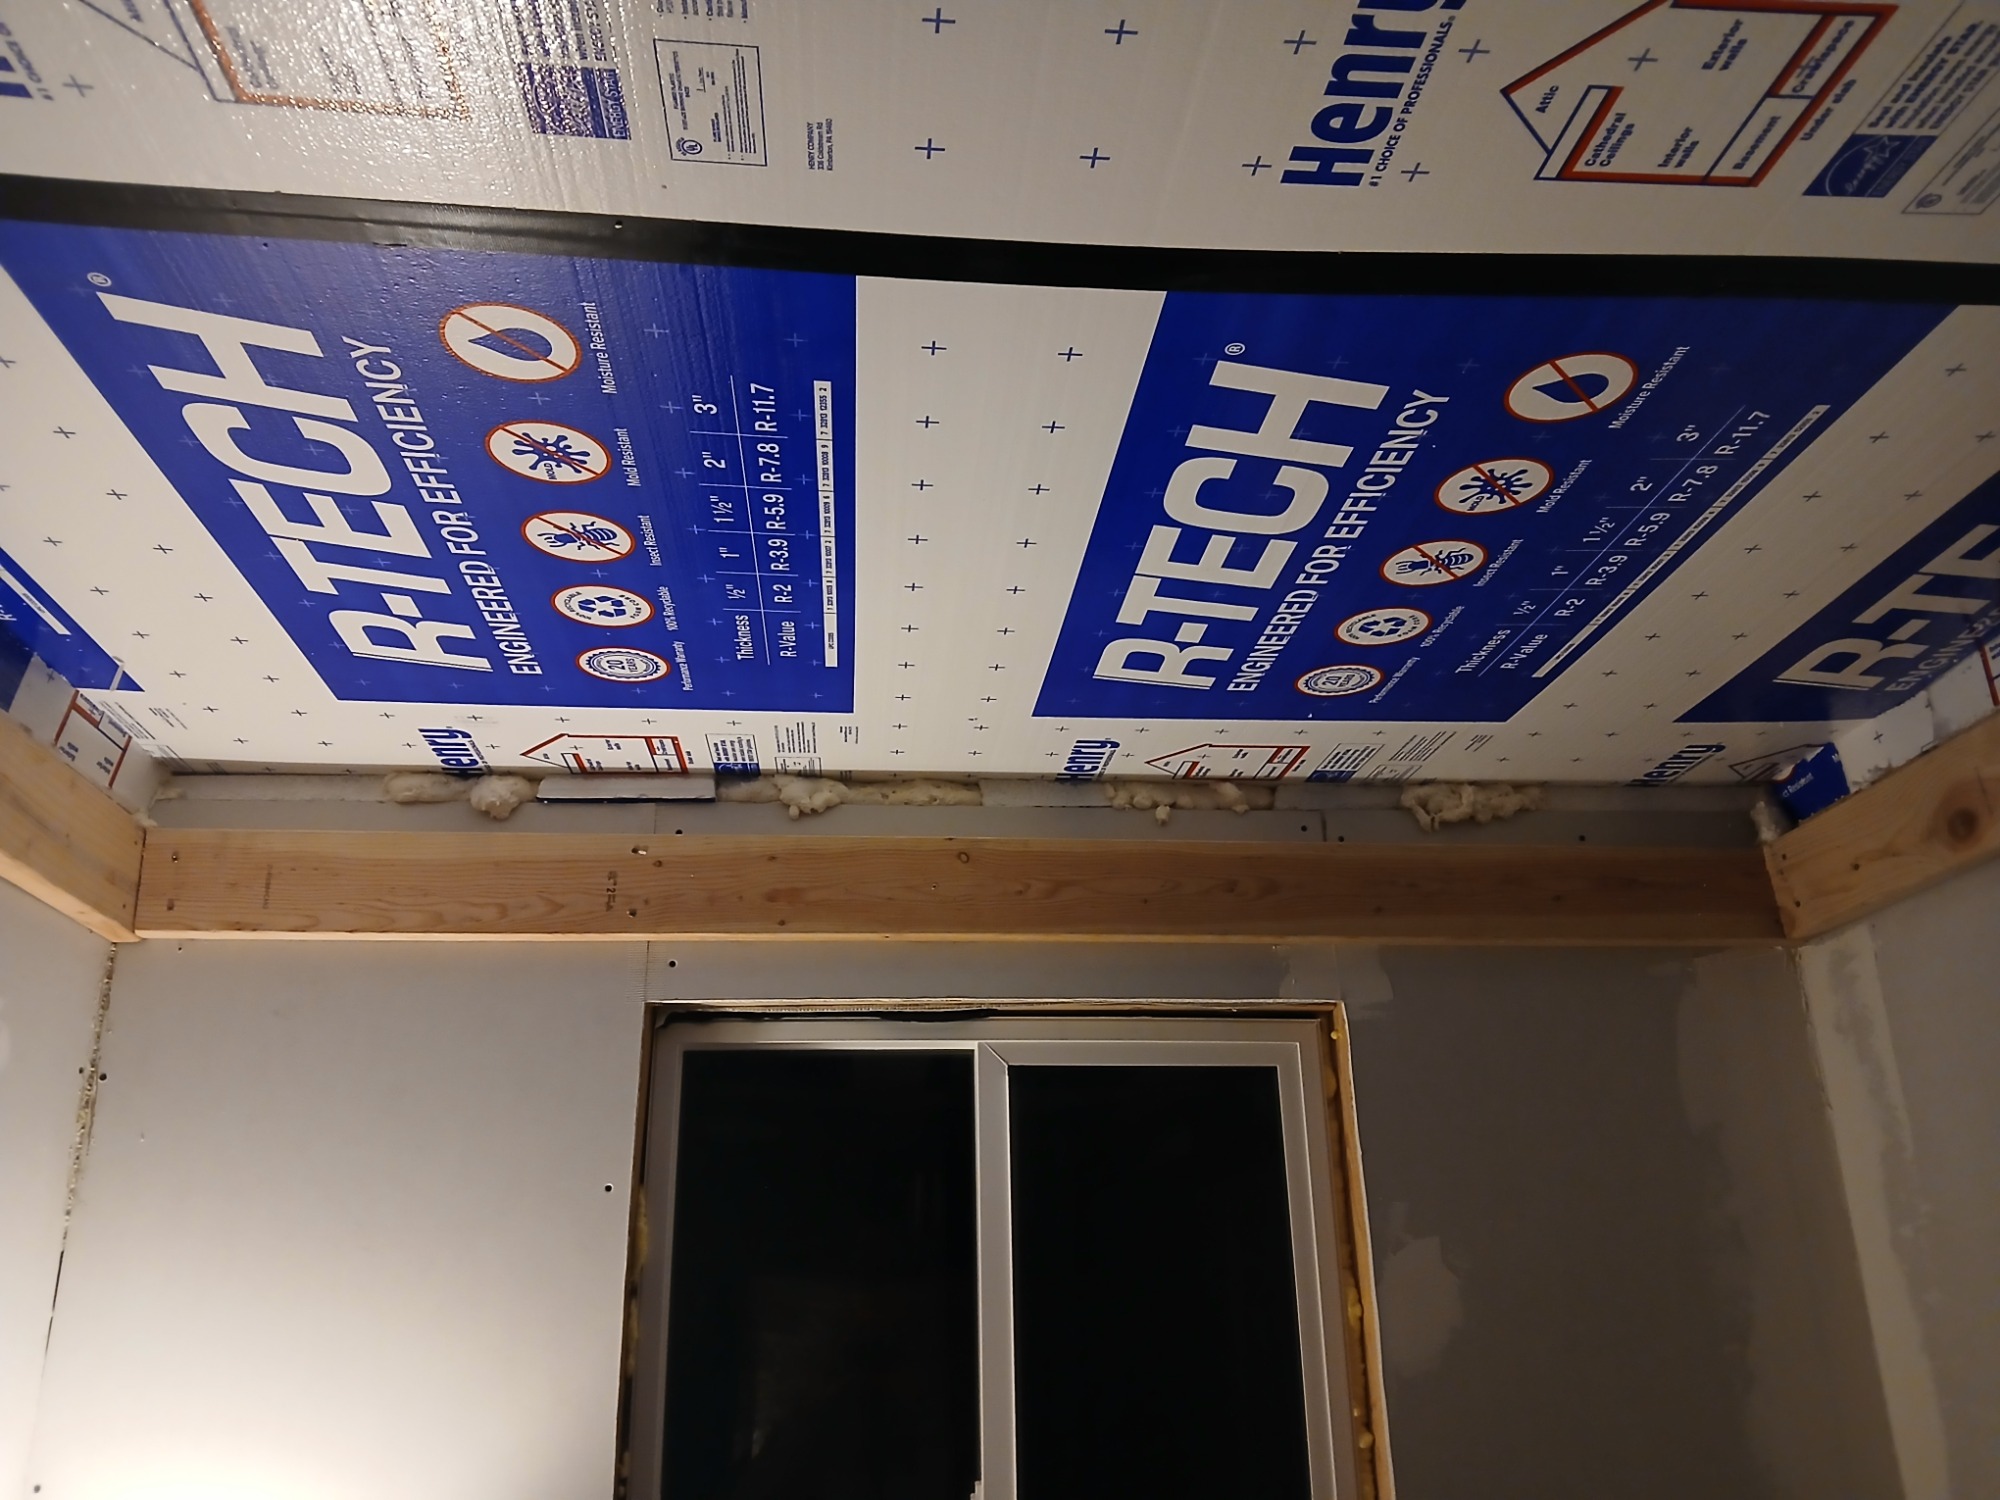

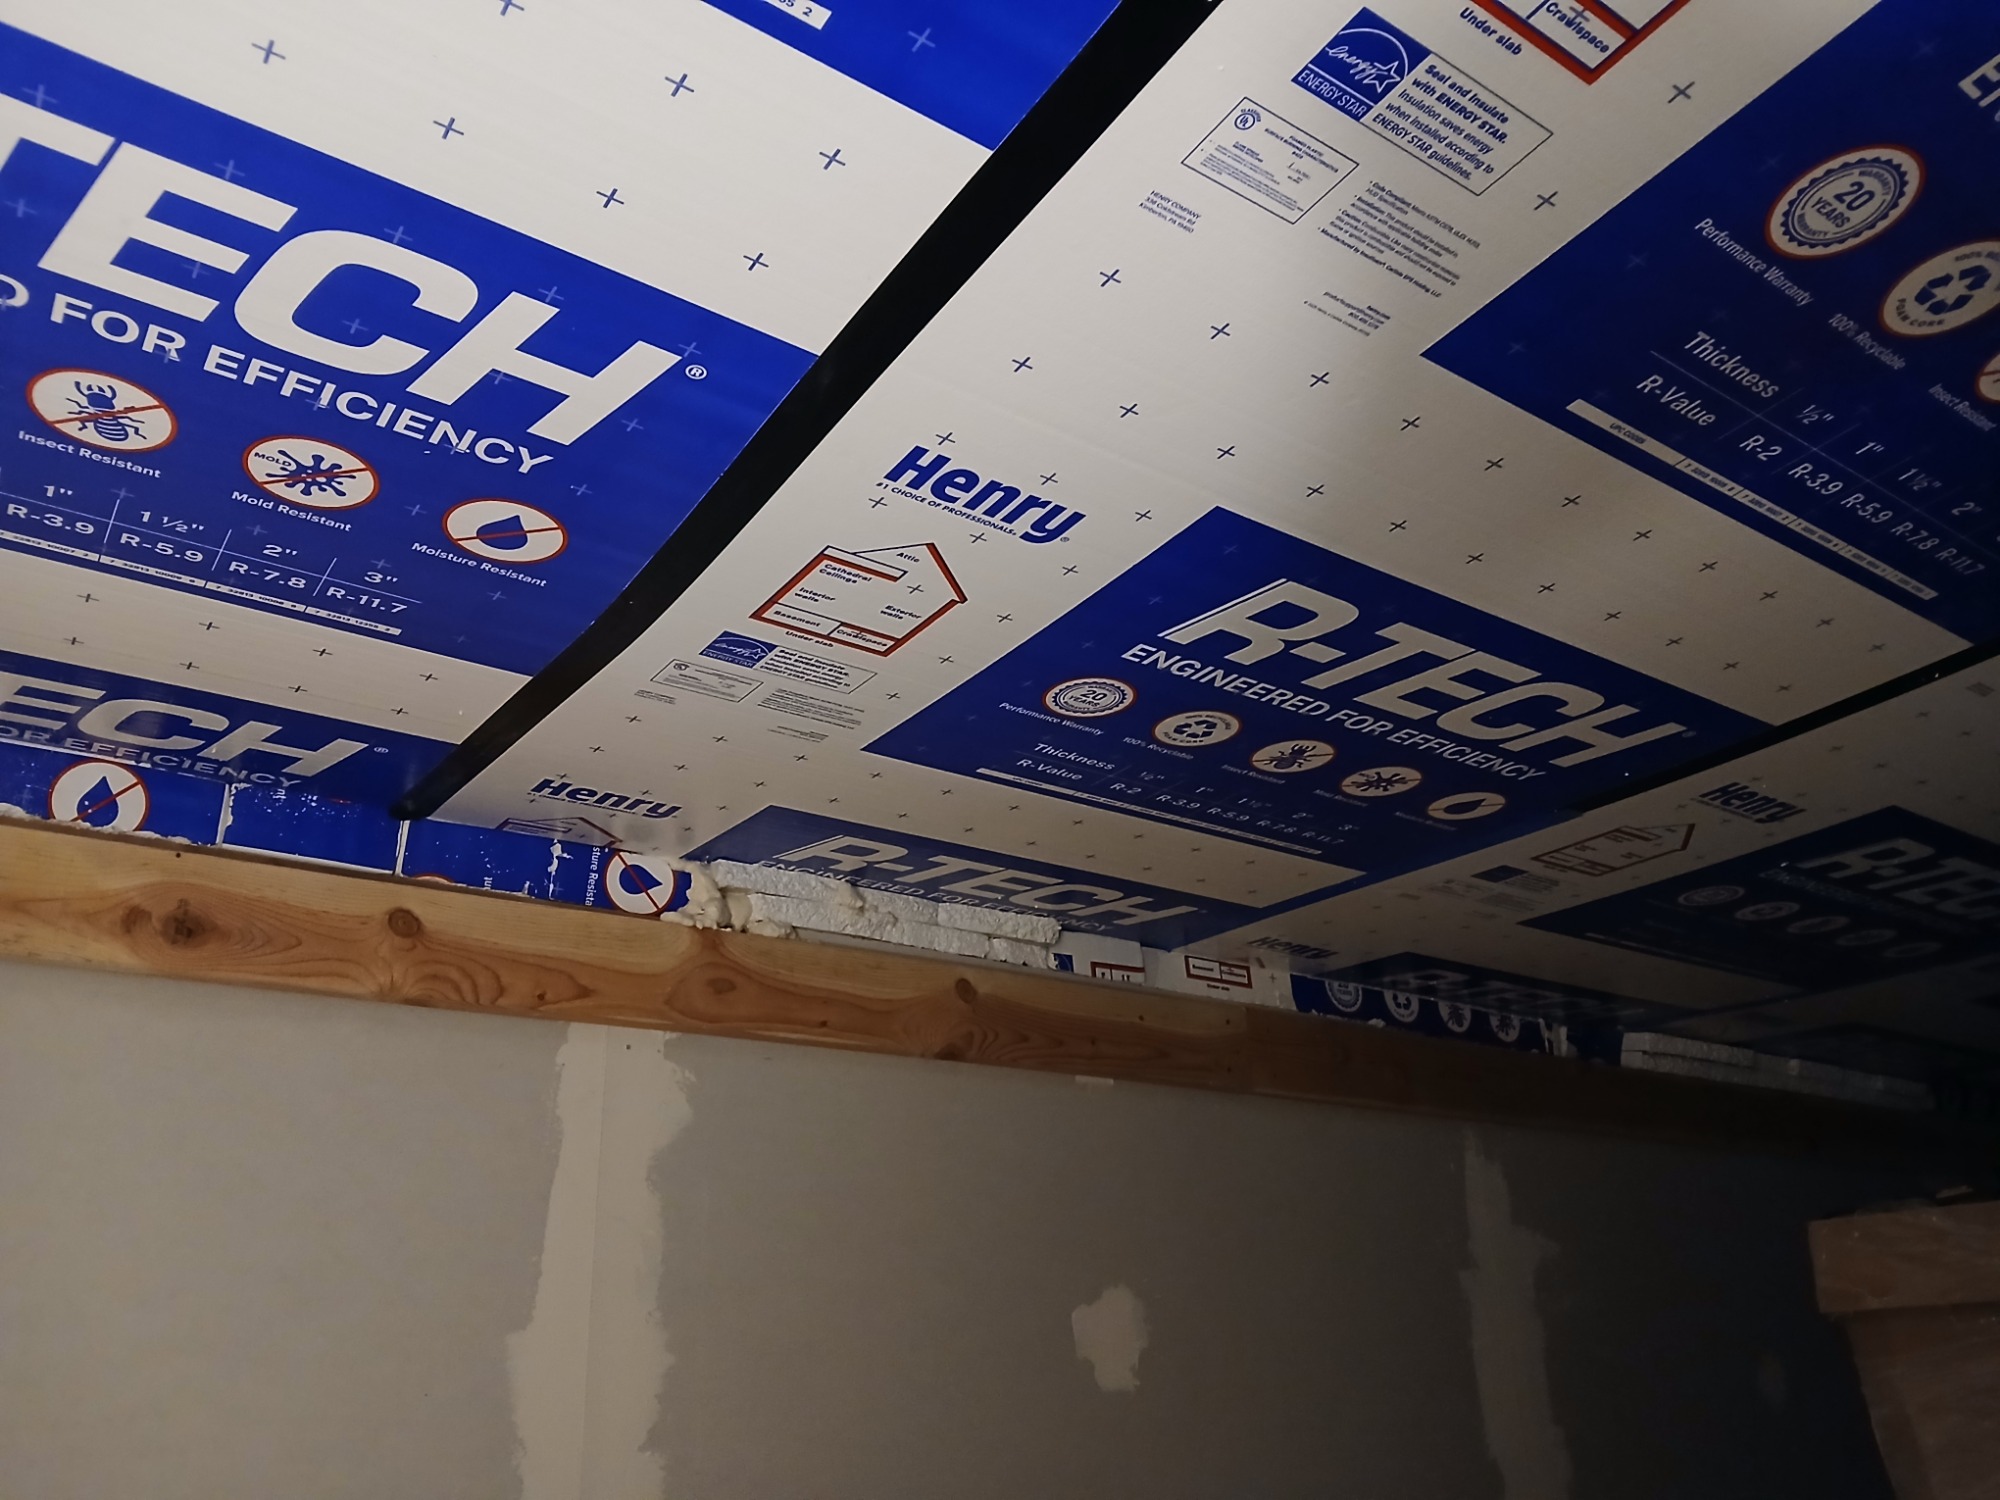
Considering the rest of the container does not have the lift, I needed to reach further up to install the 2 x 6s. This wasn't easy but, I got it done.
FEB
2026

"You really have to want to do this"
One night, I was working late in the container and a 2 x 6 got away from me and hit me in the face so hard, it knocked me to the floor. As I laid there waiting for the ringing to stop, I thought to myself, "I think I'm done for the night." My face was in pain for about a week.
I actually laugh about this now.

The culprit

This was right after I was hit. You can actually see how and where it landed on my face.

Next day, half of my face was bruised and swollen. By the end of the night, I had a black eye.
Again, you really have to want to do this.
Next morning, I was back to work.
FEB
2026
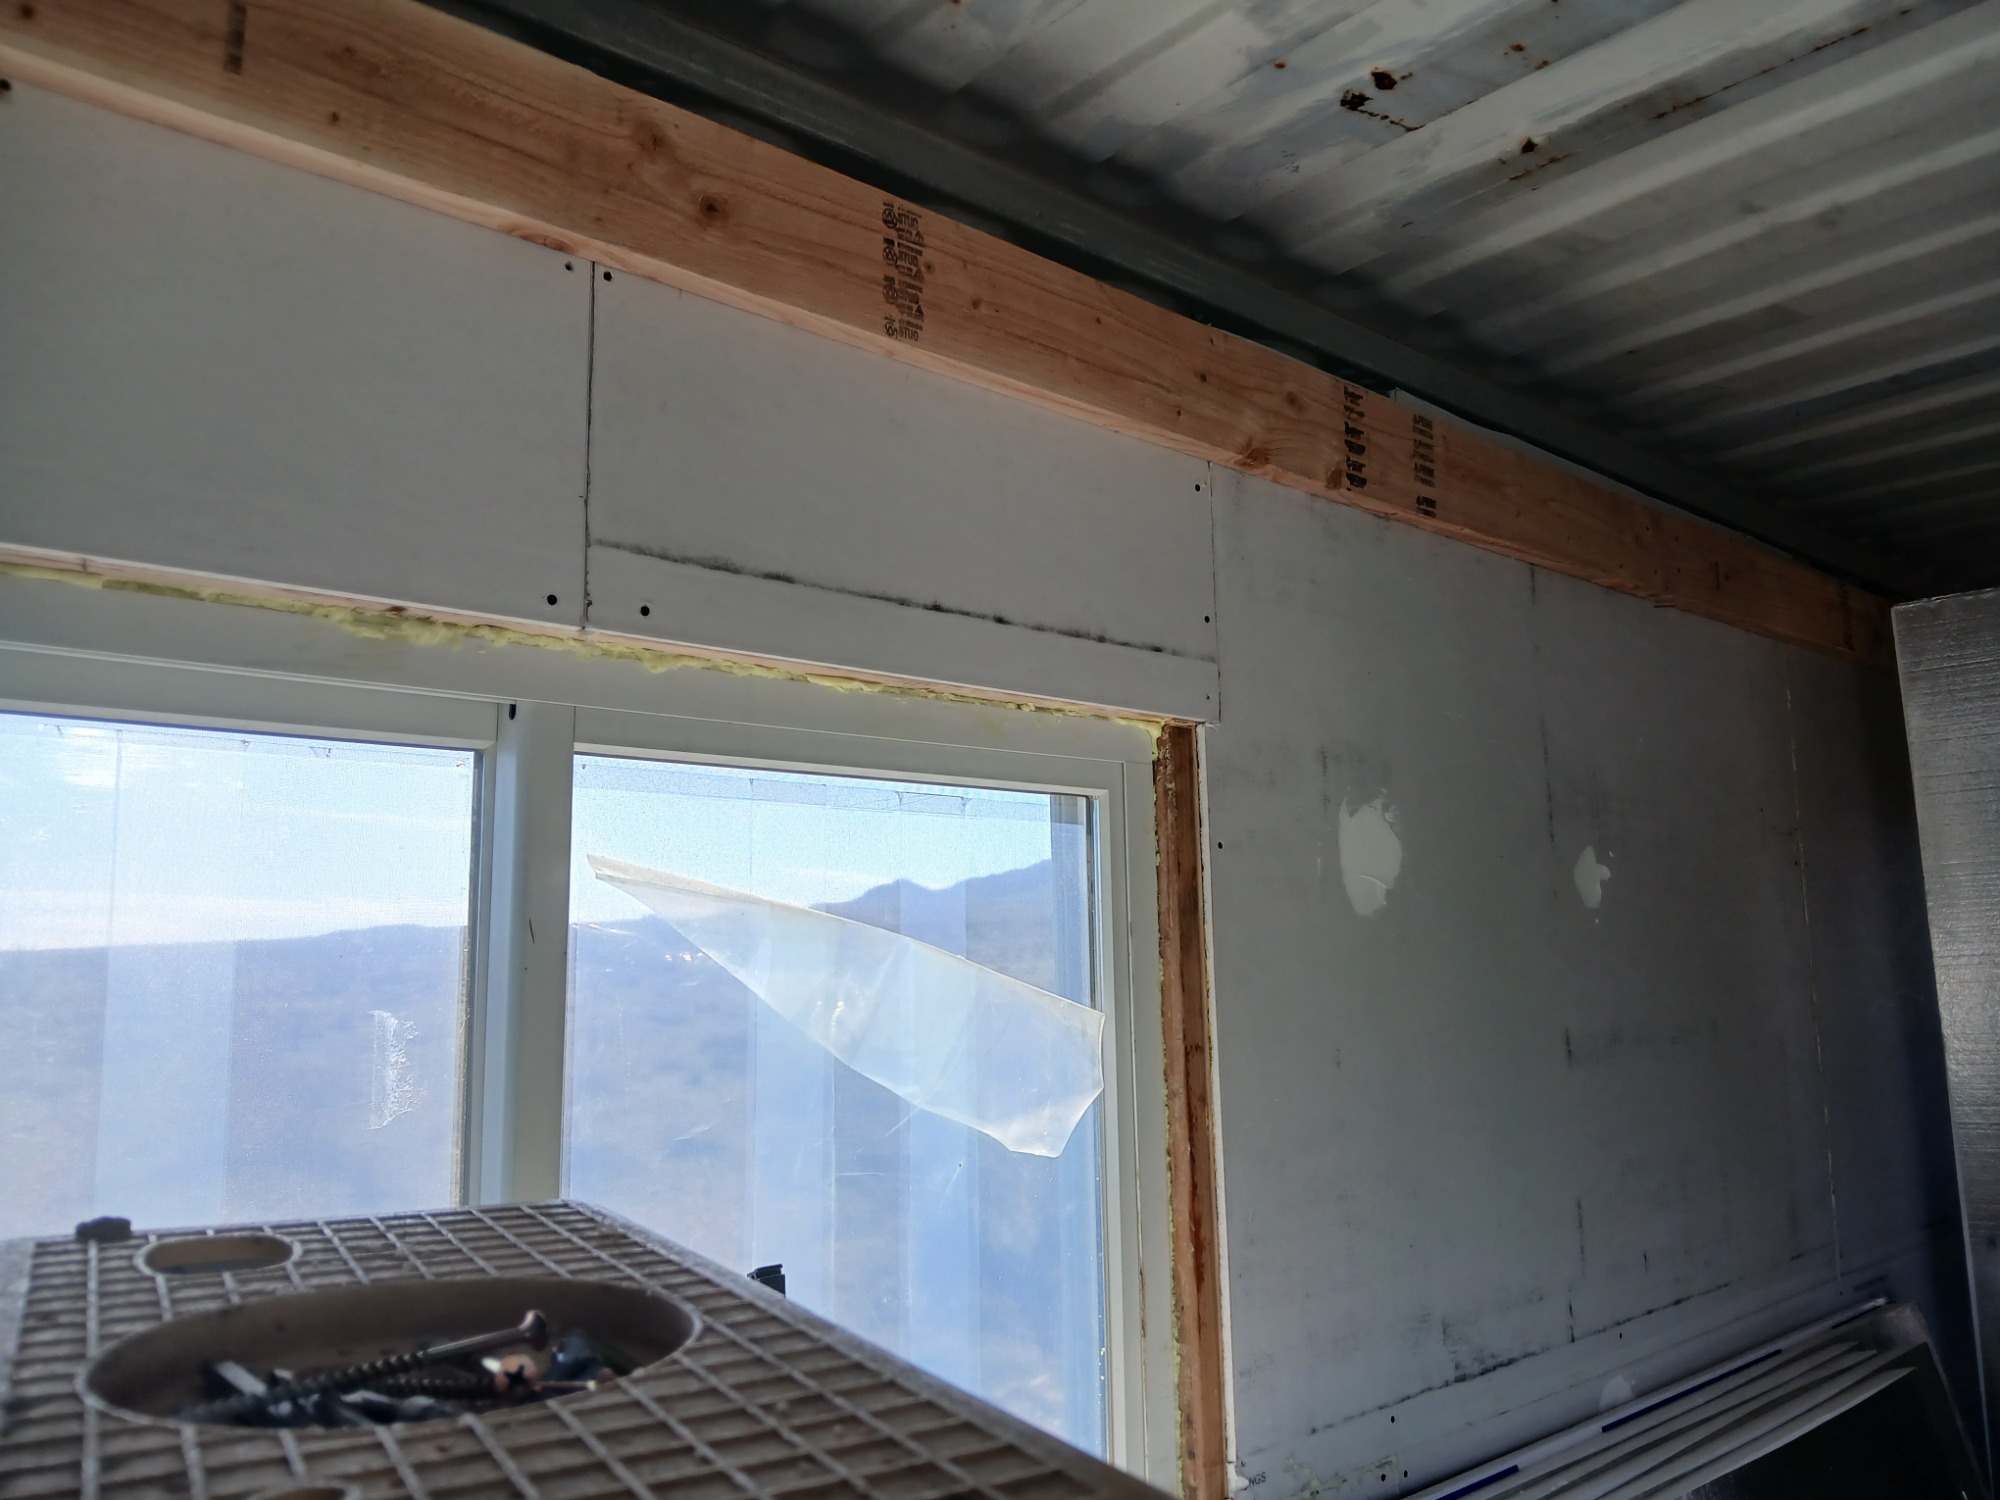
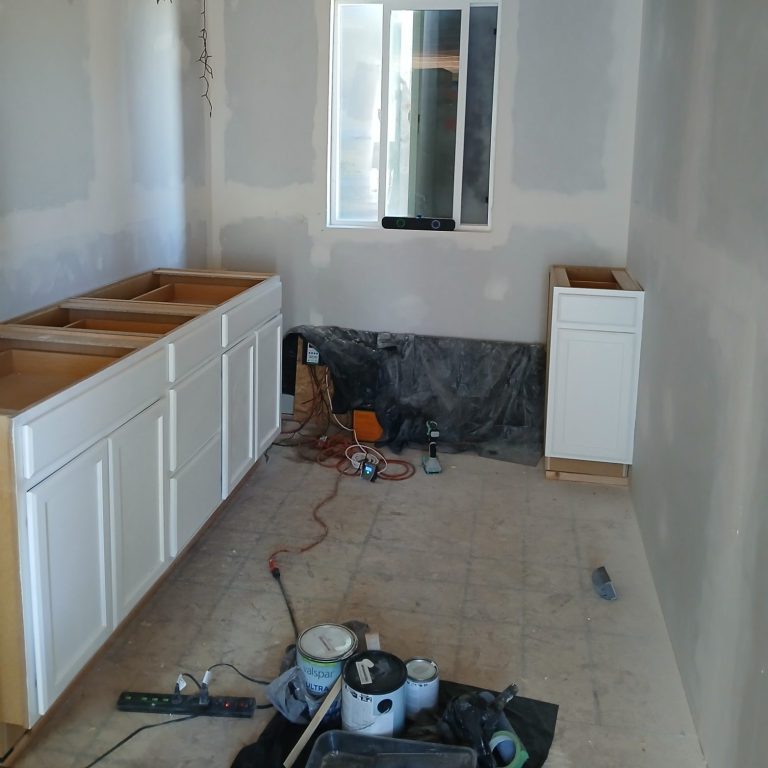
Ceiling and Windows
I was going to finish the window jambs or interior window trim with wood casings like I've done in the past. I realized after I finished installing the walls, I can use the same drywall around the windows and save money. After cleaning up the spray foam insulation, I installed the drywall around the window.
I also found a good deal on a few unfinished kitchen cabinets so I ordered the cabinets and piled them into my suv which almost did not fit but myself and the Lowes staff made it happen. Time to finish the ceiling and the windows.
MAR
2026
Time to install the cabinets and paint.
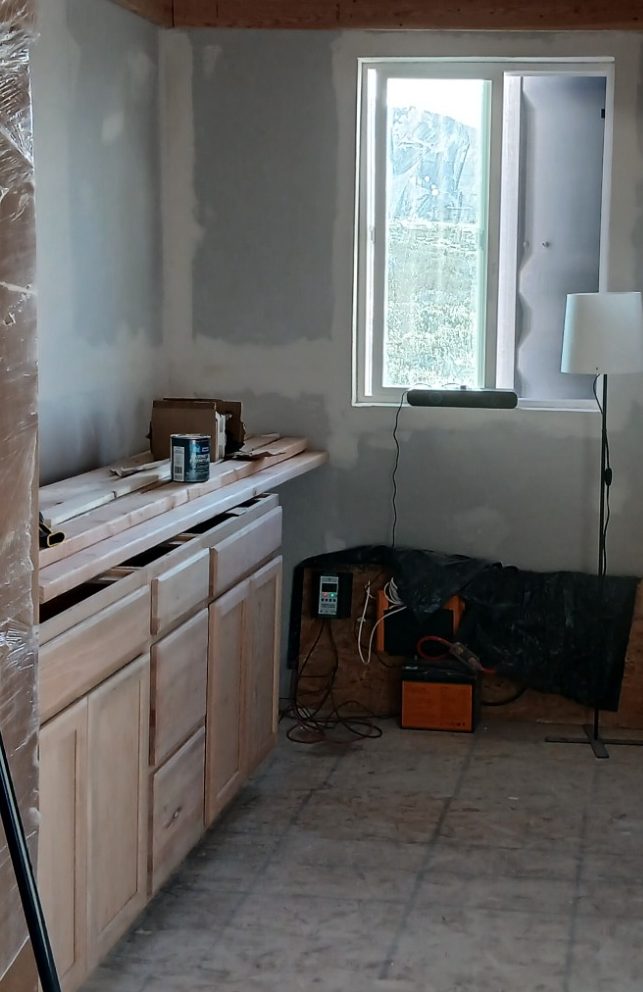
Before painting the cabinets, I wanted to install them. Considering, I'm almost six feet tall, I wanted them to sit a little higher. The good thing about this being my space, I can do whatever I want, to make it my own.
One thing I forgot to check when buying these cabinets was whether one of them was a sink base cabinet and none of them are. Simple fix. I unscrewed the drawer, track and drawer front. I just need to use liquid nails (caulk) and glue the drawer front back on the cabinet. This way the sink and plumbing fits with no problems. Sink base cabinets are usually cheaper and I normally would have returned it but the deal was too good, it wasn't even necessary.
I'm sure someone is wondering why didn't I buy the cabinets already painted? Obviously, to save money. Not a little, but a lot. Finished cabinets can be pricey. I saved hundreds!
I decided to use 2 x 4s layed flat, adding an inch and 3/4 in height to the cabinets. I screwed them to the floor and used osb behind the cabinet for more support.
Screwed the cabinet into the osb and side wall making sure it was level. I did the same with the other cabinets. Sorry, no pictures.
I had to make sure the paint rollers where for smooth finishes. Time to unscrew all of the hinges and put them in a safe place.
Before painting, I had to sand the cainets with 120 - 150 grit sand paper then wipe any dust away.
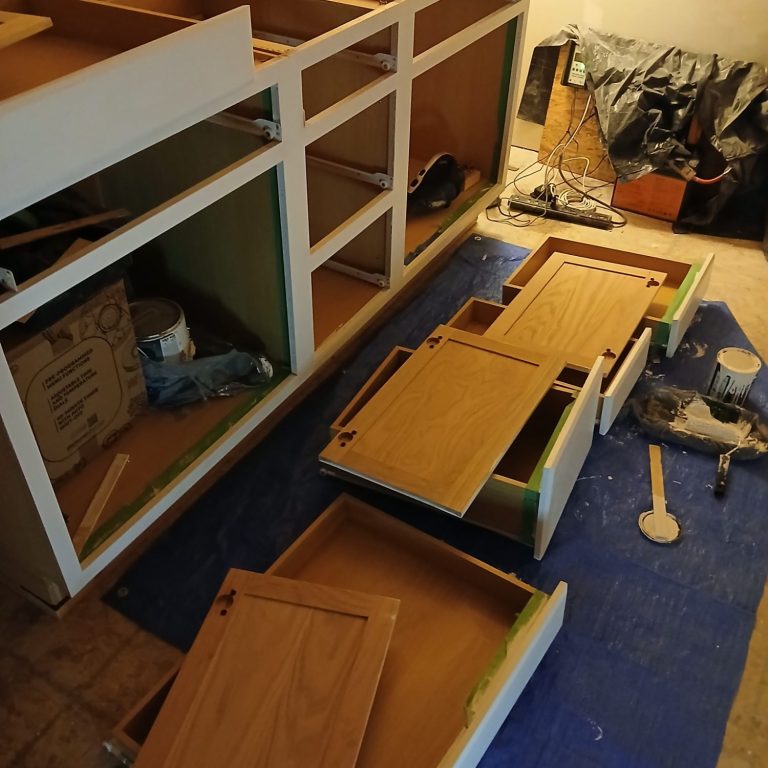
FYI, the cabinet you see is actually 3 cabinets that were clamped then screwed together. This is the first coat. When dry, I sanded the cabinets one more time then did the second coat.
After the second coat... I put everything back together and now it's ready for the counter-top but first the walls.
MAR
2026
Finishing the walls
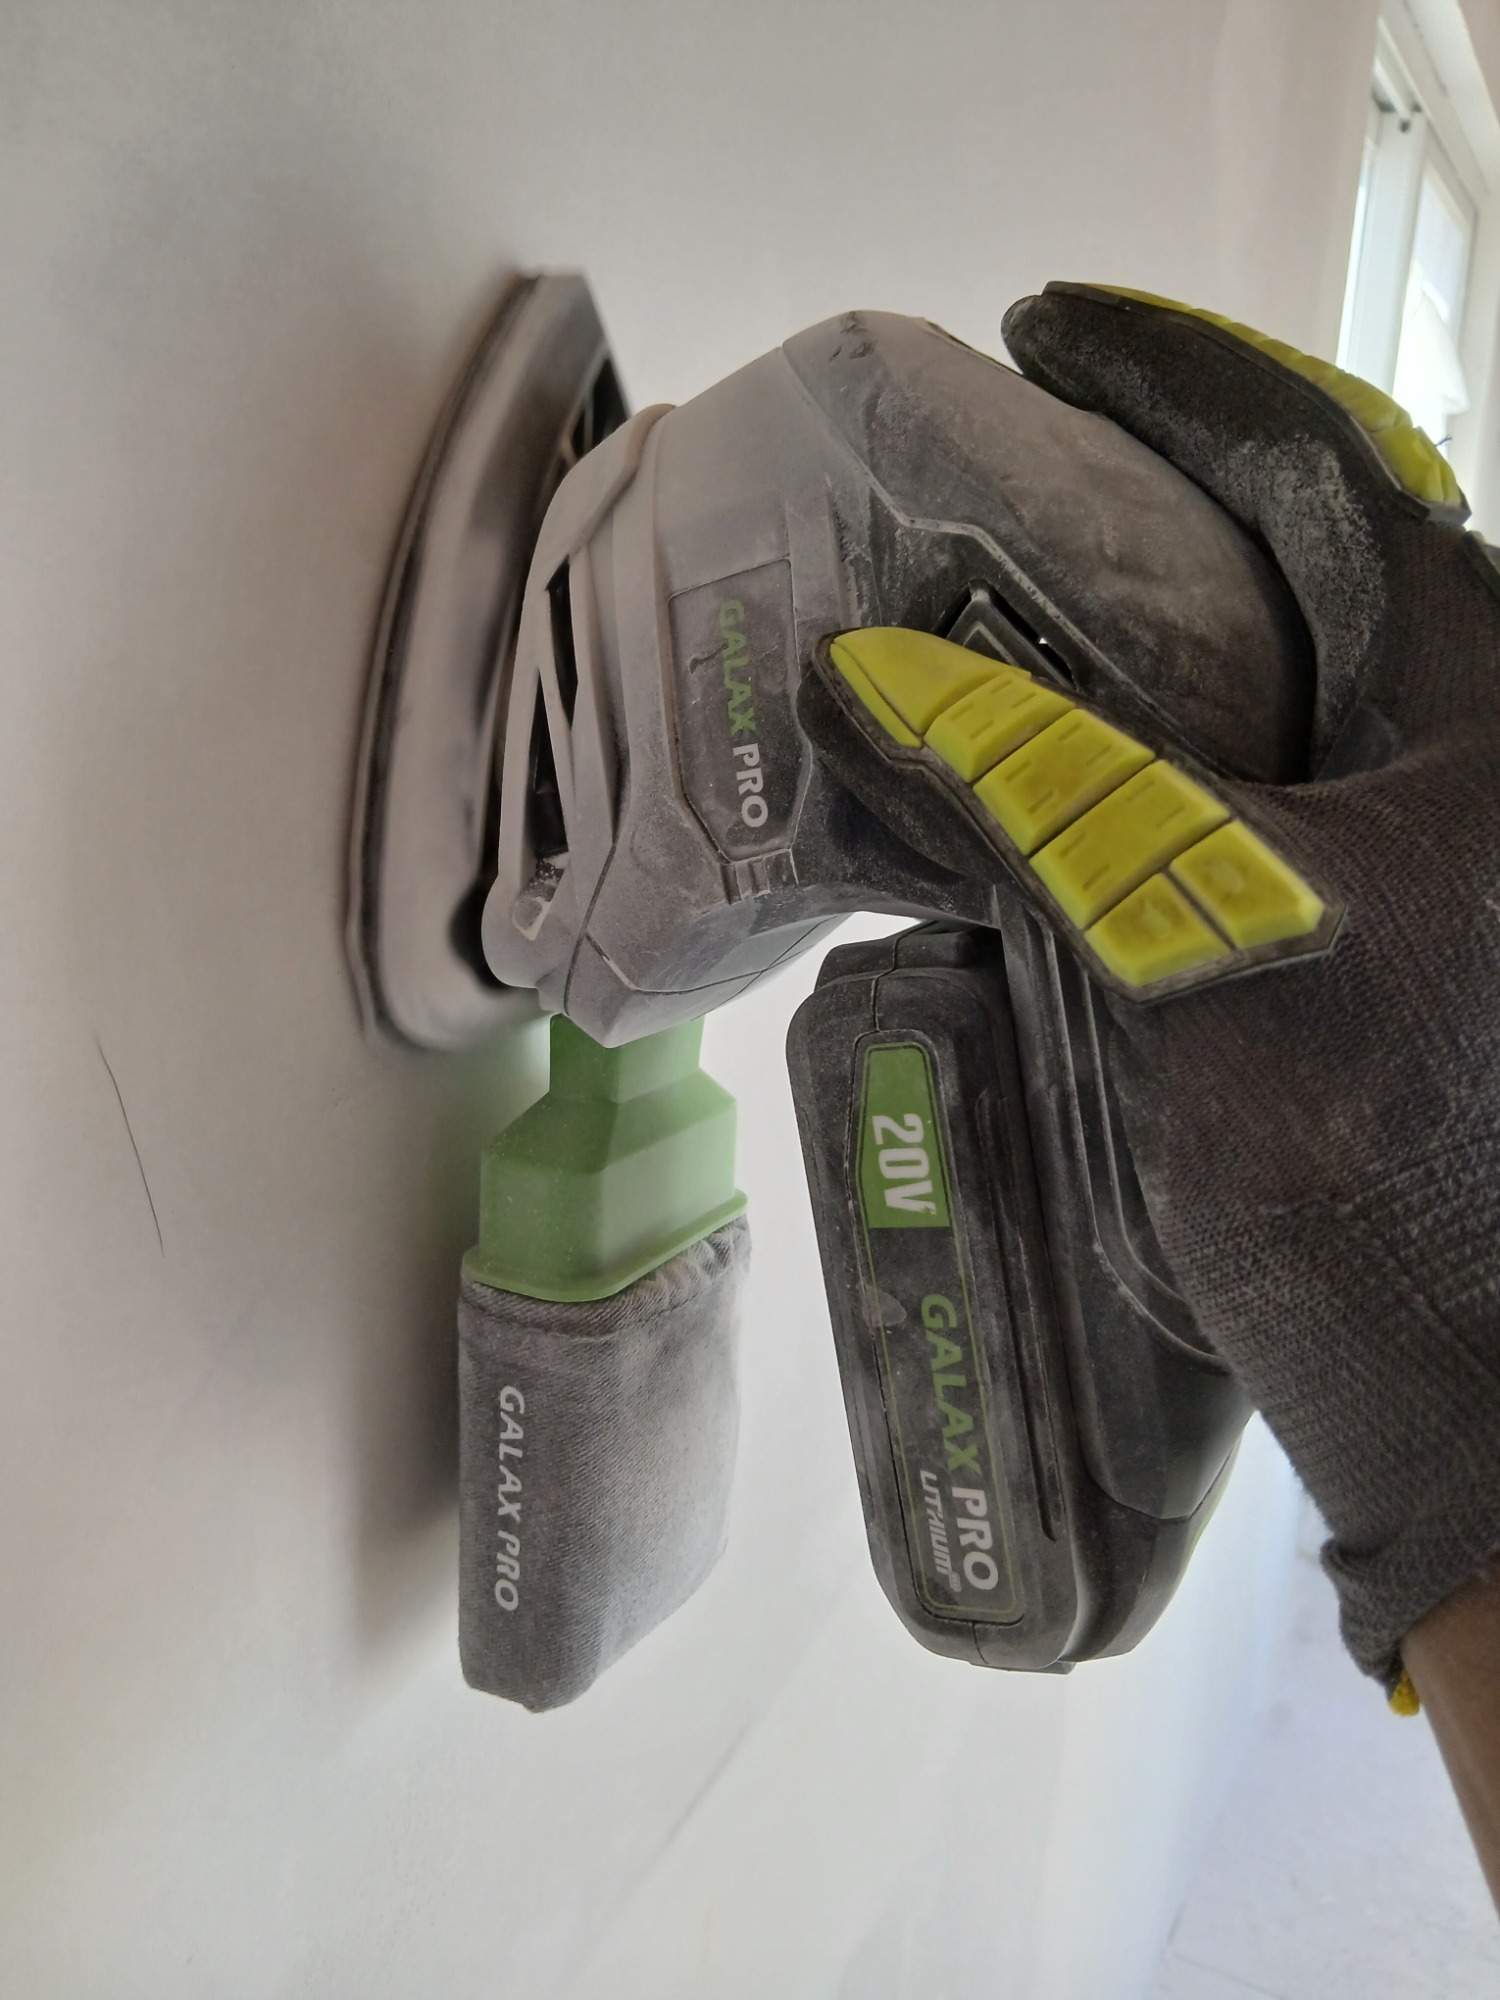
One important detail I forgot, when finishing walls, is to cover or remove everything from the space. The dust from sanding the dried mud got EVERYWHERE. Places I didn't think it would be, the dust was there. Out of everything I've done on this shipping container, this job was the one I wanted to pay someone else to finish. It was tedious and messy but I had to do it. However, now that it's done, I have to admit I'm happy with the way it turned out.

APR
2026
Finally, the floors.

I had a hard time finding the style of floors I wanted, that were below my budget. Apparently, I have expensive taste because the flooring I wanted was not within my budget, no matter where I went so I found some vinyl peel and stick floors on Facebook Marketplace. I thought I'd give it a try and see how I felt about the look. However, when I arrived at the location to pick up the flooring, I found this person had a warehouse full of building materials, mostly flooring at discounted prices. I decided to look around and found the floors I was looking for $20 a box instead of $65! However, he only had 9 boxes and I needed 12. I found the other 3 at a hardware store for regular price but I paid just under $400 compared to over $800. Underlynment and grout was not needed. Nice.
I needed-
12 boxes of flooring, rubber hammer mallet, cushion for your knees or knee pads, pencil, measuring tape and a circular saw (instructions say utility knife... no way).
I had to prepare the area by removing what i could from the space. Used a heavy duty push broom to sweep and made sure the osb/floor was flat and no screws in the way.

Next I laid the floor as directed. I snapped into place then tapped with the mallet to set. Also I had to use the circular saw to cut the flooring to fit into odd spaces and corners. Measure, mark then cut. I tried with the utility knife and it was taking way too long.

After being on my knees for hours laying the floor, I was in pain for days but this process practically completed the space. I used what was left over at the base of the cabinets which made them look as if they were floating.
APR
2026
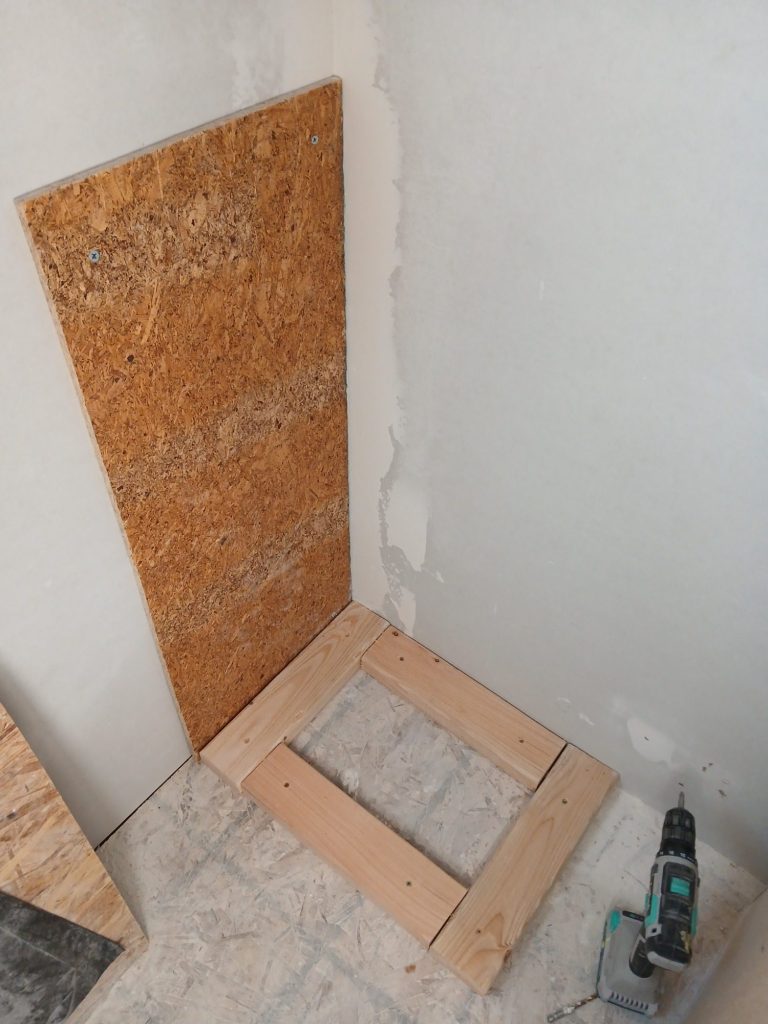
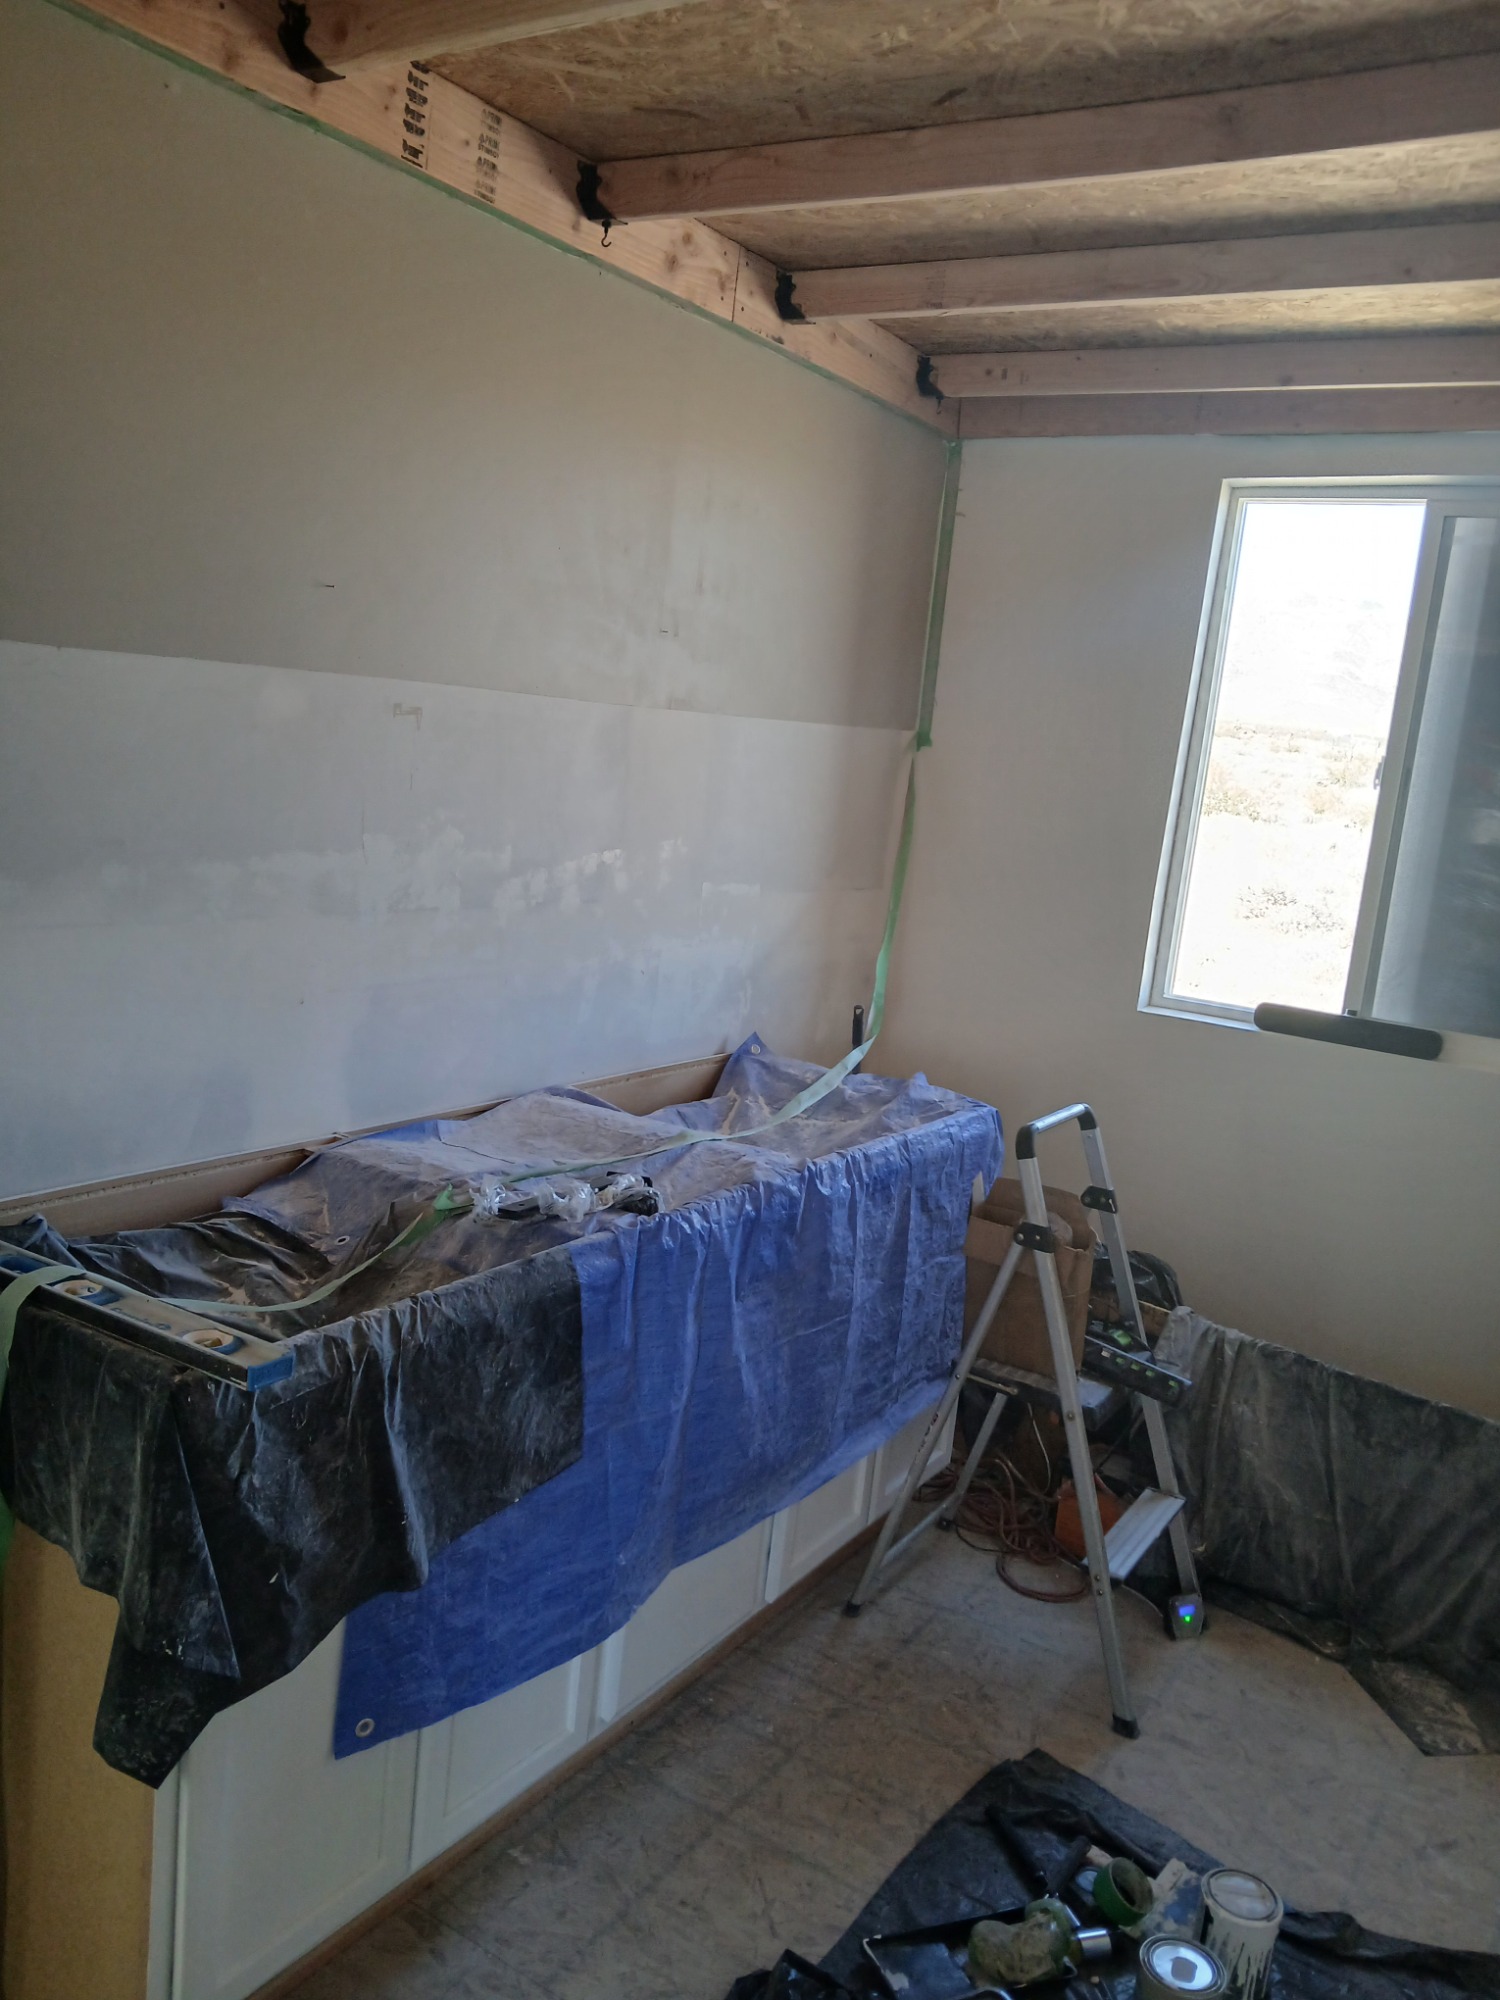
DIY Countertops
Part 1...
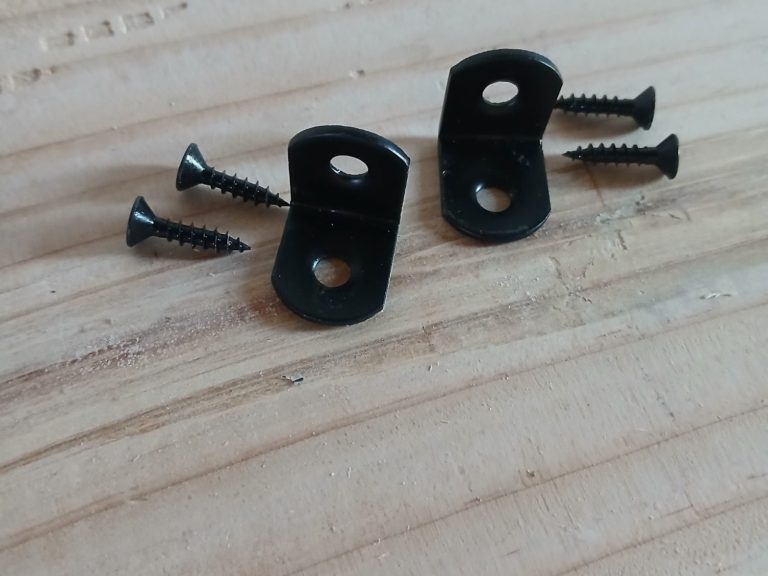
This project was a little bigger than expected so I had to break this project post into parts. I had to explain the corner considering there is not a cabinet holding up my DIY countertop. Again a bigger project than expected.


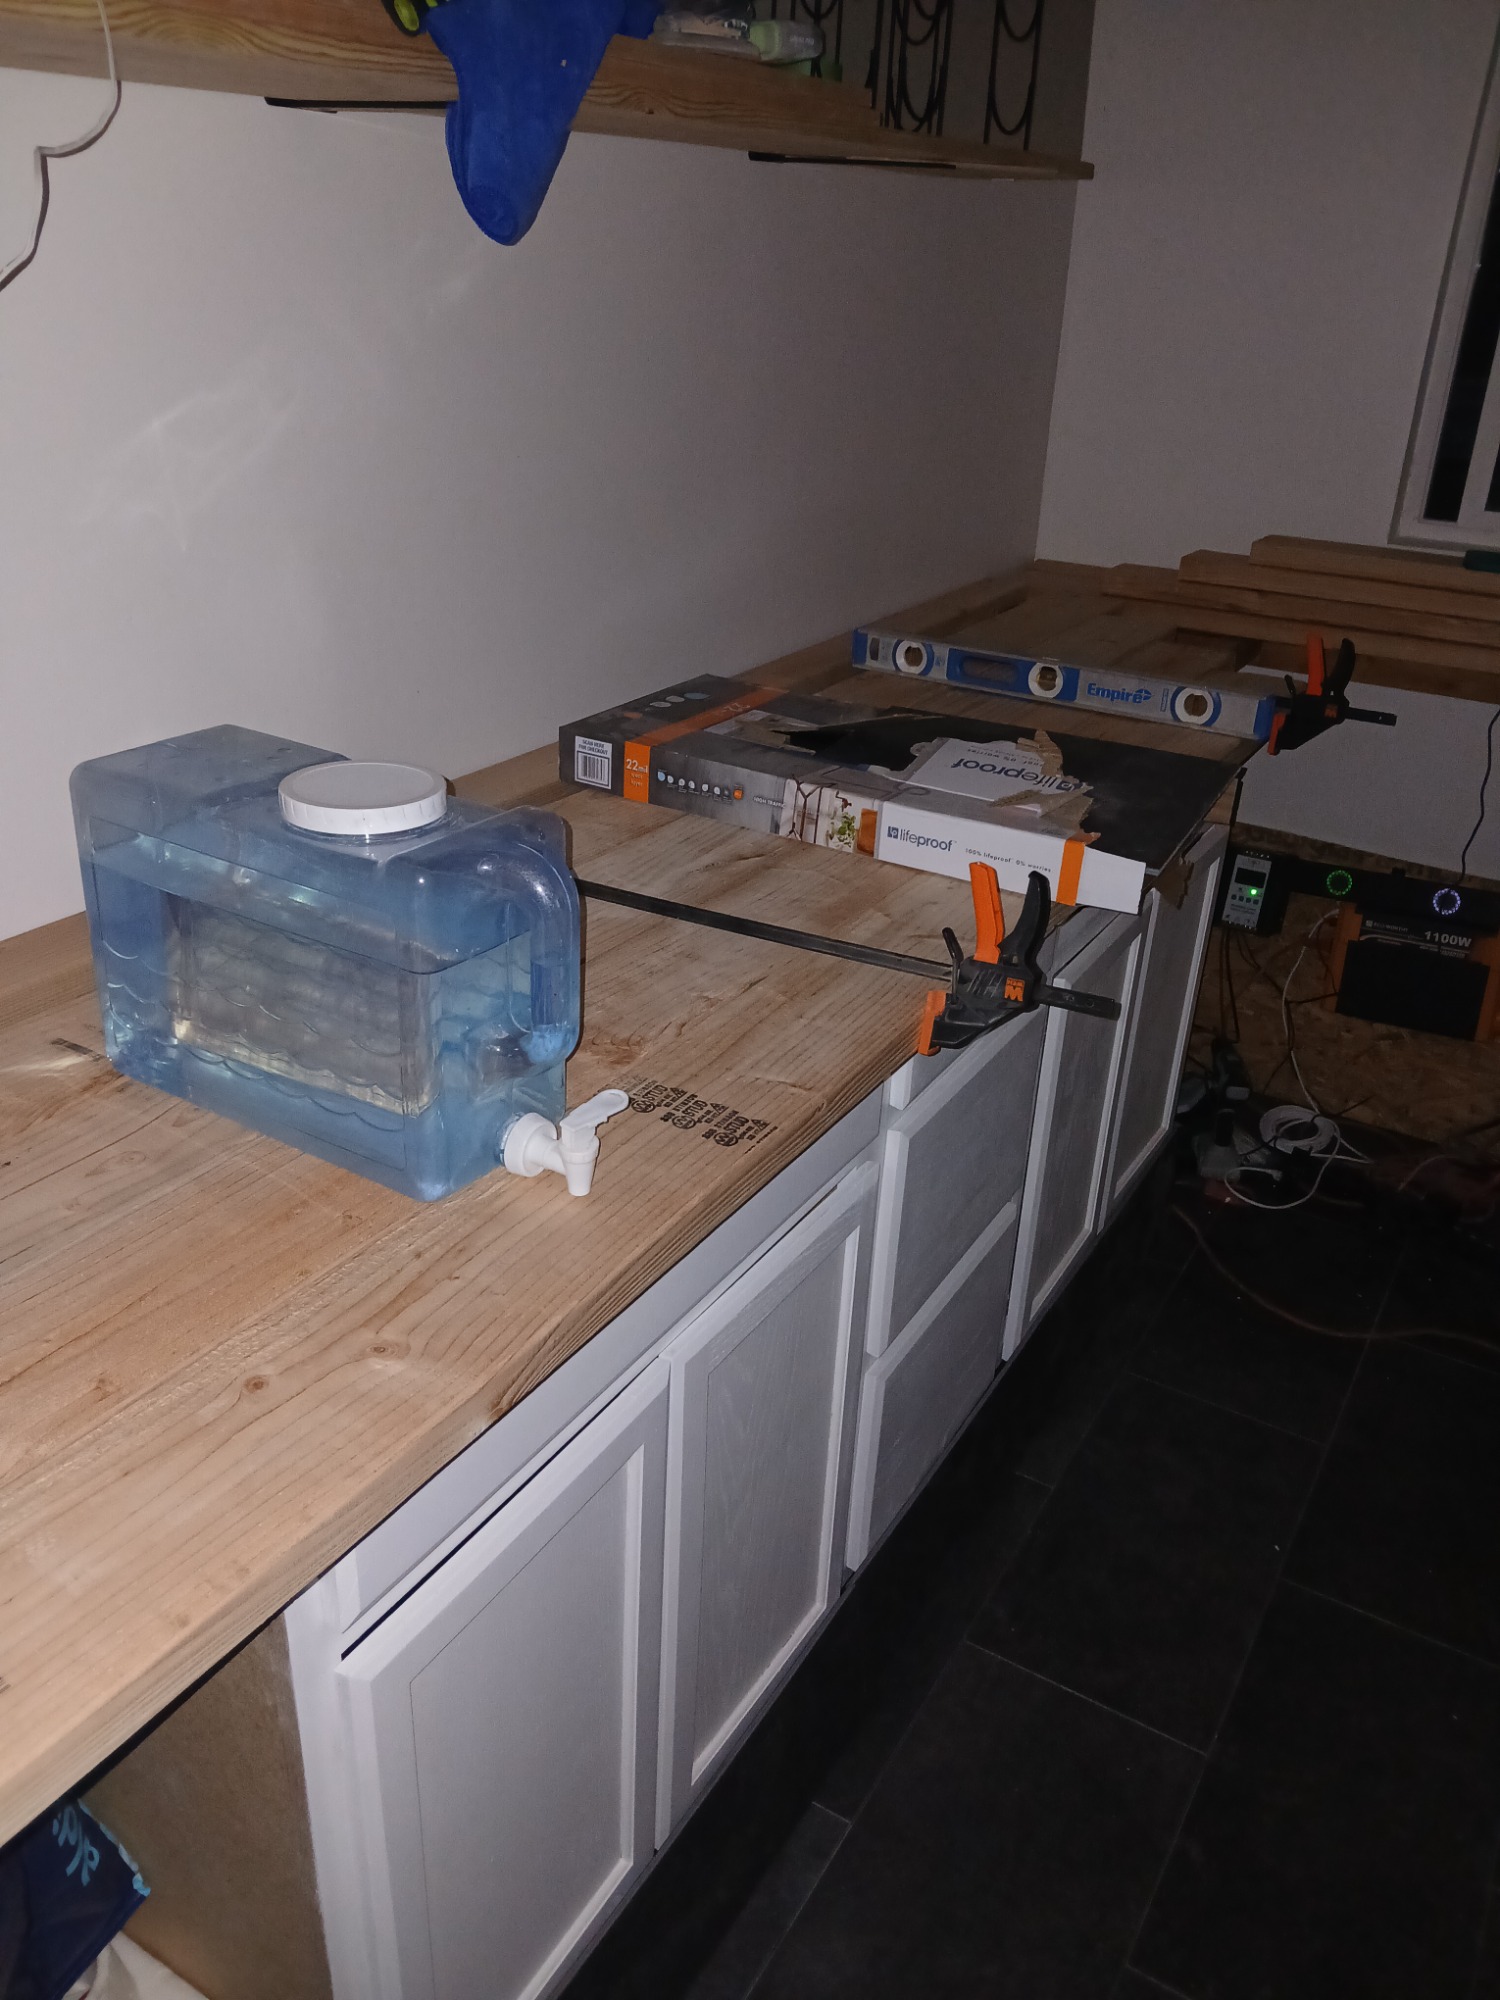
I needed-
Circular saw, pencil, measuring tape, screws, drill, leveler, small L brackets and 3 tubes of industrial strength adhesive.
MAY
2026

DIY Confessions...
So if you ever watch DIY construction and design shows they do not give all the details nor do they post mistakes that do not have a huge financial crisis attached for the sake of ratings and to keep you watching.
Anyway, I decided to admit some of my not so big budget mistakes. I wanted to do this because mistakes happen especially when you're learning something new. Again, by no means was this a perfect process.

While making the cut for the sink in my counter top, the circular saw got away from me and cut the exposed counter top. Also I realized the lumber wasn't laying as flat as I wanted so I eneded up replacing the 2 x 6 lumber and adding more adhesive to fix.
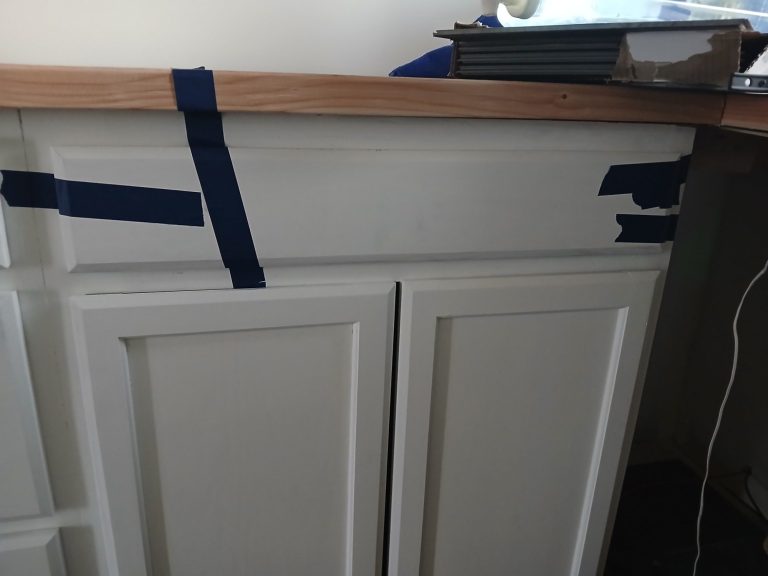
I mentioned how I could easily turn a base cabinet to a sink base cabinet and honestly it wasn't as easy as I thought. Again, I'm not a professional. The adhesive kept sliding even with my attempt to hold into place.
I had to slide into the cabinet and use L brackets and screw the drawer face to the cabinet while trying holding it in place. Considering space is limited, I couldn't move the countertop. This would've been easier had I fixed this before the counter top was in place.
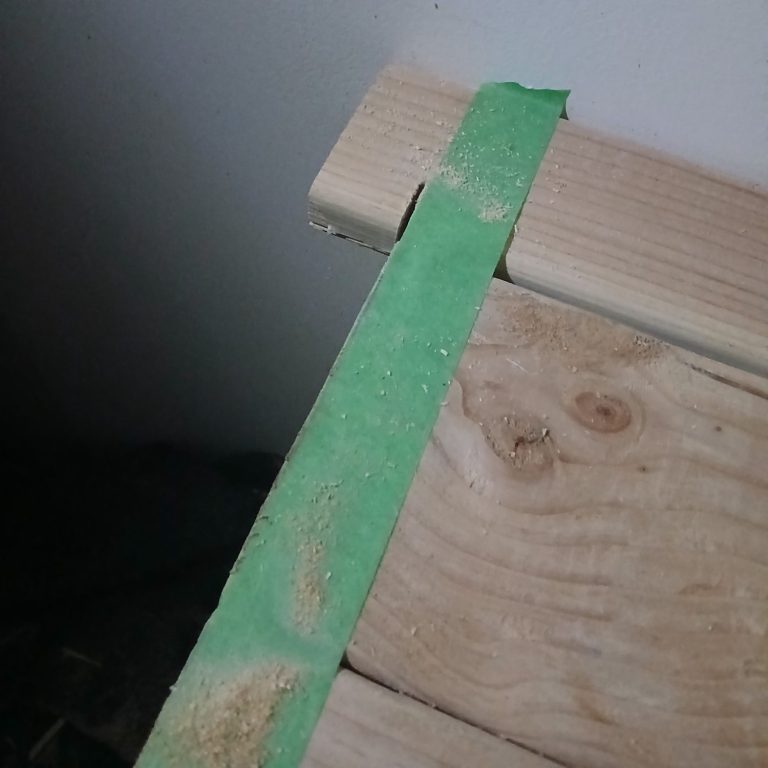
My clamps were shorter than the depth of the counter top so I had to add the final piece of lumber (next to the wall) after the other lumber was glued. Problem? I was using the circular saw to even out the end and I couldn't cut that last piece without damaging the wall. Had to find a nonpowered saw and manually saw the final piece, which prolonged the process. If I miss something like this it may take weeks to come back to.
This kept bothering me. My contrasting accent kitchen wall above the counter was painted uneven because I eyeballed it. No short cuts. I had to remeasure, level, tape and paint again. Fixed.

While admiring my new faucet, (I wasn't even ready to install) I pulled down on the pull down sprayer and it slide right out of the faucet. After trying for an hour to slide it back in, I contacted the company and their suggestions were not helpful so I had to buy some wire from the dollar store to wrap around the sprayer and slide it through the faucet. Fixed.
JUN
2026
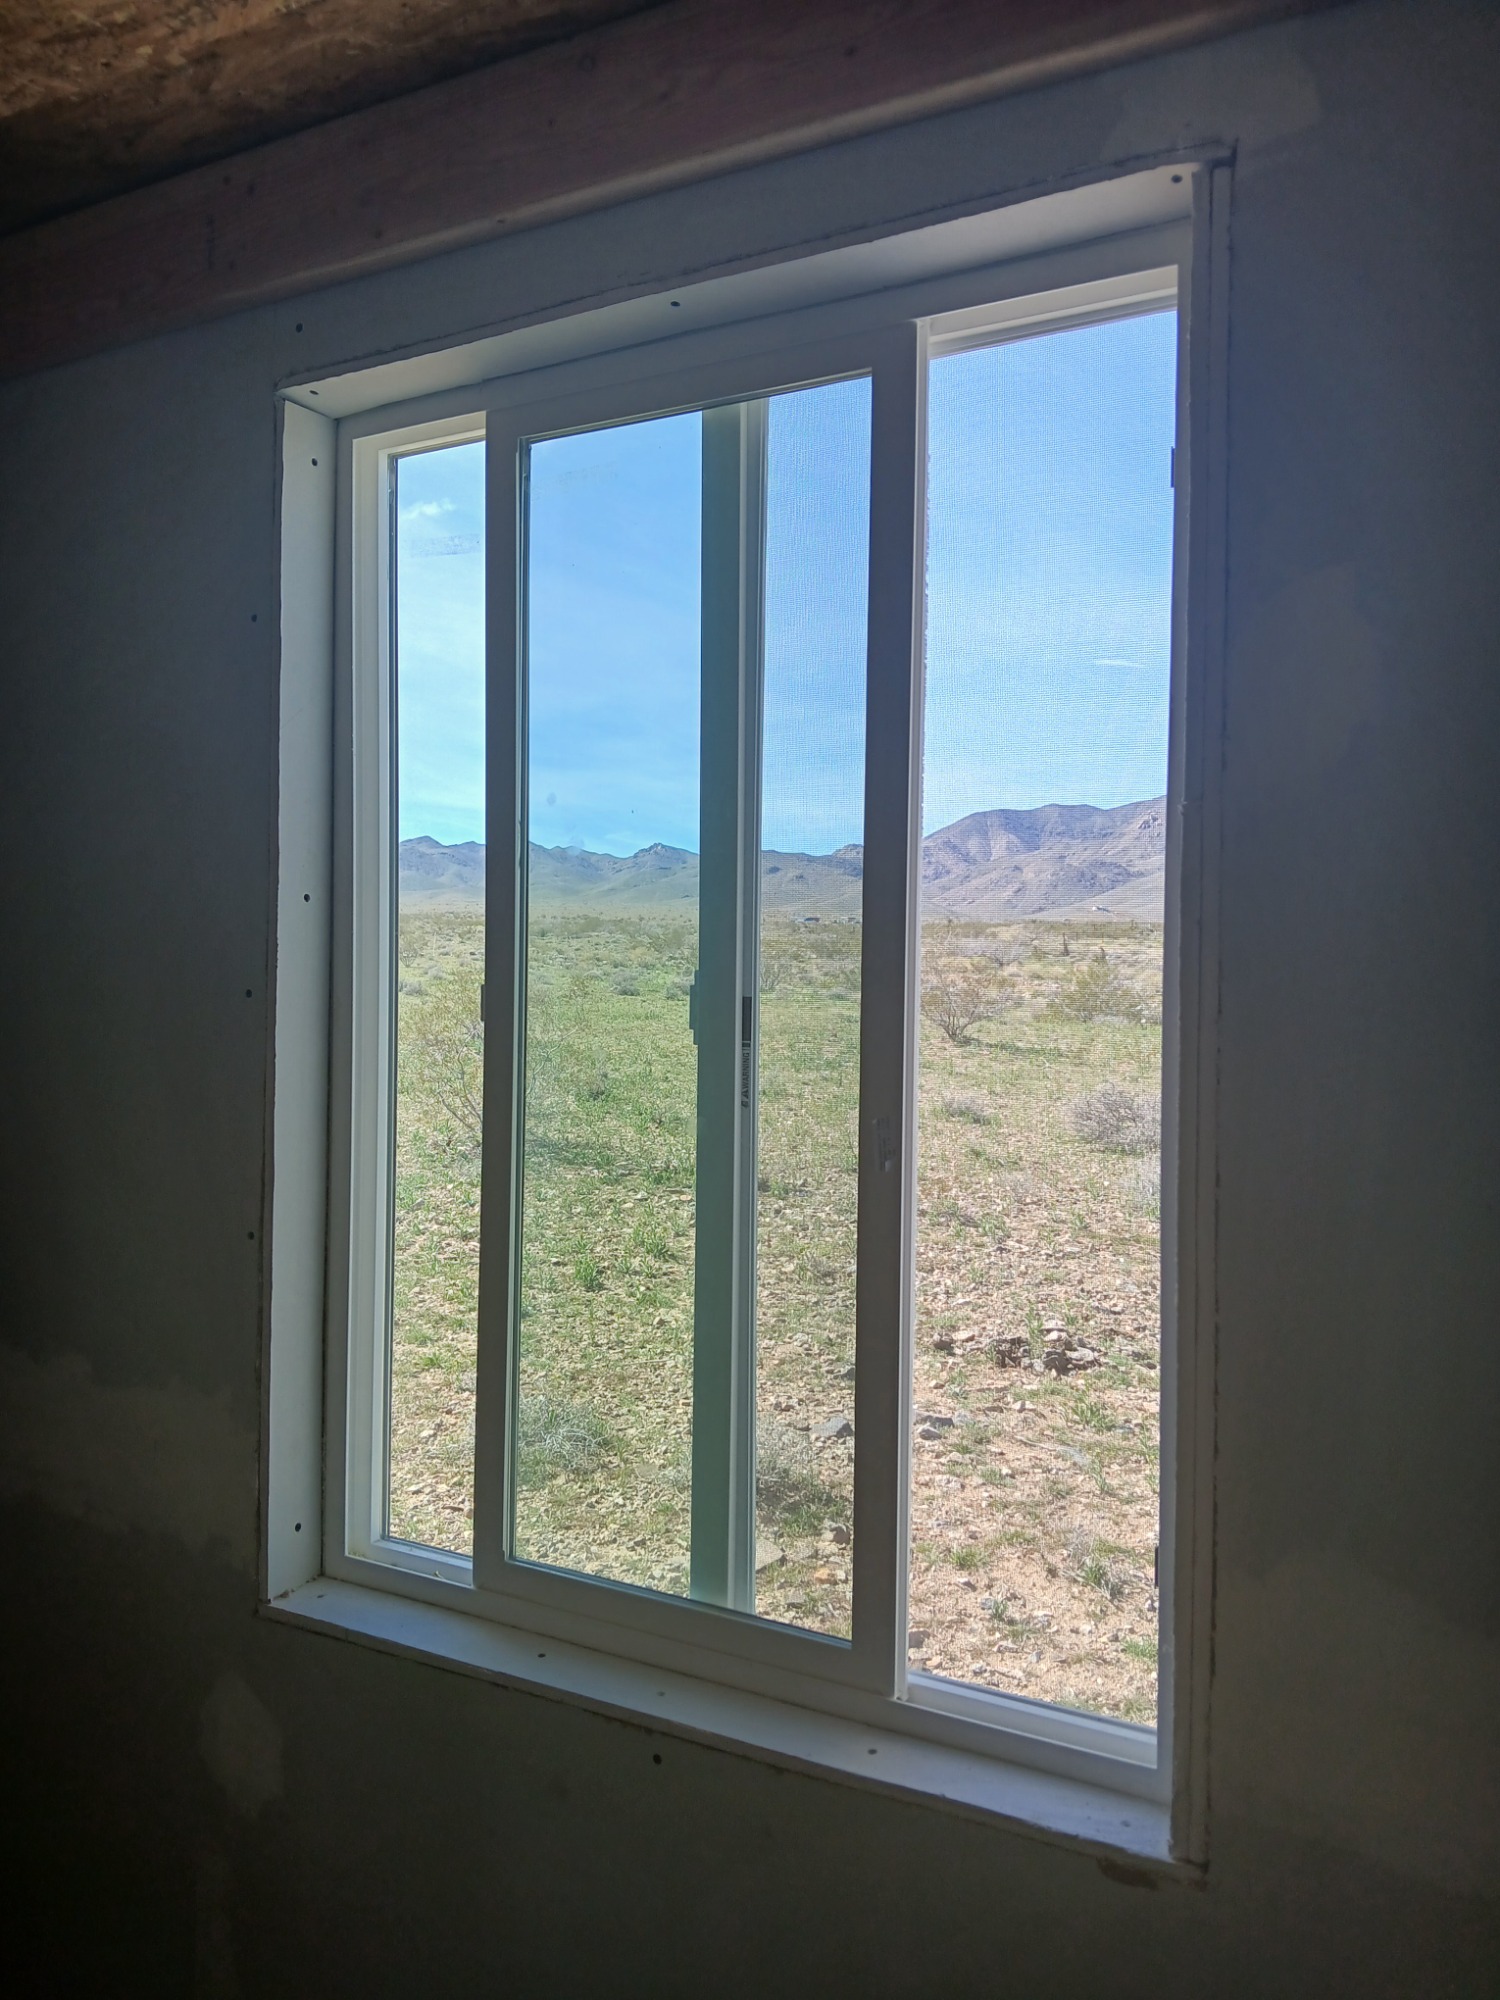
The forgotten window
I like to pay attention to details and with that being said I put this project aside because I wasn't sure how I wanted to finish my "loft" window. After some thought, I decided to trim it to look like a loft window. to give it a dated look I didn't want it to look perfect so the imperfections are intentional. I love how this turned out!

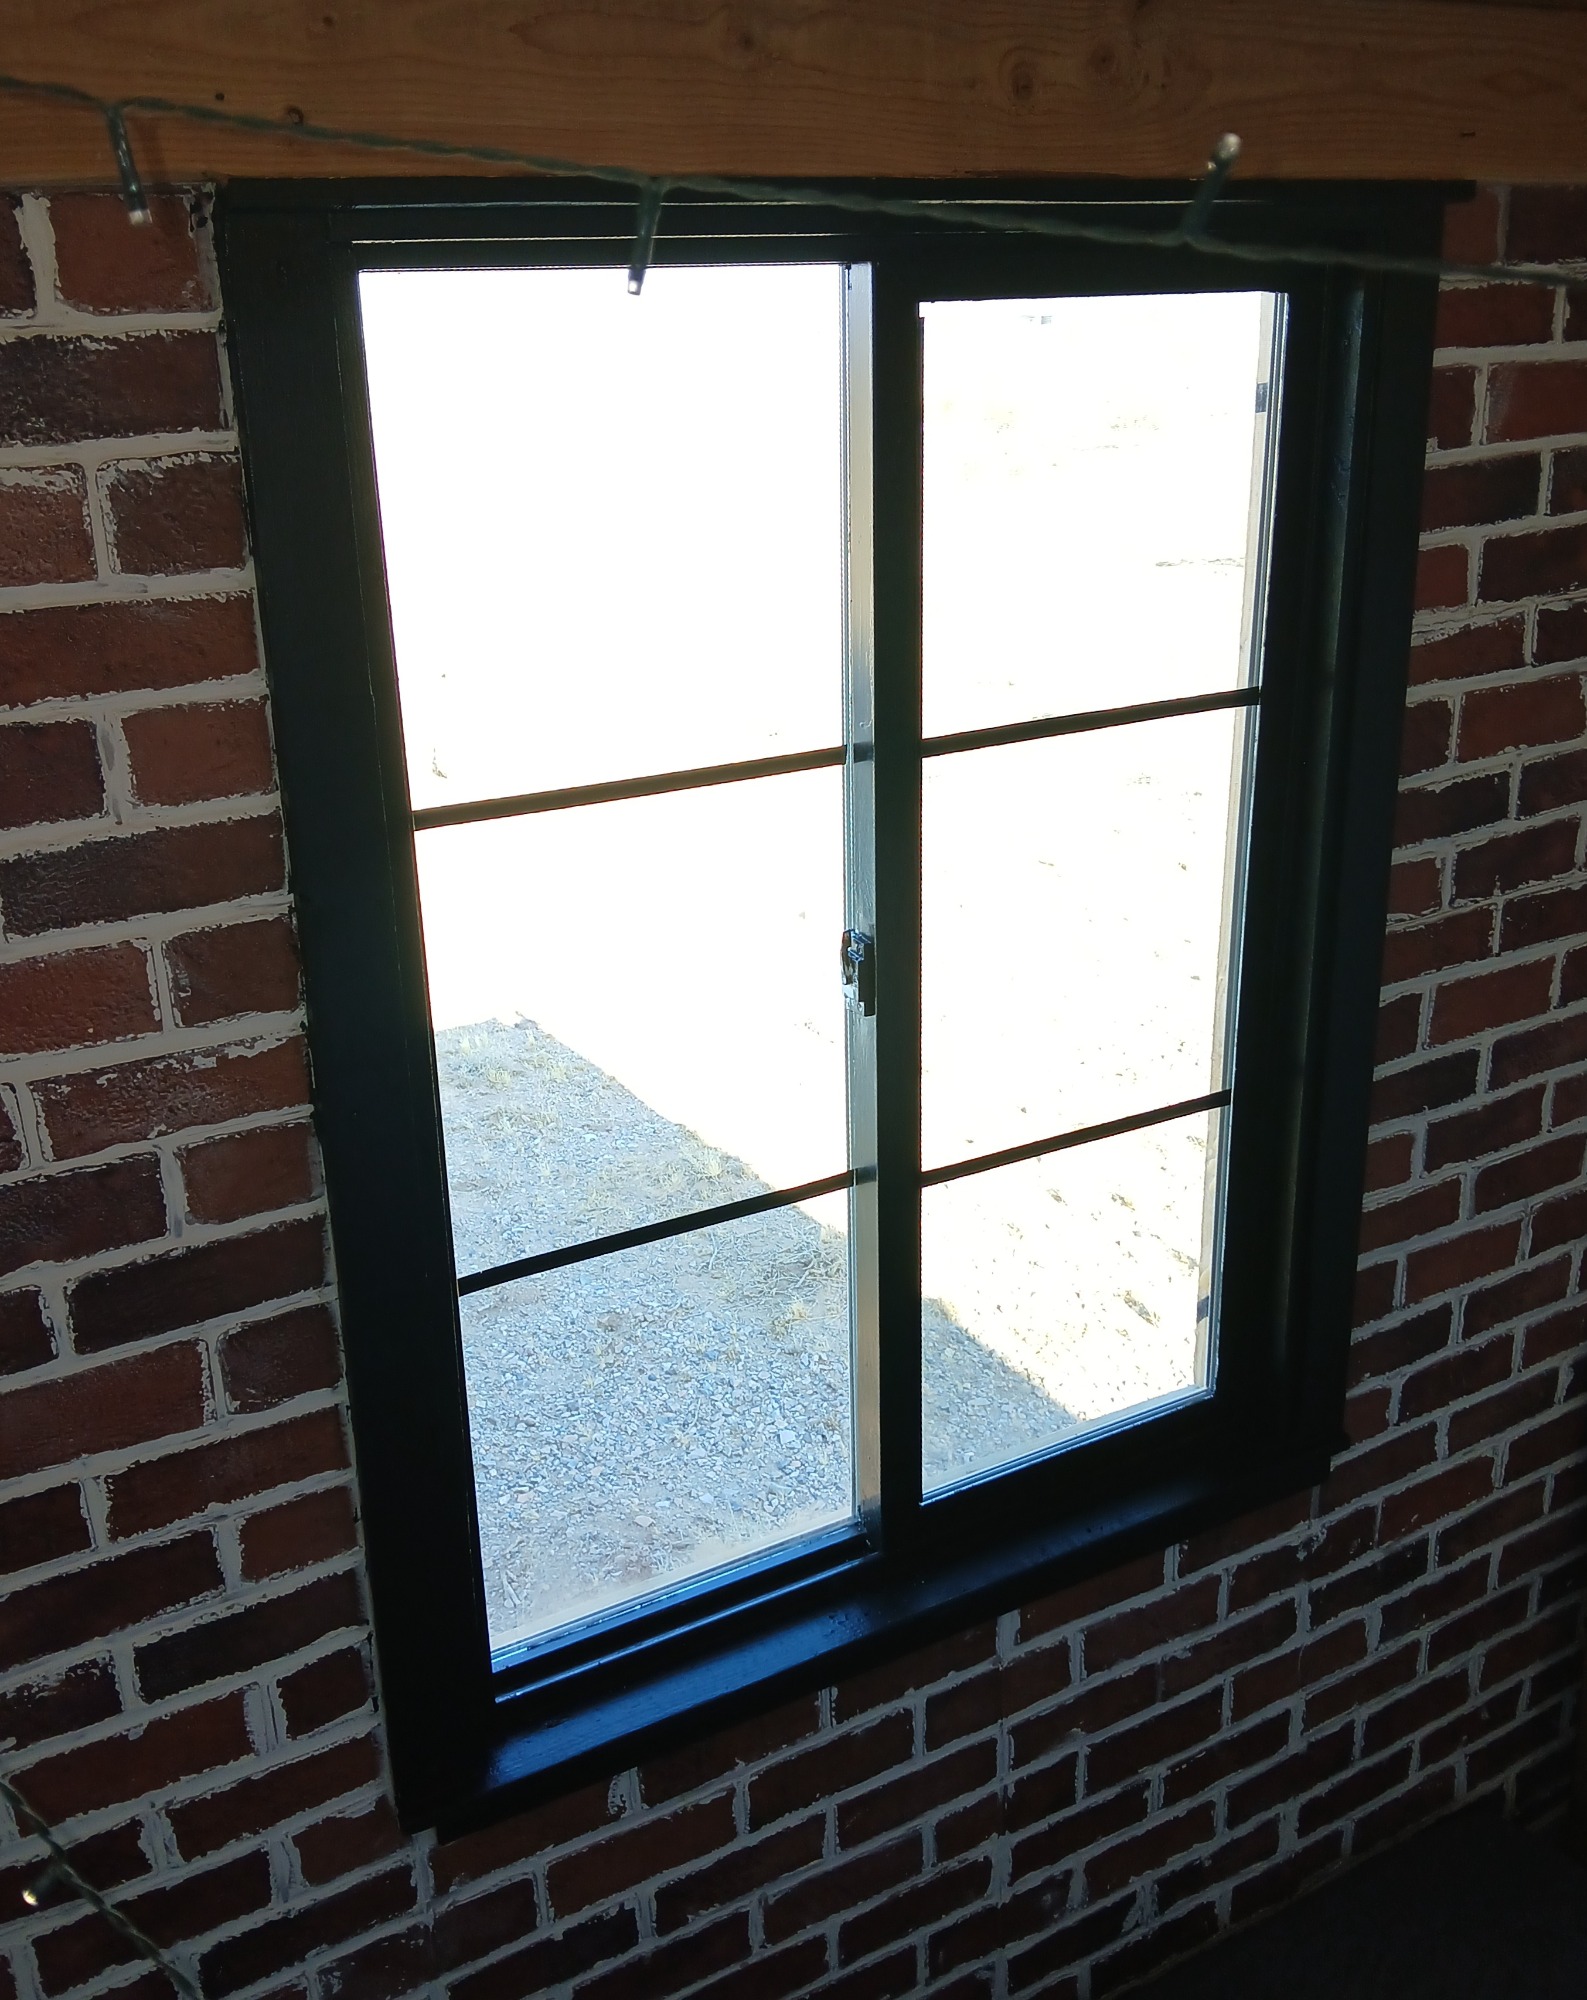
*Click on images for more information.
I used...
(1) 1 x 2 x 8 whitewood furring strip (cut to size for sides)
(1) 1 x 3 x 8 whitewood furring strip (cut to size for upper and lower window)
Scrap lumber to fill in gaps, 1 1/2 inch screws, drill, saw, sandpaper, paintable caulk, semi-gloss black paint and electrical tape.